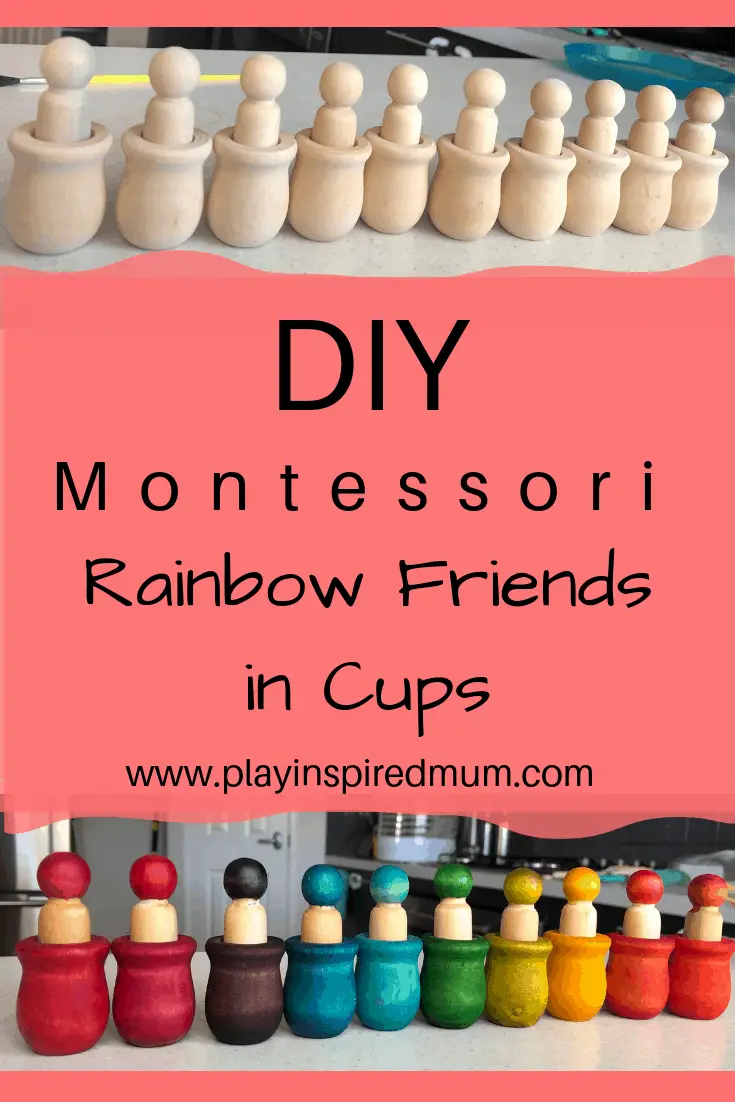
How to Make DIY Coloured Wooden Peg Dolls in Cups
Disclosure: This blog contains affiliate links which I may earn a small commission from if you purchase through them, at no extra cost to you.
Since learning about the importance of choosing toys that encourage growth rather than just entertain, I have been in love with wooden toys.
A wooden toy doesn’t simply just sit on the shelf. A child doesn’t just sit back and watch them.
Wooden toys feed a child’s curiosity, fire up their imagination and engage a child in truly meaningful, creative play.
Why Wooden Toys
As a parent, it is so rewarding watching your child explore a toy. They come up with their own ideas, create their own experiences and inspire you to do the same with them.
Being able to provide toys which stimulate and encourage development is a privilege that I am very grateful for. In saying that, just quietly I do sometimes get a bit of toy envy when I see some high end toys that I would love to have in our collection but are outside our means.
In the lead up to Christmas, I had been saving for a certain quality, hand crafted, naturally dyed set of wooden toys for Miss 22m that I had been eyeing off all year.
‘Quality over quantity’ was what I had told myself to justify the purchase along with the fact it is a brilliant little set that would compliment our play style perfectly and open up many learning opportunities for all three children.
Where I got the idea and the natural wooden peg dolls and pots
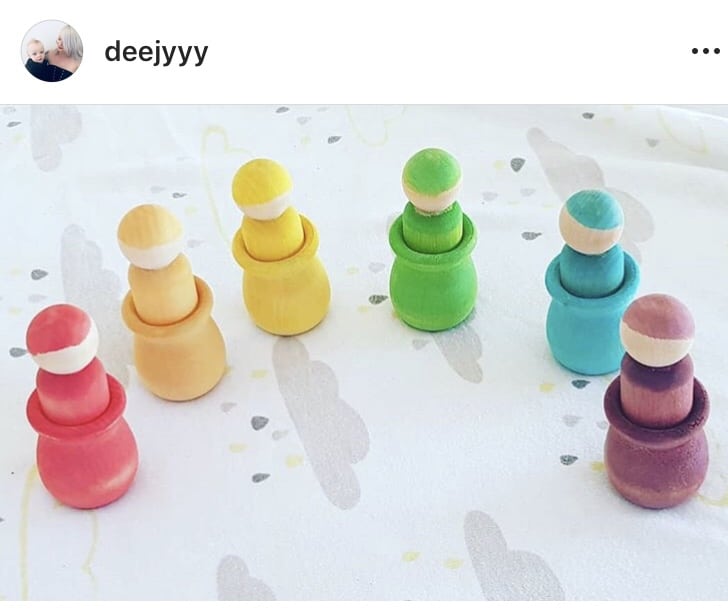
Well, that was until I saw a hack on Instagram by @deejyyy.
I fell in love straight away! It was a very similar set of little coloured peg dolls in matching little coloured cups to the ones I had put onto the Christmas list!
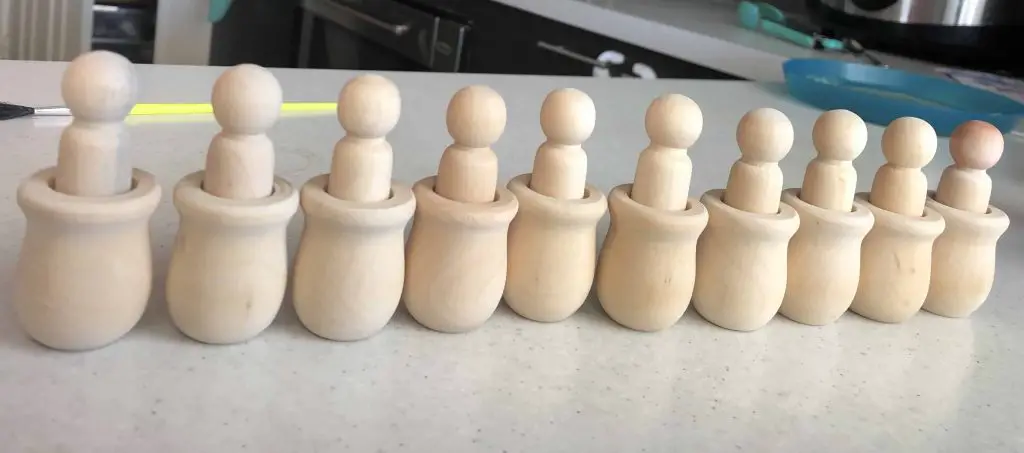
Within minutes I popped over to eBay and had ordered a set of ‘wooden peg dolls in cups’ by searching that very term. They were a bargain deal at less than $12 delivered to my letterbox – winning!
The little dolls and their pots arrived within a week and a bit (much sooner than the six weeks that was estimated!). I put them aside in a safe place to colour while Mr 10 and Miss 4 were at school and Miss 22m was napping.
Like most things I put in safe places, when the opportunity came to colour them, so you think I could remember where I put them? Nope.
It wasn’t until Christmas Eve when wrapping some last minute gifts that I came across them tucked into the bottom of bag of stocking stuffers. Not mentally prepared to colour them amongst the crazy that is Christmas prep, I put them aside to finish off with the kids during the summer holidays.
How did I colour the Wooden Peg Dolls and Cups?
Well this morning I came across our colour matching activity on Pinterest and was reminded again about the little peg dolls waiting to be played with.
Colouring our Wooden Peg Dolls and Cups
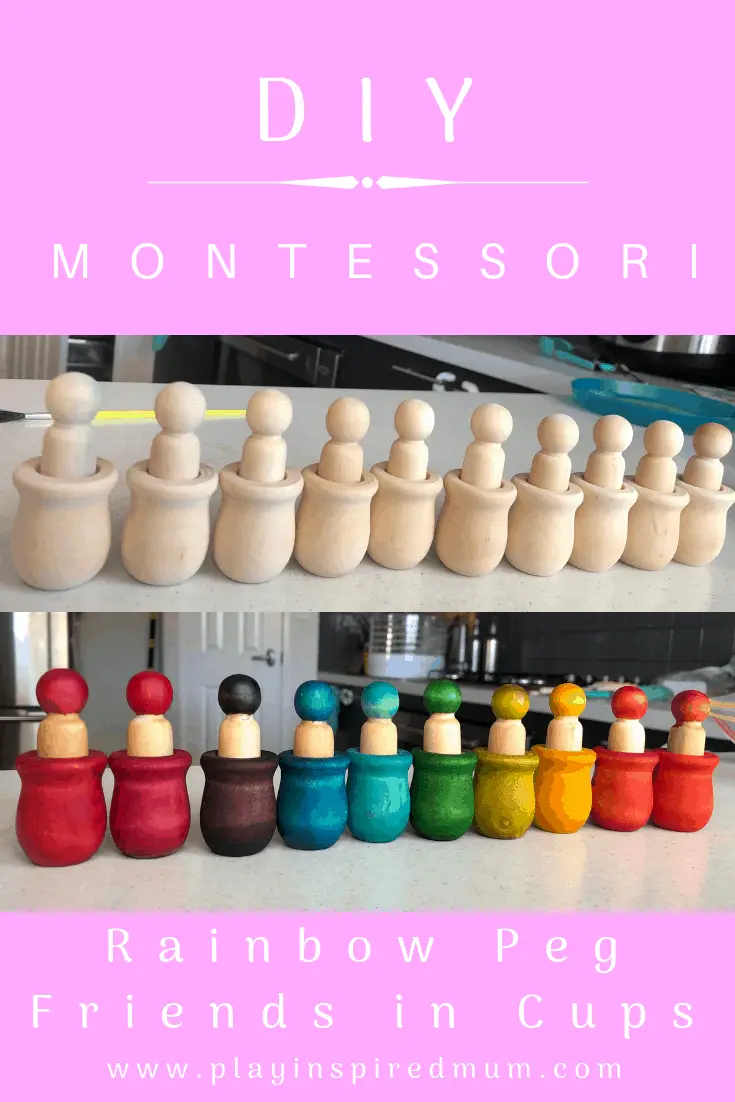
Using one of the kids paint brushes, I painted on food colouring to dye the heads of the dolls and their cup.
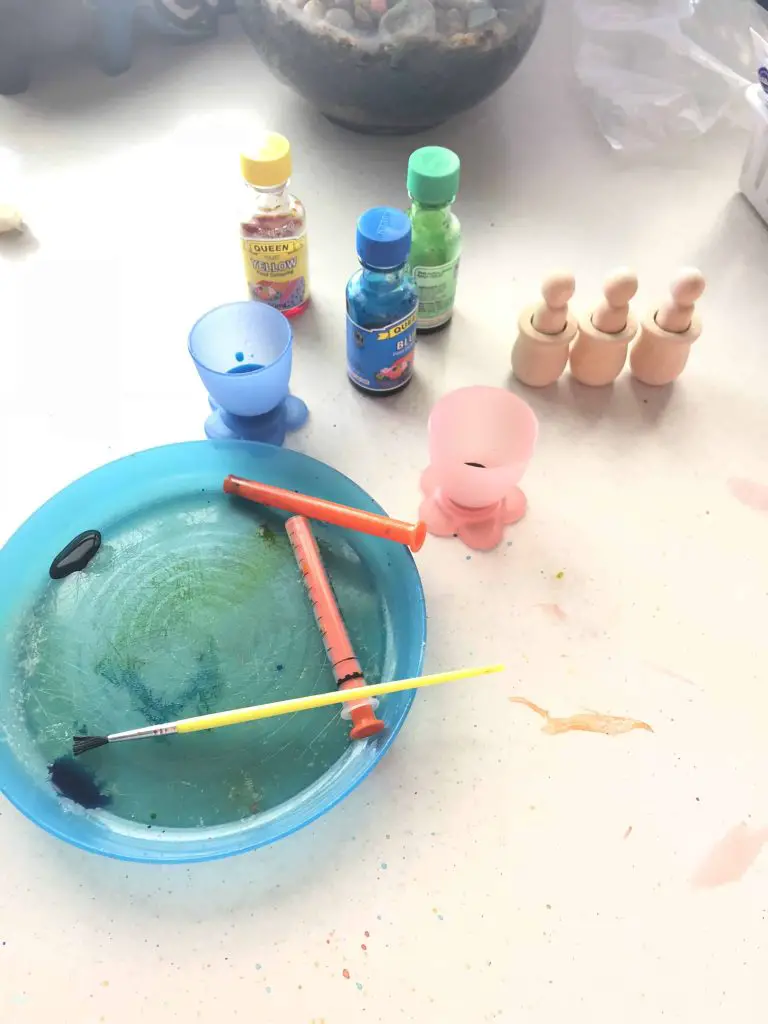
One thing that I learnt from this exercise is that I am certainly no artist. Mixing the colours proved to be quite a challenge that was unexpected especially purple!
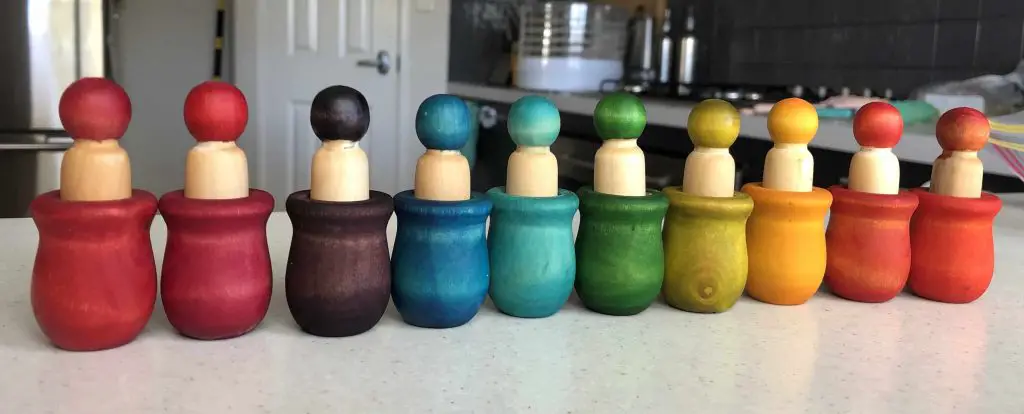
I love purple! It is one of my favourite colours however today… I did not like purple at all. Even after googling the ratios to make purple by mixing red and blue colours, I’m still unsure if the result is actually purple. The girls don’t seem to mind it though so I guess that is what important.
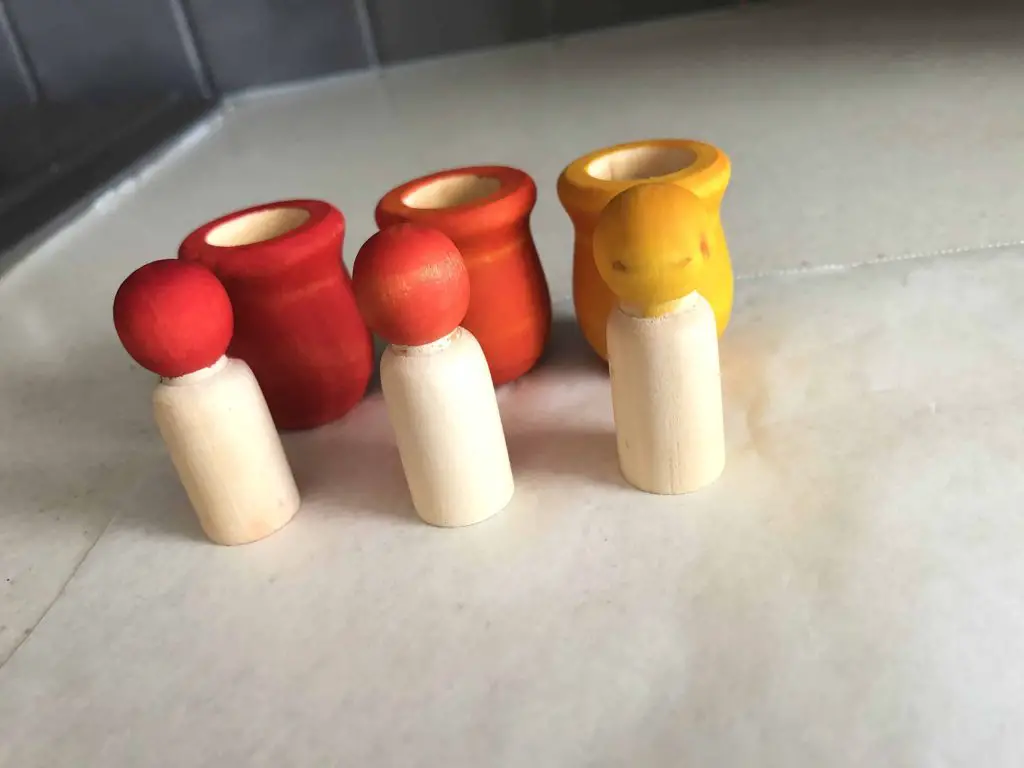
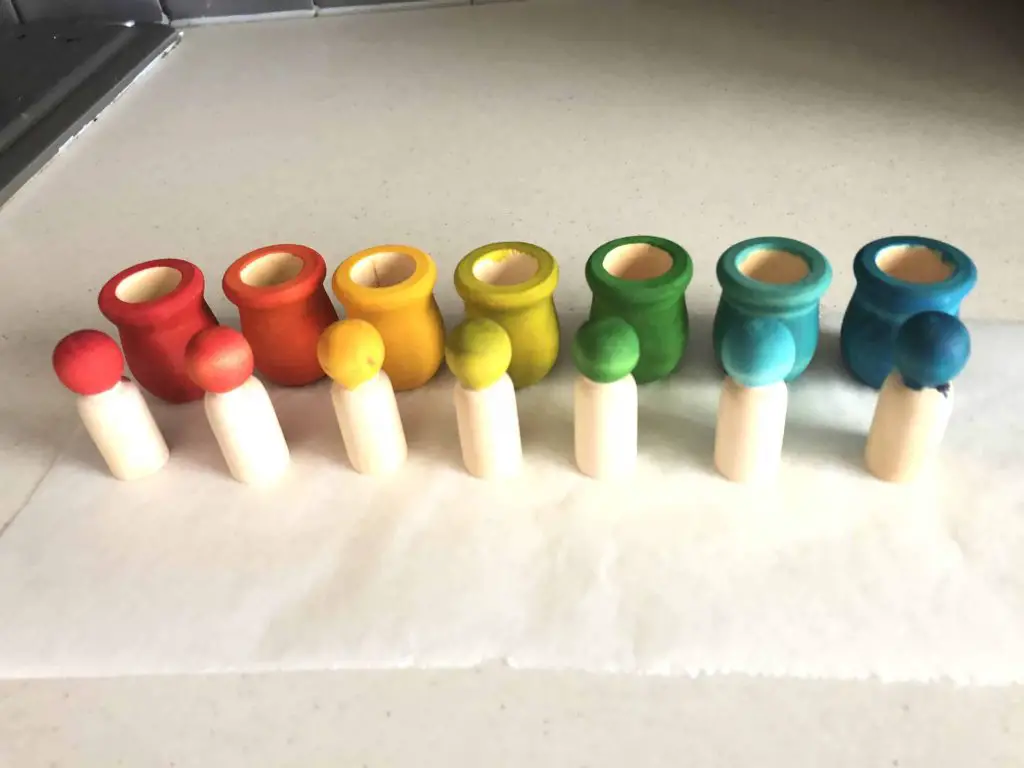
They dried really quickly. The wood soaked up the colour beautifully and I love how the grain of the wood can still be seen through the stain.
Sealing our Wooden Peg Doll and Cups
After a lick test, I found the colours transferred really easy when they got wet. Miss 22m still mouths a lot of toys so sealing them was a must.
I had some beeswax left over from sealing Miss 22m learning tower which is safe if it ends up in her mouth.
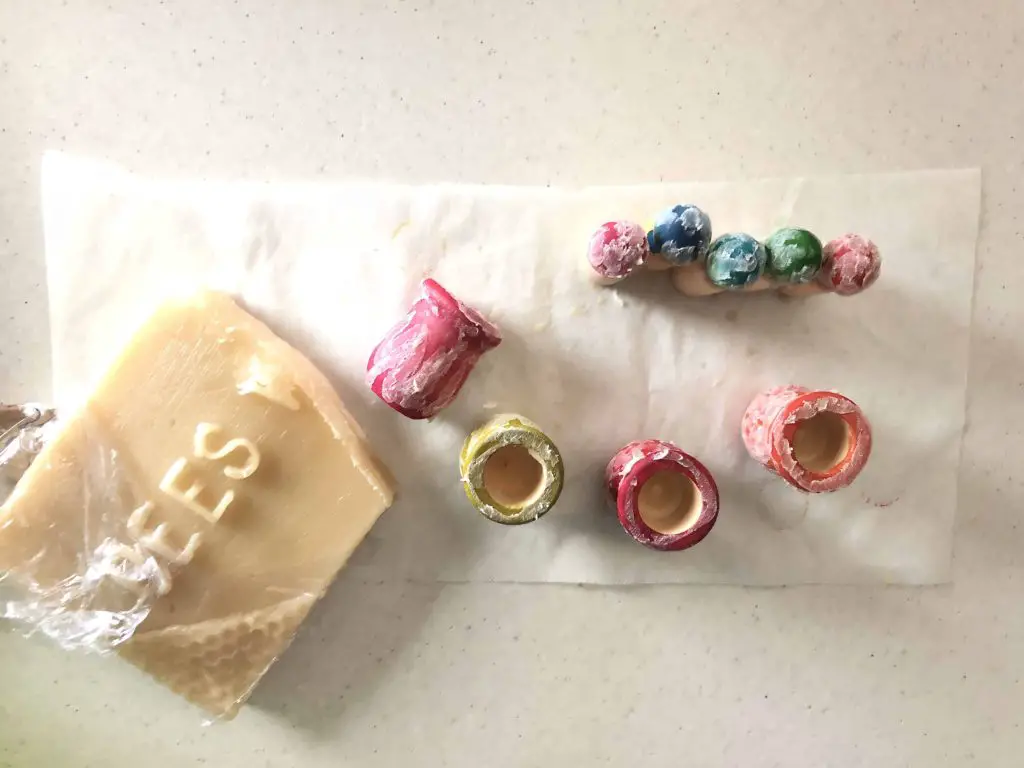
I warmed up the block of beeswax using a hairdryer. Once the wax was soft, I rubbed the wax over each of the figurines and pots. Using some kitchen tongs and a tea towel to hold them, I used the hair dryer to melt the beeswax over the surface of the wooden peg dolls and wooden cups.
The colours deepened once the beeswax set over them and (other than that horrid purple) I am really happy with how they turned out.
The girls were so excited to use them. I think they are going to be very well used in no time!
What educational activities will we be using them in?
The beauty of wooden toys is that there is no real right or wrong to how you use them. I envision using our DIY Rainbow Wooden Peg Dolls and Cups in all sorts of educational activities such as
- Colour Sorting
- Colour Matching
- Sequencing Colours
- Counting
- Patterns
- Matching Emotions
- Creative Play
- Small World Play
- Loose Parts Play
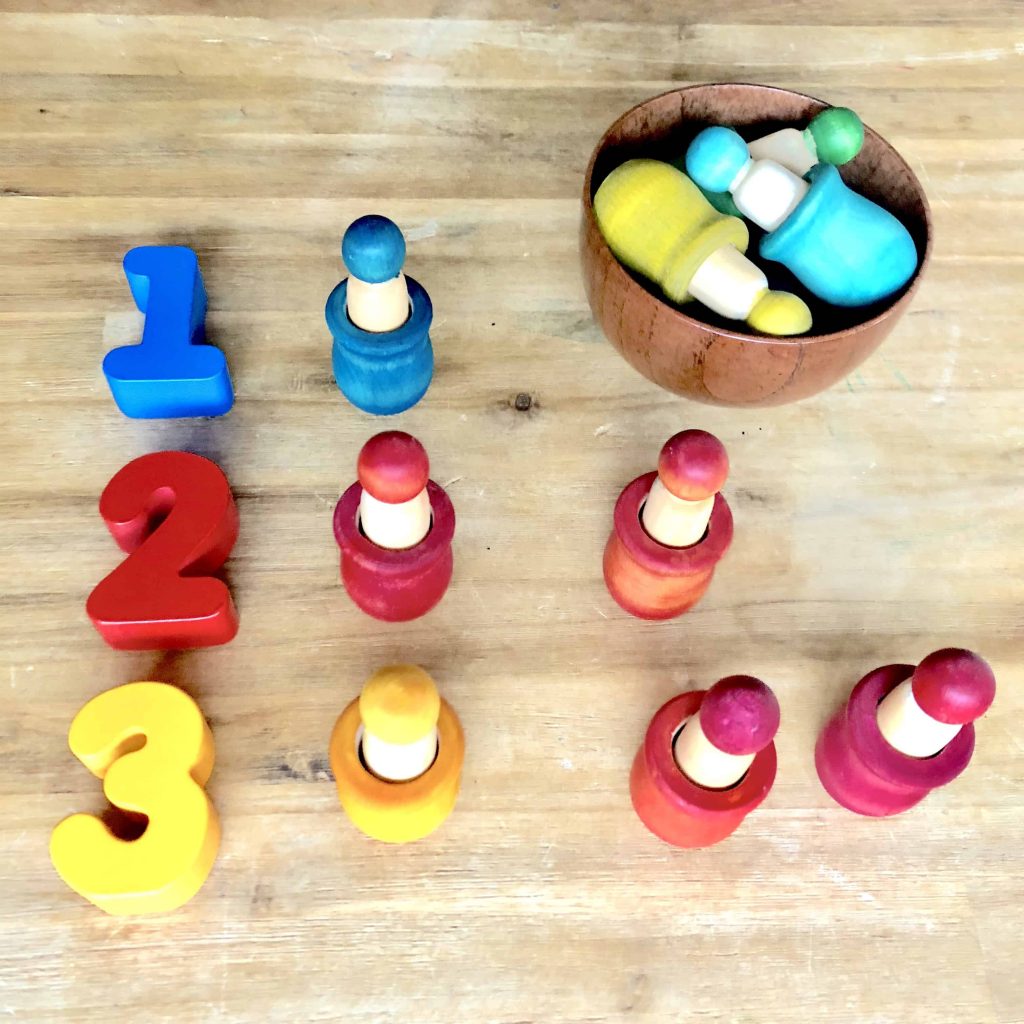
The possibilities are endless! These open ended toys offer so many educational learning opportunities.
Educational Opportunities
Skills that can be developed through play with these DIY Coloured Peg Dolls and Cups include but are not limited too:
- Colour Recognition
- Fine Motor Skills
- Hand Eye Coordination
- Problem Solving Skills
- Cognitive Thinking
- Logical Thinking
- Turn Taking
- Language Skills
- Speech Development
- Social Skills
I’ll touch base in a few weeks and let you know what adventures these little dolls have taken us on and how the colour is standing up to our play.
For now, we are off to play!
Dani D x

Disclosure: This Blog does contain affiliate links which I may earn a small commission from if you purchase through them, at no extra cost to you.


I’m just now starting to make little wooden toys for my kids and ran into the same issue as you with the colour transferring. I’ve been searching everywhere for a good (and baby mouth safe) way to seal the colour In and had never heard of just using beeswax on its own. Does it ever melt off if the toy gets left in the sun or scratch off?
It really is exciting creating your own wooden toys isnt it? Our colours do run now when they get wet ( Miss 2 is still mouthing and it doesnt take much for the colour to transfer). I havent resealed them since we initially coloured them. The beeswax does have quite a low melting temperature so I would imagine a toy left in the warm of the window may be affected.
These are great! How did the dye hold up after sealing them? Does the color transfer to hands or other materials?
Thank you! The colouring does come off now when Miss 2 is mouthing the pieces. I could probably just reseal them buttttt…. haha I should really just do it! If they are dry, the colour hasn’t transferred however it really does only need a little bit of slobber now 😉
Very informative and useful article. I do have a blog just started blogging taking insipiration from bloggers like you 🙂
These are so colorful and easy to make. My nephews will love it
You did such a good job on these peg dolls! It is such a creative idea and gives so many possibilities for educational play and imaginative play. Great job!
this would be so creative. My daughter would love to be able to a craft like this. So very fun.
This is so creative! I love how the different colors was mixed. It looks festive
Wow! This looks lovely and colorful, just love the ways the colors was mixed.
Wow! This is sooo cool. Since I don’t have kids to do this activity, I would really love to do this for distressing.
I’m sure my nephews would absolutely love this idea! What a brilliant educational play tool. Thank you!!
Love this idea! This is a great activity to do with kids, thanks for sharing!
These would be so much fun! I never really thought of making something like this ourselves.
There really are so many ways to use them. And for the kids who love to find different ways to sort they will be amazing too (my grandbabe likes to do that).
these are all so cute and what a fun way to help learn colors!
That purple is pretty…not a classic purple, lol. My son loved wooden toys when he was younger. We spent a whole lot of money at craft fairs supporting artists who make wooden cars, trains, etc. Love these rainbow friends! Great idea and a fun project to do together with the kids.
My son would love these! I love the rainbow of colors and the difference way to use them. Do all three of your munchkins like playing with them?
What a great educational activity! I’m sure that any child would love this from start to finish. Even just the experience of going to the store to buy the wooden pegs would be a great for a child to be a part of.
Such a great activity to have with the kids. The peg dolls in cups look so cute after the painting. Thank you for the DIY!
A colorful game, natural and objectively also very nice to see! I have no children and I admit that I wanted to copy the idea to make it a piece of furniture;)