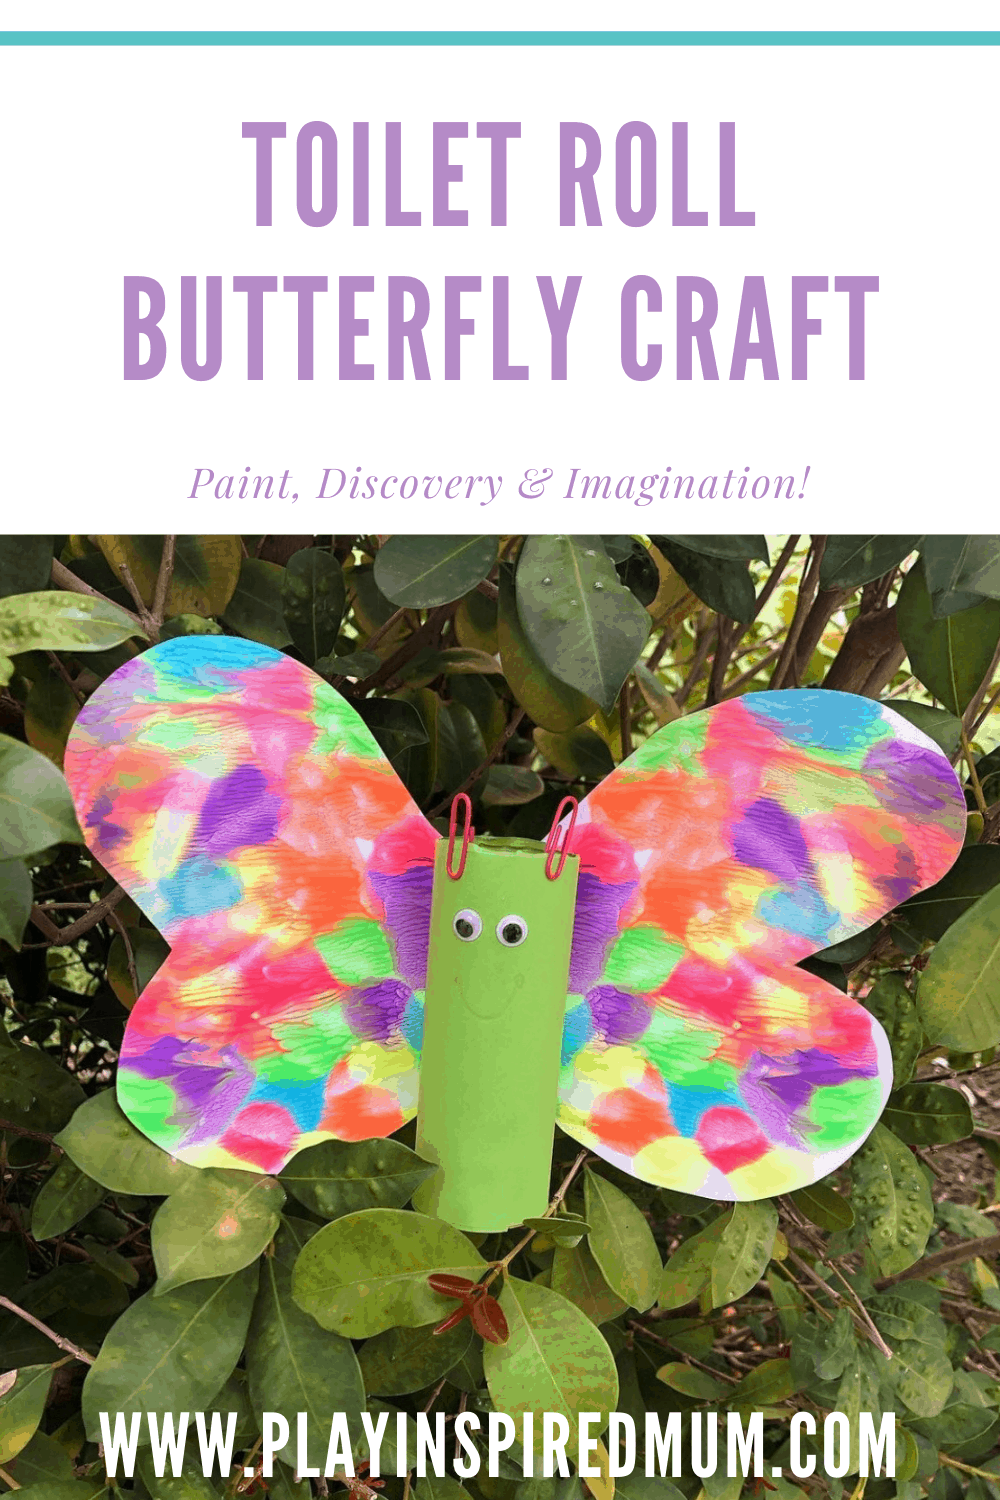
Toilet Roll Butterfly Craft
Disclosure: This blog contains affiliate links which I may earn a small commission from if you purchase through them, at no extra cost to you.
Grab your paint pots and get ready to have fun with this toilet roll butterfly craft idea! If your household is anything like ours, there is usually a toilet roll or two lurking around somewhere. This simple craft idea is just the perfect thing to utilise this common resource.

Toilet Roll Butterfly Craft
This paper craft idea has been a winner at our place on many occasions. The girls just love the exciting moment as they peel the paper apart to discover the pattern made by the gloops of paint. The butterfly’s toilet paper tube makes for a great way of displaying the art work too!
What you need to make your Toilet Roll Butterfly Craft
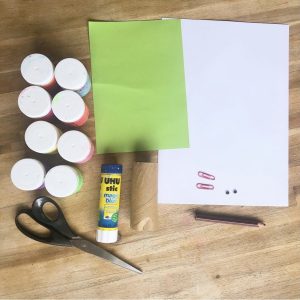
- Toilet Roll Tube
- Paper (A5) Coloured
- Paper (A4) White
- Paint
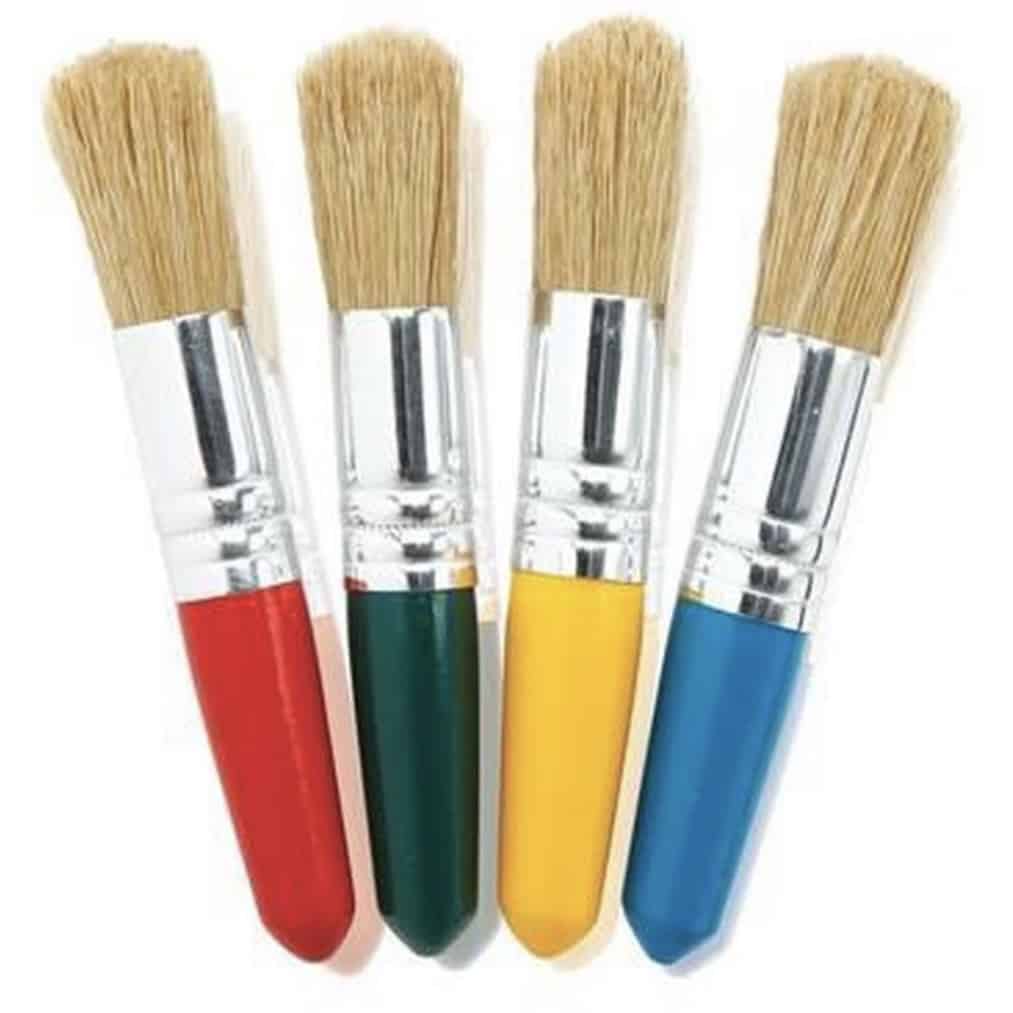
- Paint Brush
- Scissors
- Glue Stick
- Pencil
- 2 x Paper Clips
- 2 x Googly Eyes
We use coloured paper for the butterfly’s body. If you had none, you could always either leave this step and colour in your toilet paper roll or supplement it with a second white piece.
If you are setting this activity up for your younger toddler, please remember that when choosing paintbrushes, chunky brushes are best for developing hands.
We love these Crayola Paints. The colours are so vibrant and the consistency is always spot on. We have always been successful at removing it from our play tabletop, hands, clothes, walls… yes, my kids get paint everywhere too! Embrace the mess – the memories are worth it!
How to make your Butterfly
So you have gathered all your materials and are now ready to get creative!
Before we get started
One thing to keep in mind is that that wings of your butterfly need to dry before they can be fastened to your toilet tube body. This may be worth telling your little one before you start. Perhaps suggest a fruit break or walk down to the park while the wings are drying so they have something to look forward to.
Making the wings
Our butterfly’s wings are the highlight of this craft, and totally
The first step is to create some boundaries.
Using your white piece of paper, position the page
With your pencil, draw the outline of a wing on one side of the line of symmetry.
Now the fun begins!
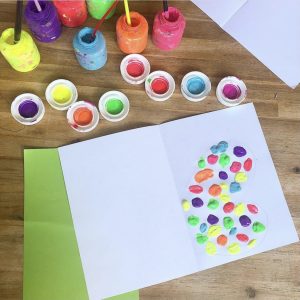
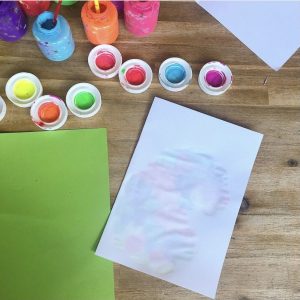
To make the magic happen and get that real wow factor when you reveal the design to your little one, they need to be generous with the paint. Save the light handedness for another project because, for this one, we need solid blobs of paint. Not only does the paint need to spread and blend with the other
We are looking for symmetry not bright and bold on one side and wishy-washy on the other – of course, unless your child’s creativity takes them that way 😉 Apply dots of paint to your butterfly wing that was drawn earlier. Think quarter or a teaspoon size dots.
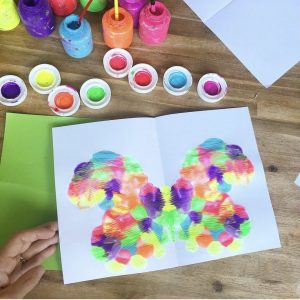
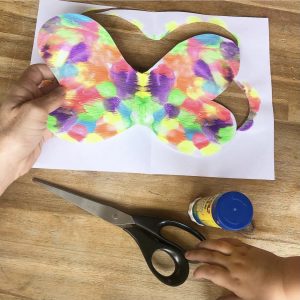
Once satisfied, fold the piece of paper along the crease line and gently press the two sides together. Rub the paper gently to spread the paint across the page. Finally, carefully open the page to reveal your butterfly’s beautiful wings! Not necessary but totally worth it – open the page really slowly for the maximum wow factor! Place the beautiful masterpiece aside to dry.
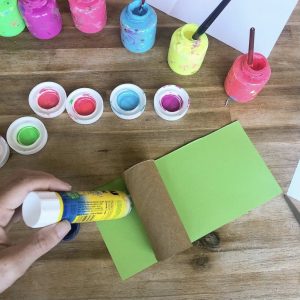
Making the body
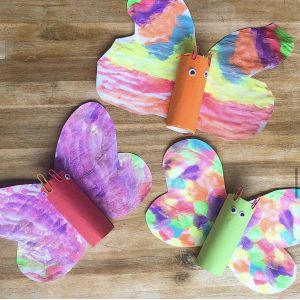
Making the body of your butterfly is really very simple. Using your coloured piece of paper, simply wrap it around your toilet tube. Secure it with a swipe of glue and trim off any excess length if you feel the need.
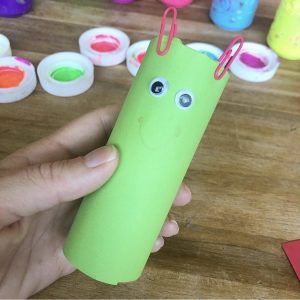
Slide the paper clips into place to create some handy antennae.
Fast Fact – Did you know that butterflies and moths use their antennae for their sense of smell and balance?
Your butterfly is now ready for a face! A lick of glue to secure his eyes and pencil to build some expression. This is a good opportunity to talk about different expressions can represent different emotions. Here is another simple ‘emotion play idea‘!
Assembling your butterfly
With your bright and colourful painting dry, using your scissors, cut out the wings. If your little one is doing their own snipping, a little reminder I offer the girls is, ‘thumbs up, elbows in and lets keep our helping hand safe’.
One important factor to consider before assembling your butterfly is the position of the wings on the body. If the wings hang lower than the body, the butterfly could still make a lovely wall hanging or even a beautiful mobile however will struggle to stand upright without falling over – please learn from our mistake!
Before securing the wings to the body, measure them up while the body is upright. A stripe of glue down the centre of the wings and some gentle pressure to secure them to the body should do the trick perfectly.
Playing with your toilet roll butterfly
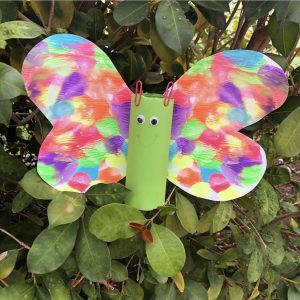
Do it yourself toilet paper toys are the best! Not only do children love to show their creations, teaching them to think out side the box is a great life skill. Use your butterfly as a puppet, character in a small world or take them out into the garden for some real butterfly spotting.
If your child has had as much fun making their toilet roll butterfly as we did, you will probably make more than one! Why not link them together to create a beautiful wall decoration – butterfly bunting!
Educational Benefits
Crafting with kids offers so much more to their day than simply being a boredom buster. So many real-life skills; both physical and cognitive, can be developed and refined on the journey to creating their masterpieces. Hands are busy manipulating the materials, problems come up that need to be overcome, ears are stimulated by the sound of the paint being plopped onto the page, thoughts and ideas come together to create something never seen before. One thing that comes to mind is, ‘it’s not the goal but the journey to reach the goal that builds us’.
Here are some educational benefits that may present for your child while engaging in this craft idea:
- Cause and effect
- Fine motor skills
- Colour recognition
- Sequencing events
- Hand-eye coordination
- Bilateral coordination
- Problem-solving
- Logical thinking
While there are a few steps and the drying waiting period, this craft is well worth the effort. We have made so many of these gorgeous butterflies over the years – even at playgroup! When you create yours, we would love to see them if you are happy to share! Please feel welcome to drop by our Play Inspired Mum Facebook Community to show us your take on this fun craft idea!
Dani D x