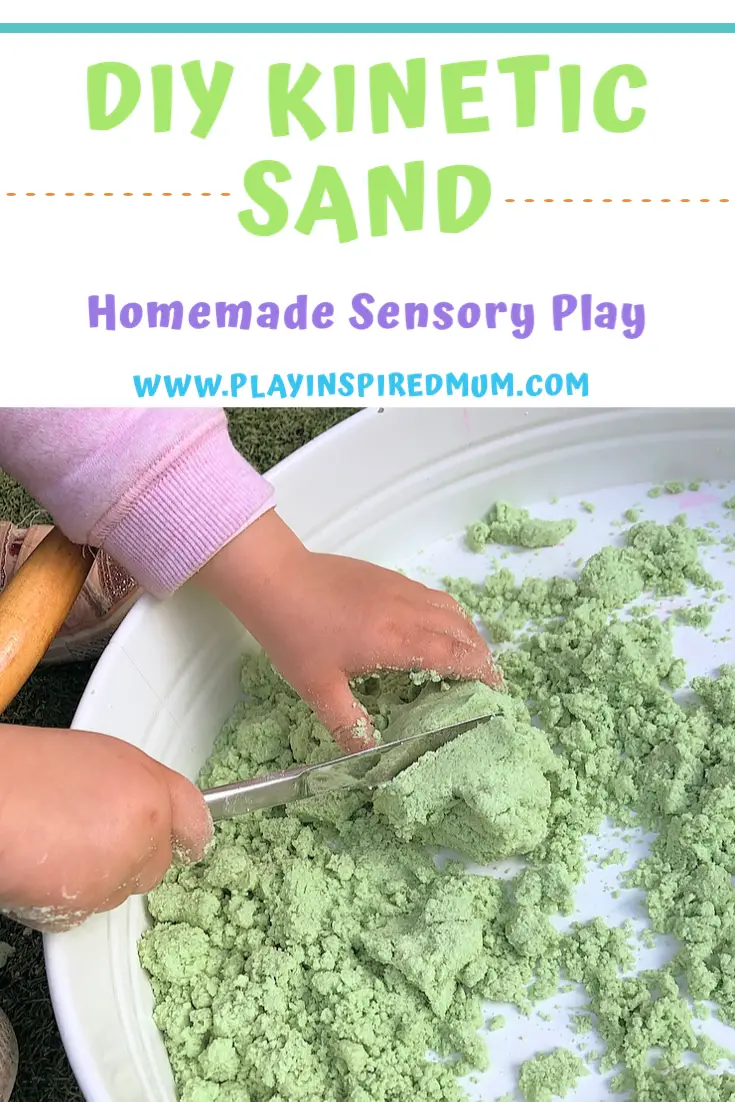
DIY Kinetic Sand
Disclosure: This blog contains affiliate links which I may earn a small commission from if you purchase through them, at no extra cost to you.
Sensory play is has been long known to offer so many opportunities for learning and development. I have seen some folks using Kinetic Sand in their play trays however never really ventured into the ventures that it brings. That is until today. We made our own DIY Kinetic Sand.

DIY Kinetic Sand
While this recipe holds certain properties that align with the store-bought Kinetic Sand, it is purely our interpretation. Hands still get mucky and mess still gathers around the play tray. The mess is part of the fun!
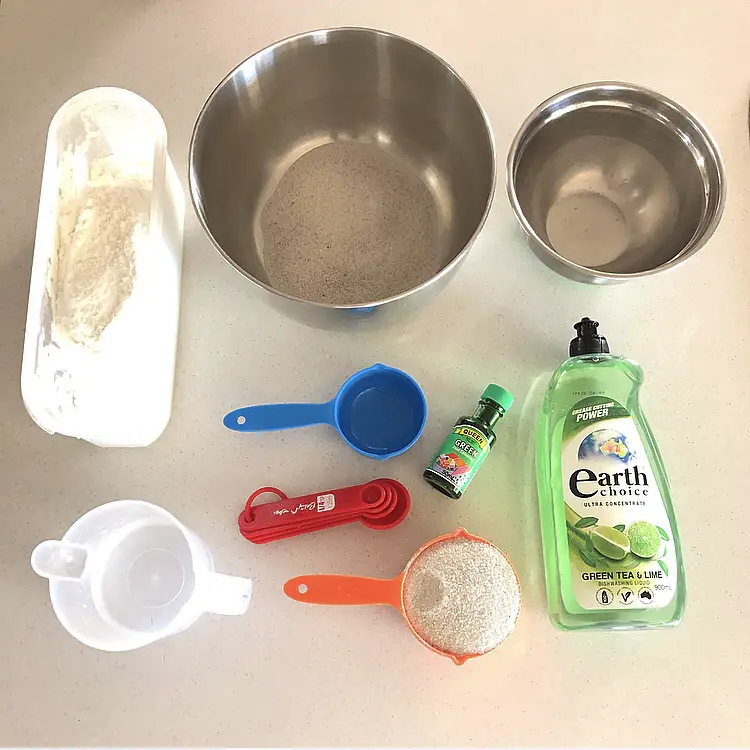
What you need to make DIY Kinetic Sand
- 2 cups Play Sand (we got ours from Bunnings. it is labelled as sandpit sand)
- 1 cup Corn Flour
- 1/2 cup Water
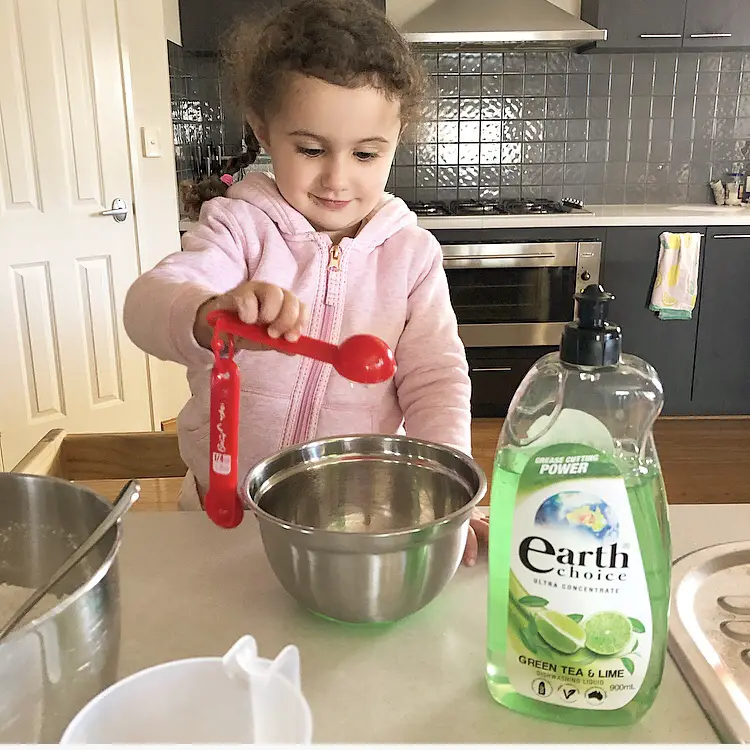
- 2 tablespoons Dishwashing Liquid
- Food Colouring
- 2 Bowls
- Spoon
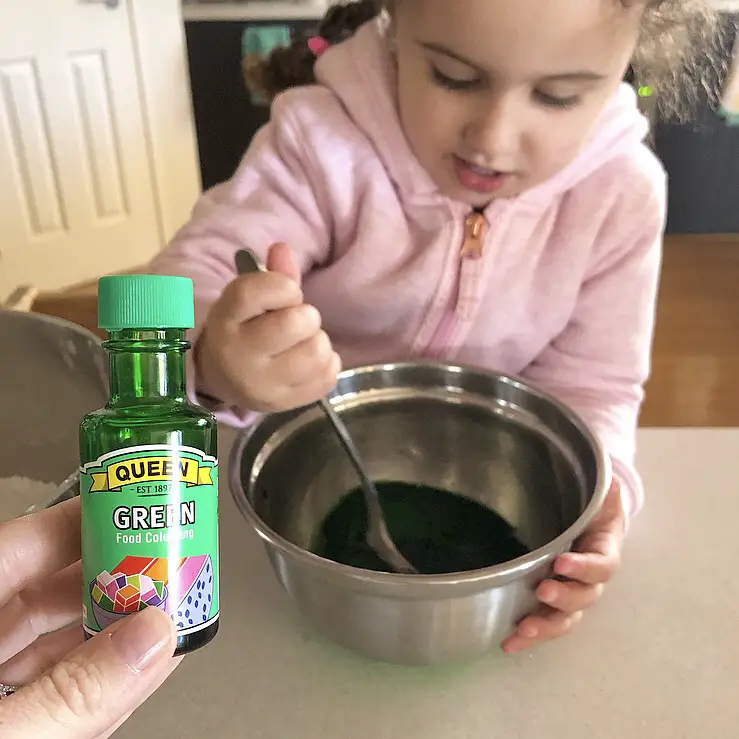
Miss 3 requested that our sand be made green so we used our normal, everyday use dishwashing liquid that happens to also be green. If you are hoping to achieve a different colour or rainbow kinetic sand, please consider using either clear or a matching colour dishwashing liquid.
Doing this will help you achieve your desired colour rather than adding foreign colour into the blend.
Given the sand and dishwashing liquid used in this recipe, I do need to emphasise that this is not a taste safe activity. If you are looking for taste safe sensory play, may I suggest
- Taste Safe Mud
- Chocolate Oobleck
- Taste Safe Sand
- Edible Dirt
- Oobleck
- Taste Safe Moon Dust
- Taste Safe Not Water Beads
- Chia Seed Slime
- Aquafaba Foam
- Winter Scented Water Play
How to make your DIY Kinetic Sand
The beauty of this recipe is that it is not complicated. No heat is required and even your toddler can join in making their own play medium!
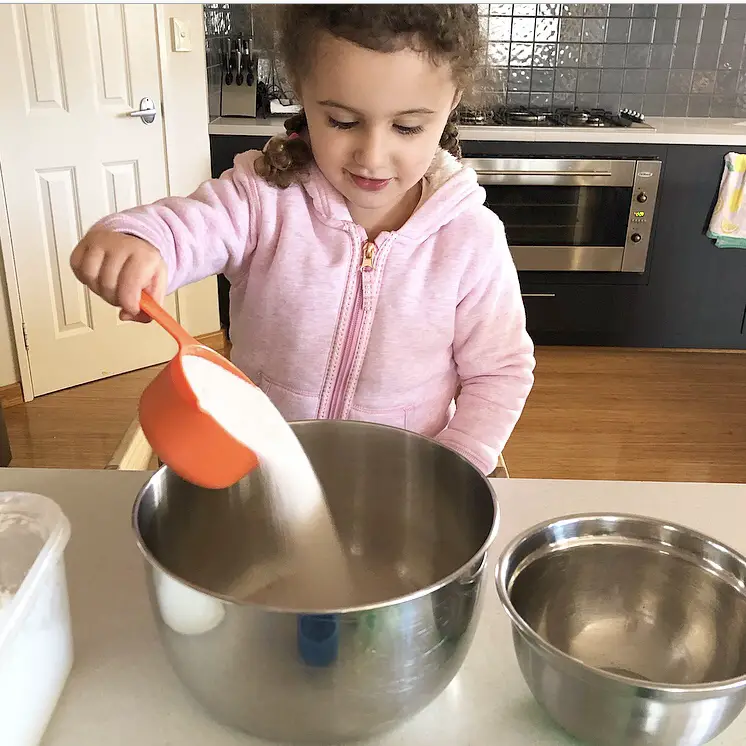
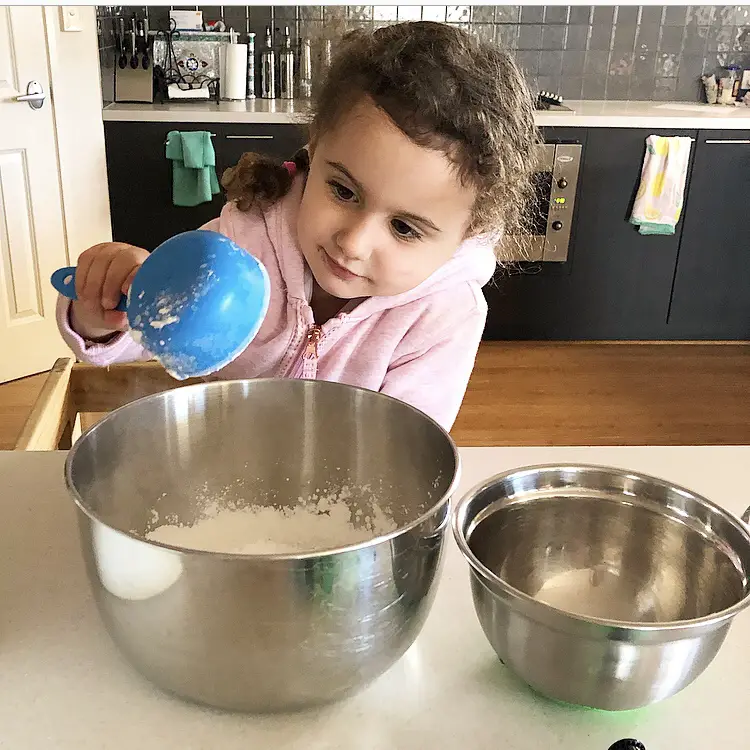
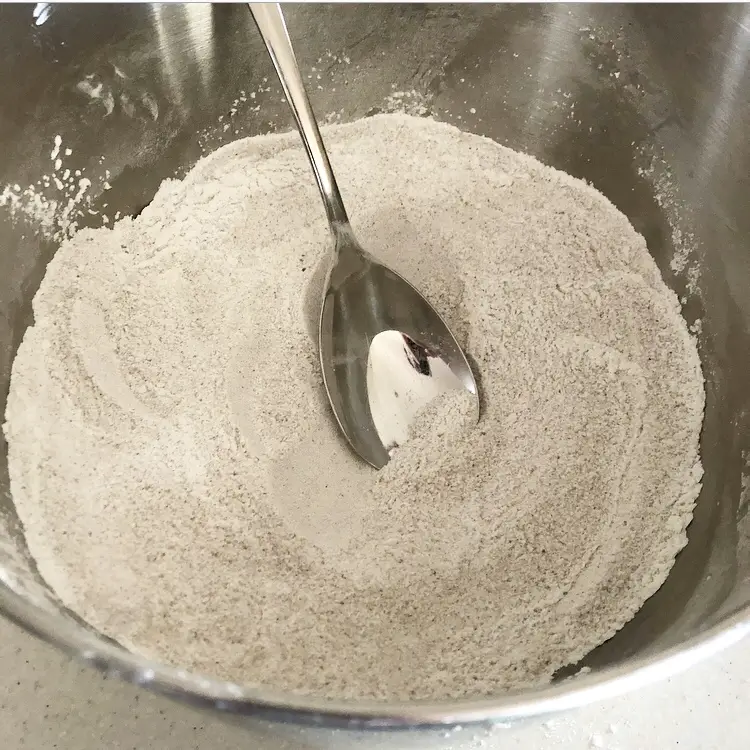
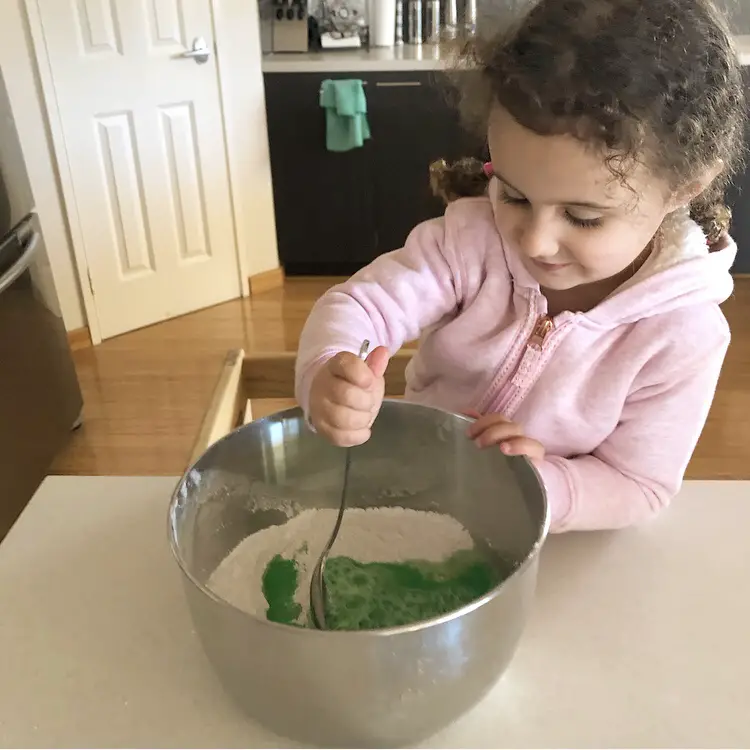
Simply mix your sand and flour together in your mixing bowl until combined.
Add your water, dishwashing liquid and food colouring into the small bowl and gently mix together. Try not to agitate the mix too much otherwise, your will end up with a bowl of bubbles!
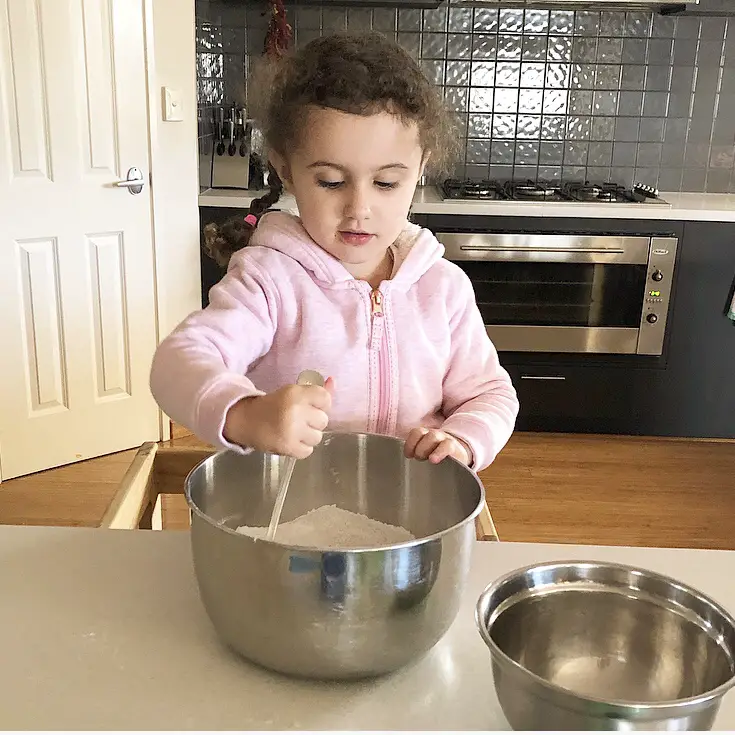
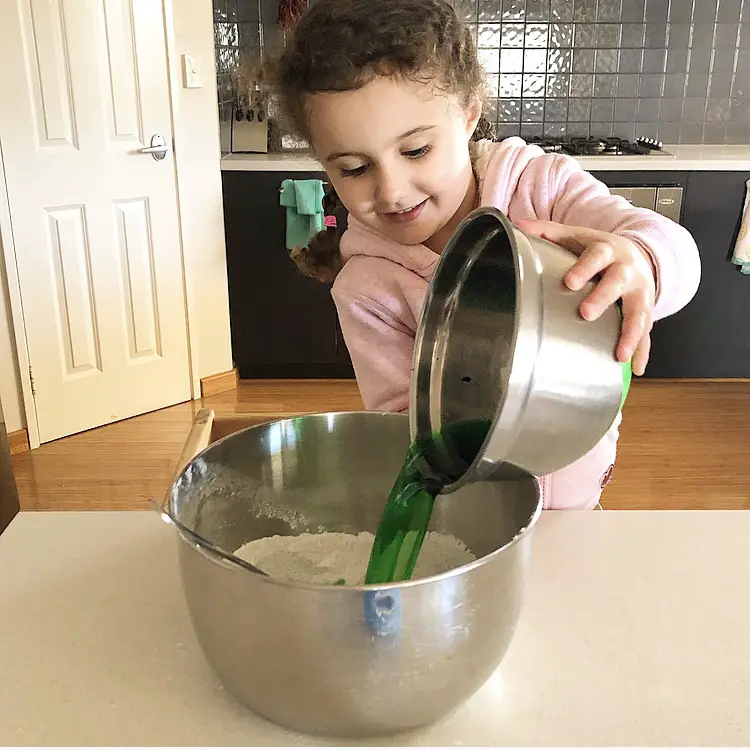
Pour the wet ingredients into the dry. Stir the mix slowly to start with to avoid a dust puff of corn flour. Once the mix is starting to combine, you may increase in speed until you have a uniformed mix of wet kinetic sand.
To dry the mixture, pour into a shallow baking tin and place in a sunny spot to dry. Our mixture took a few hours however it is a rather crisp day. If left to long simply add a splash of water to rehydrate the mix – easy!
How to play with your DIY Kinetic Sand
Kinetic sand offers limitless opportunities for open-ended, unstructured play. Your child’s imagination holds the limits to its use!
- Build sandcastles
- Make cupcakes
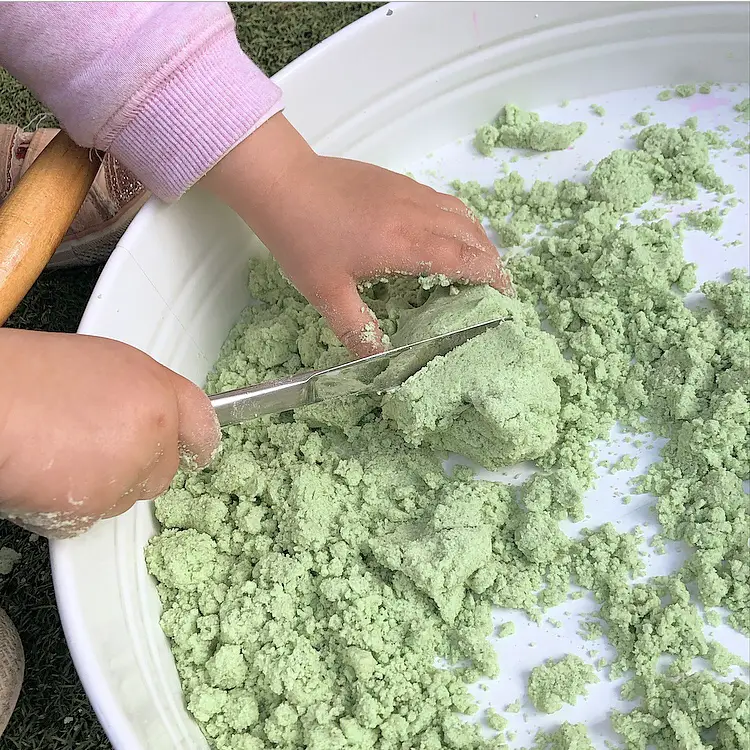
- Press into sausages and slice with a knife
- Cut out with cookie cutters
- Use to build a scene for a small world
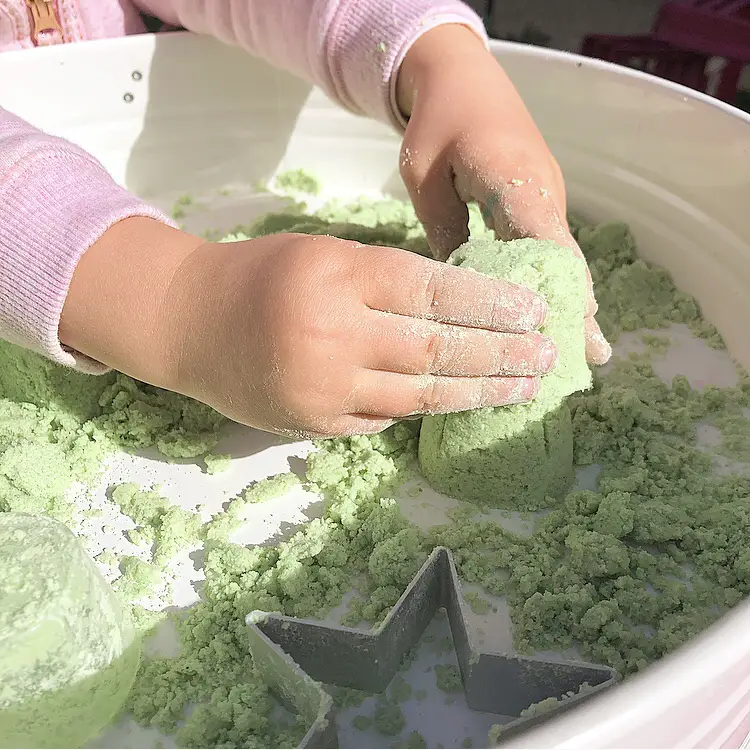
- Press into moulds
- Form and identify 3D shapes
- Press stones, creating patterns
- Stack shapes/bricks
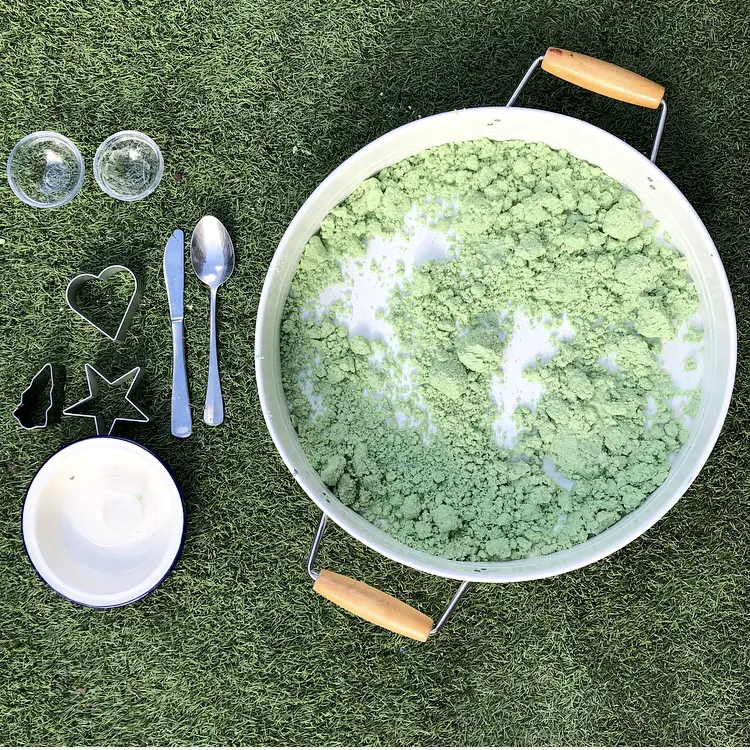
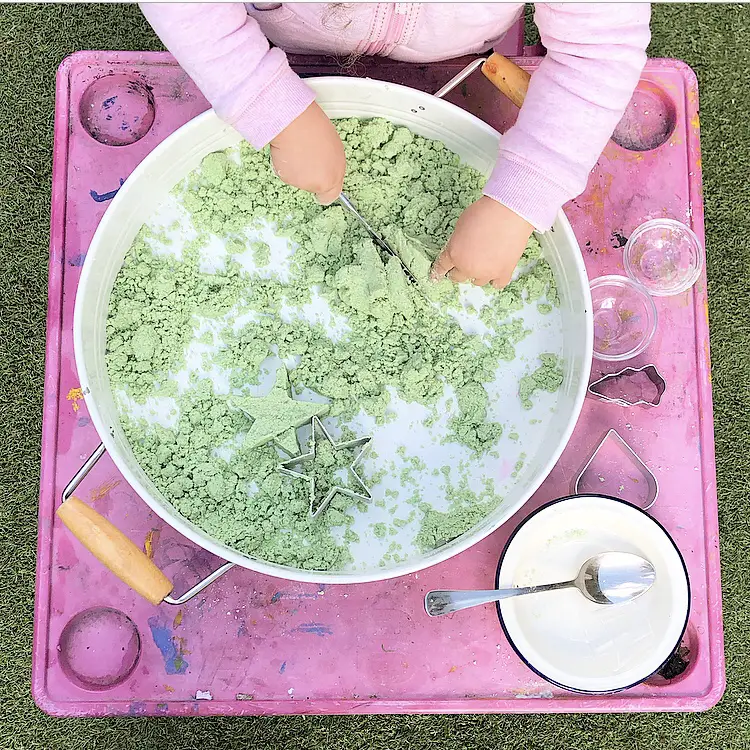
Today I kept the play brief pretty simple. I presented Miss 3 with the tray of kinetic sand accompanied by some random bowls, cookie cutters, a spoon, and a little butter knife.
“Let’s see what we can make”, was her only prompt.
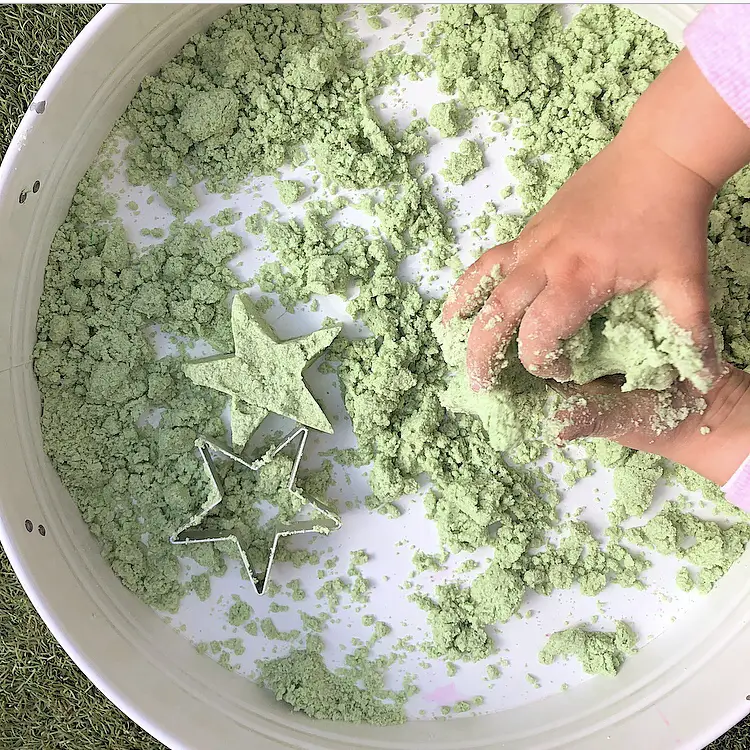
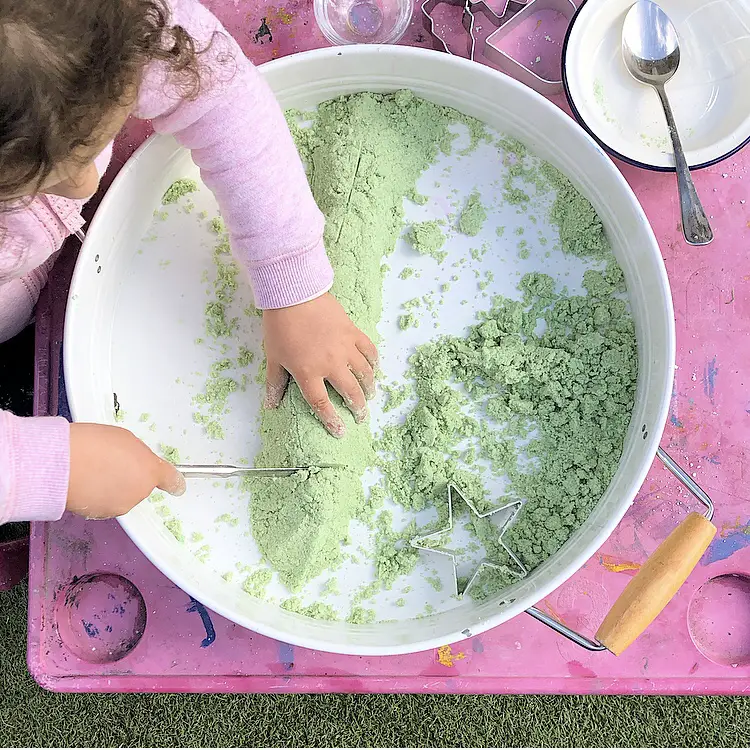
From there, those two busy hands did not stop! Superfine motor workout without a doubt! Miss 3 loved exploring the texture and viscosity of the sand. As she played, it dried a little which changed how it responded to pressure. We added just a touch of water throughout her play and she loved watching it turn from a slippery ooze to the medium she had accustomed herself to expecting.
Add a Book to Your Play
Use your fresh, homemade Kinetic Sand to set up some extension activities on your favourite books. This is a great way to build up a comprehension of the story by giving your child a chance to act it out!

Educational Benefits
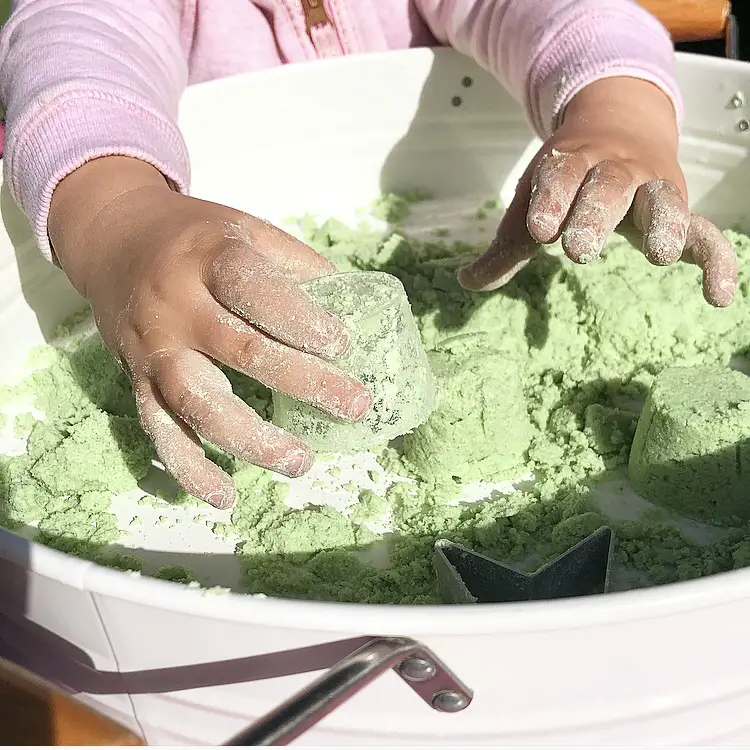
Kinetic sand ticks lots of boxes that come with a sensory play medium. It squeaks as it is squeezed between tightening fingers. It smells soapy, scented by the dishwashing liquid. As the sand is manipulated, it is both visually appealing and rewarding. To touch, the sand feels unique and changes while playing.
Some developmental skills that your child may practise through play with their homemade kinetic sand include:
- Fine motor strength
- Bilateral coordination
- Crossing the midline
- Experimental play
- Cause and effect
- Hand-eye coordination
- Sequencing events
- Problem-solving skills
- Turn-taking
Comprehension Questions
Asking open-ended questions can not only help your child understand their experience so much more but also help them build their vocabulary. Open-ended questions can broaden their awareness of their present moment and offer guidance to further develop ideas beyond their now.
Here are some questions that you can ask during play. These can help your child build a further understanding of what they are experiencing and assist in their cognitive development:
- What do you think will happen when we mix these ingredients together?
- When have we used any of these ingredients before?
- How would you describe the feel of the kinetic sand?
- Who do you think would enjoy this activity as much as us?
- What is something similar to this activity that we have done before?
- How do you think adding more water, would effect the mixture?
- If the kinetic sand was a magical land, what would you call it?
- Where do you think this substance would have first been invented?
I hope your family have fun with this recipe and enjoy exploring the kinetic sand and all of its amazing properties! Please feel welcome to share your experience in our Play Inspired Mum Facebook Community. We would love to see how you work it into your play.
Dani D x
Not a fan of DIY? Check out this pre-made Kinetic Sand!