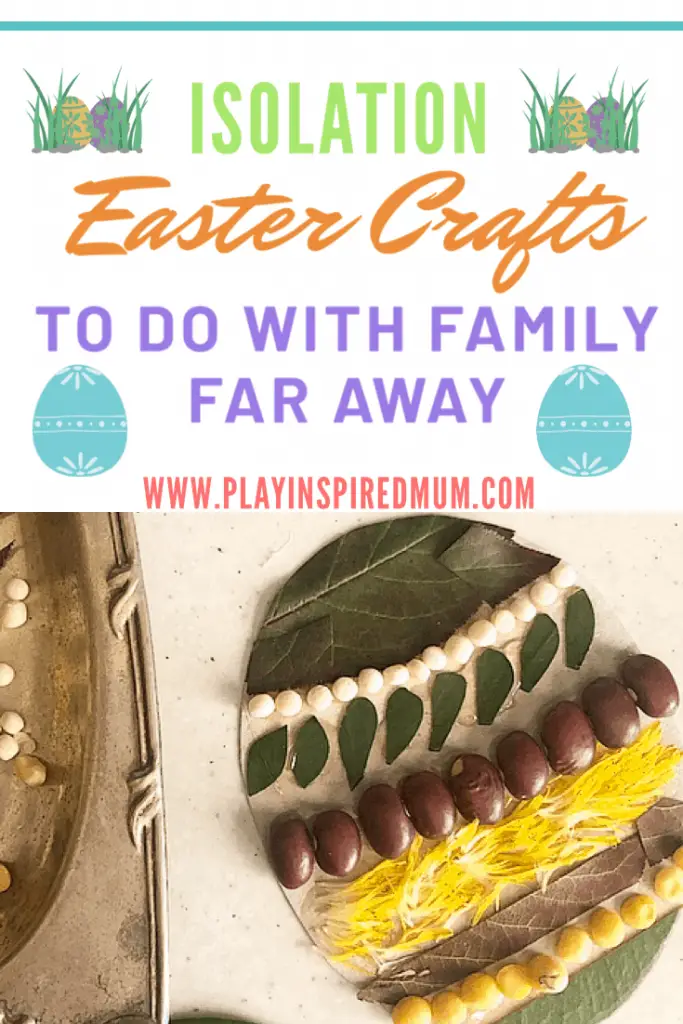
Isolation Family Time for Easter
Disclosure: This blog contains affiliate links which I may earn a small commission from if you purchase through them, at no extra cost to you.
gtag('config', 'UA-136794034-1');
This Easter, for many, is a first separated from families and loved ones. This being said, self-isolating does not mean that family traditions need to stop. Rather, they need to evolve. Valuable family time can still be apart of those cherished memories this Easter with these isolation Easter crafts!
Isolation Family Time for Easter
Covid-19 is affecting all our lives. Self-isolating seems to be helping us, here in Australia, ‘to reduce the curve’ as stipulated by our government officials. We have all been told to continue to stay at homes this Easter weekend to continue to flatten the curve. We can still stay home and be connected to our loved ones. Apps such as House Party, Zoom and Messenger can connect families from around the world.
Building Memories
Earlier today, I received a message from my lovely aunt who suggested we have a virtual Easter celebration – fabulous idea! The cogs started turning. What else could we do to make this a special family day, while self isolating?
It goes without question that the excitement and joy kids bring to these special days, always take the the day to the next level. Our crew have been loving their Easter crafts this week. Why not bring the fun of being a kid at Easter to our celebrations!
Simple Easter Craft Ideas
Easter crafts are always loads of fun. Keeping in mind that some of our family members may not have the typical collection of craft resources as one with kids, I put my thinking cap on and compiled a collection of Easter crafts that our family (each in our own homes) could make together. Using items are in most homes was a pressure point for this collection. Fingers crossed I have met the brief!
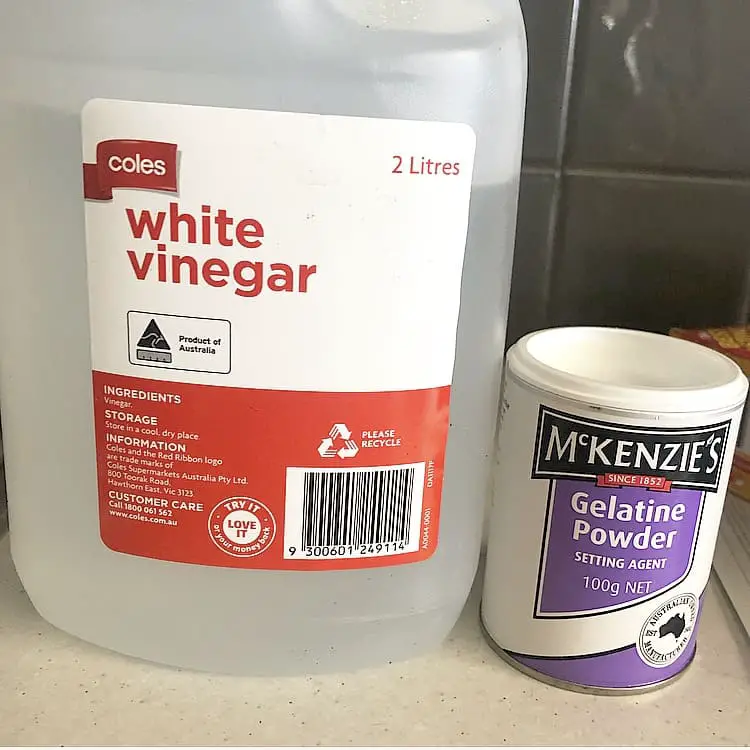
Homemade Glue
The only resource I was unsure if all our family’s household would have on hand was glue. Here are a couple of homemade glue ideas that would work perfectly for our Isolation Easter Crafts.
Homemade Paste Glue
All you need to make this glue which could be used in place of a paste type glue, is flour and water. Simply mix the two in a bowl until you reach a thick, smooth paste consistency.
Homemade Clear Glue
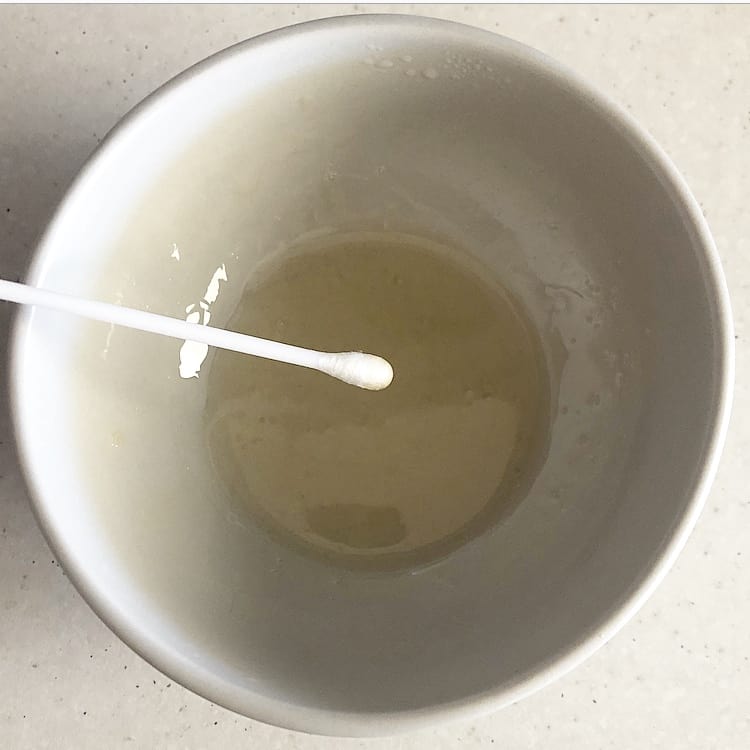
This glue is great to use in place of PVC or craft style glues. It has a stronger hold than the paste type glues and only takes a few minutes to make at home.
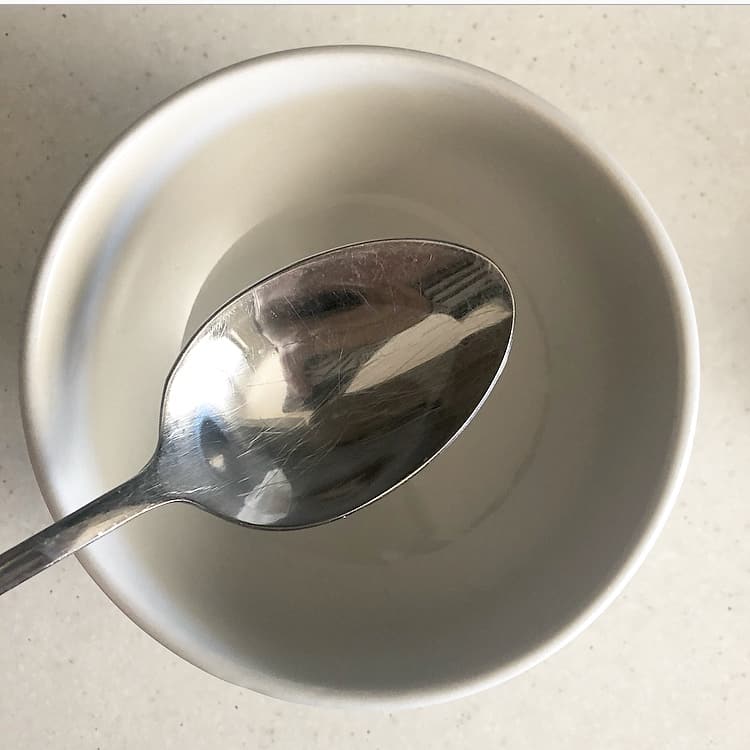
Place 3 tablespoons of white vinegar in a microwave safe bowl. Heat in your microwave for 50 seconds, until bubbling. Be aware that your bowl may be hot when you take it out of the microwave!
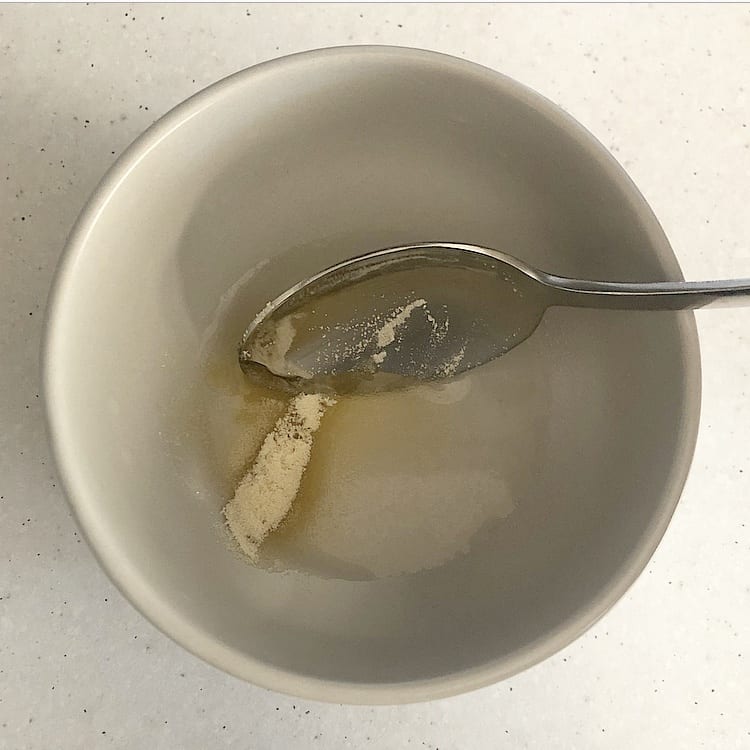
Add 1 tablespoon of powdered gelatine to the hot vinegar, stirring vigorously until all the lumps have dissolved. Heat in the microwave for a further 30 seconds. Allow the mixture (and bowl) to cool before letting children use this glue as it is hot straight out of the microwave.
Isolation Easter Crafts
Here are some simple craft ideas, that can be created using things around the house! Don
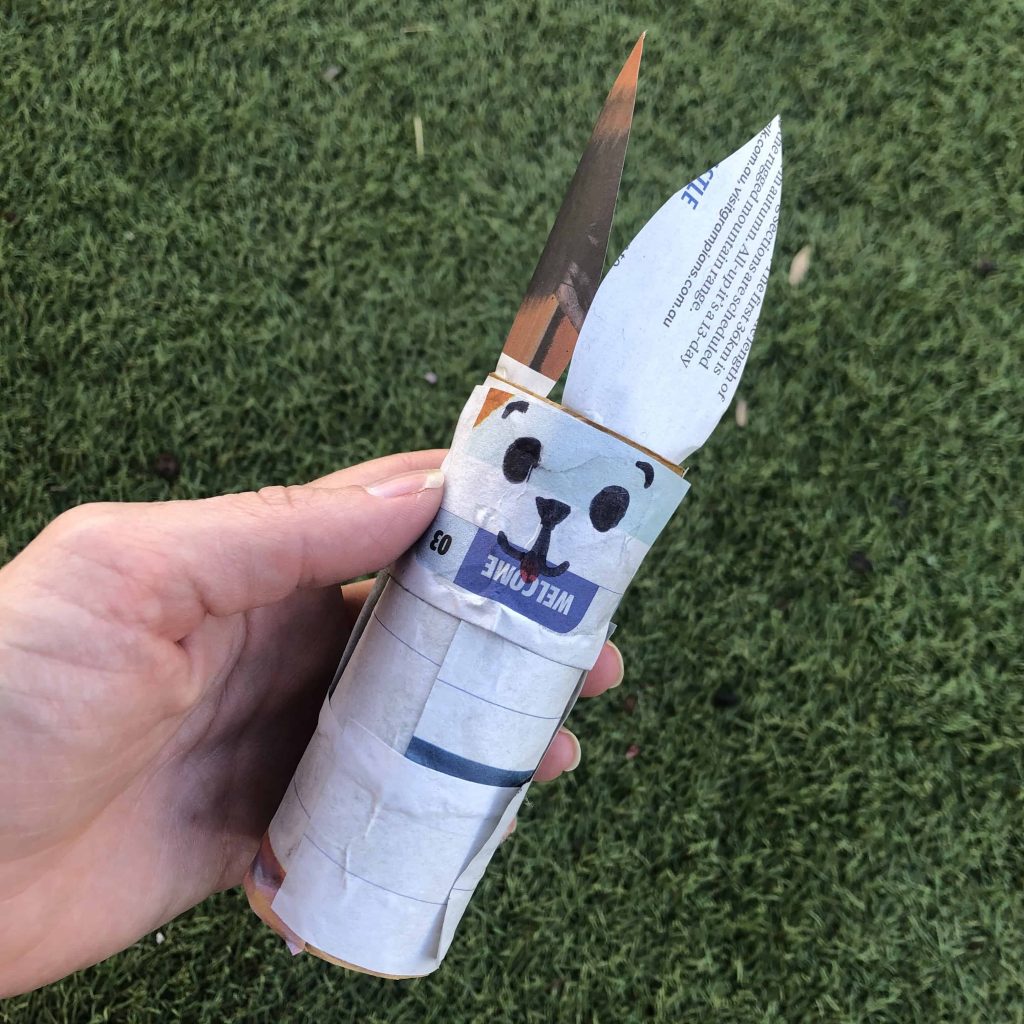
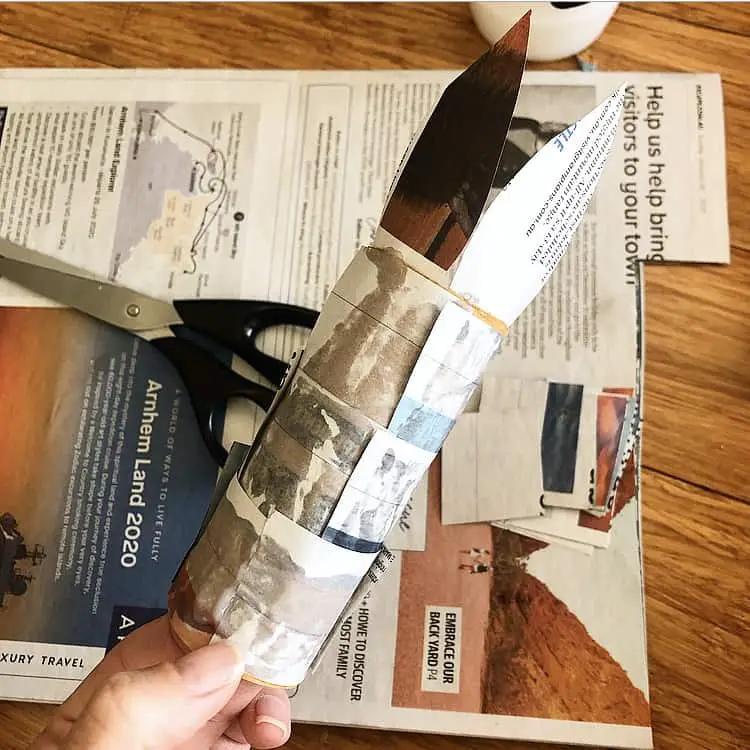
Toilet Roll Bunny
Toilet rolls are usually lurking in a corner somewhere in most homes. This makes this simple paper craft accessible to most households. Teamed up with some newspaper of scrap paper and a fluffy cotton tail, this super cut bunny needs no fancy resources to create.
Things you will need:
- Toilet Paper Roll
- Newspaper
- Scissors
- Glue Paste (Don’t have any? Check out our homemade paste above!)
- Cotton Pall
- Black Marker
- Red Marker

How to make your Toilet Roll Bunny
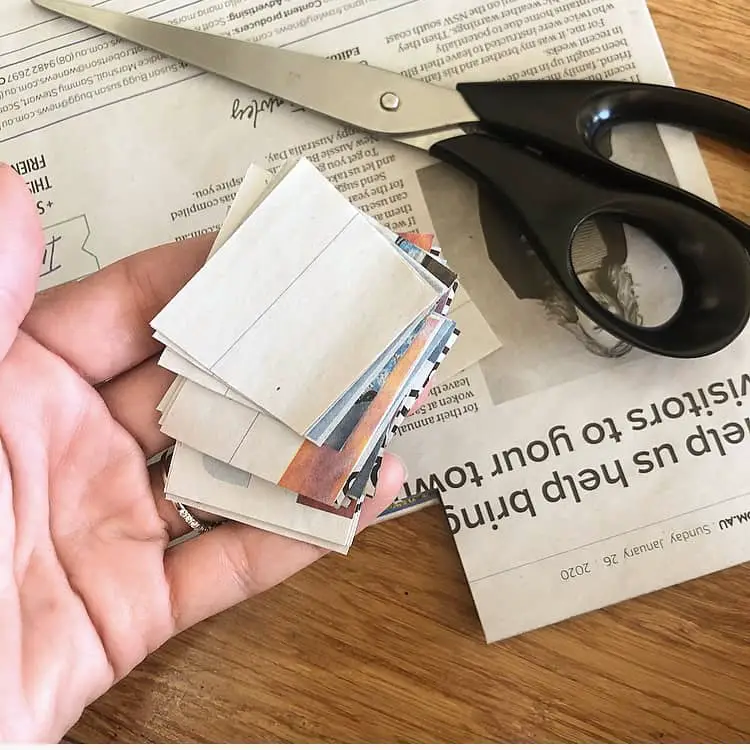
Using your scissors, cut your newspaper into 2cm squares. You will need approximately 15 squares.
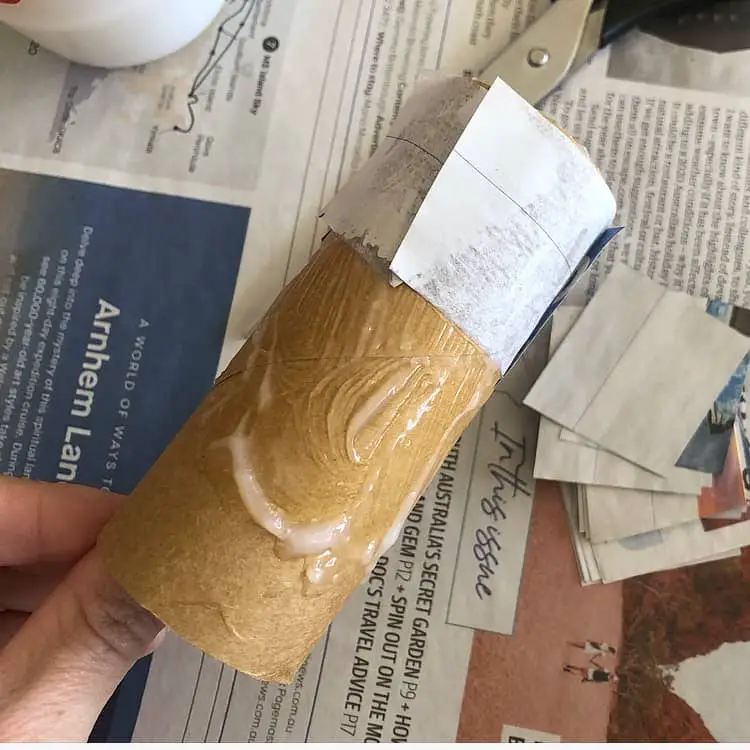
Apply glue to the outer surface of your toilet roll. Cover the toilet roll with the newspaper squares.
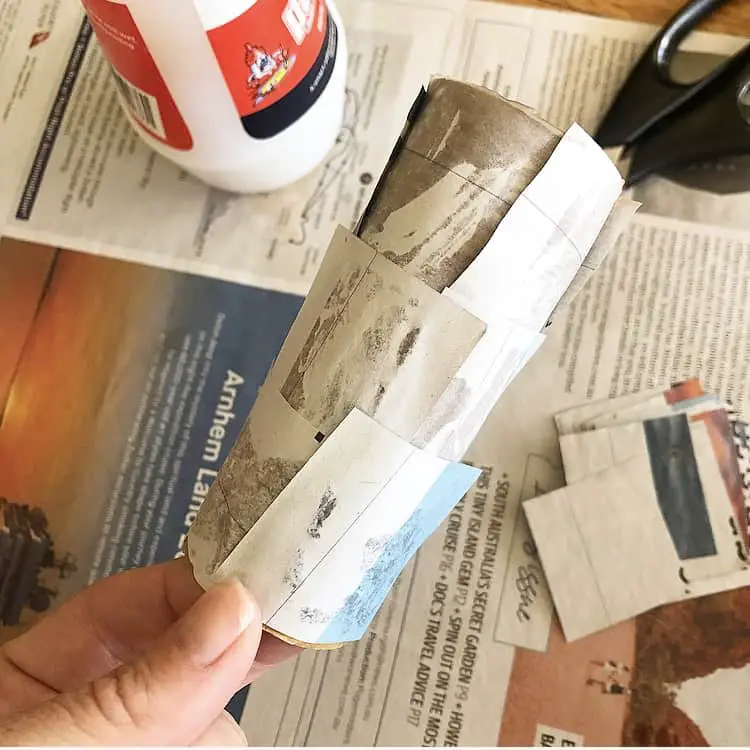

Cut out two ear shapes from your newspaper. Apply a small stripe of glue to the bottom of the ears and then position on inside the top of your toilet roll.
Use your glue to secure the toilet roll bunny’s cotton ball tail.
Once dry, use your markers to design your toilet roll bunny’s face and he is now ready to play!

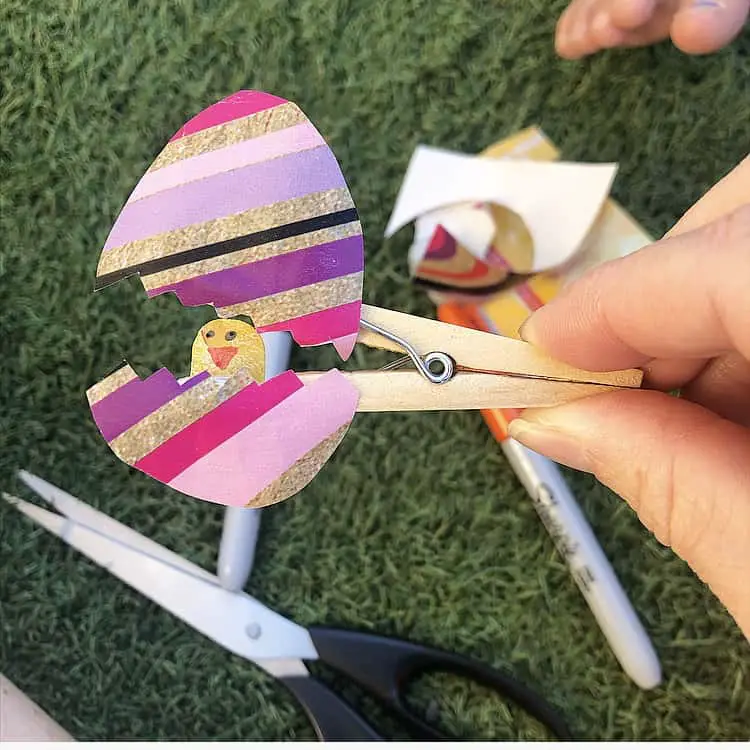
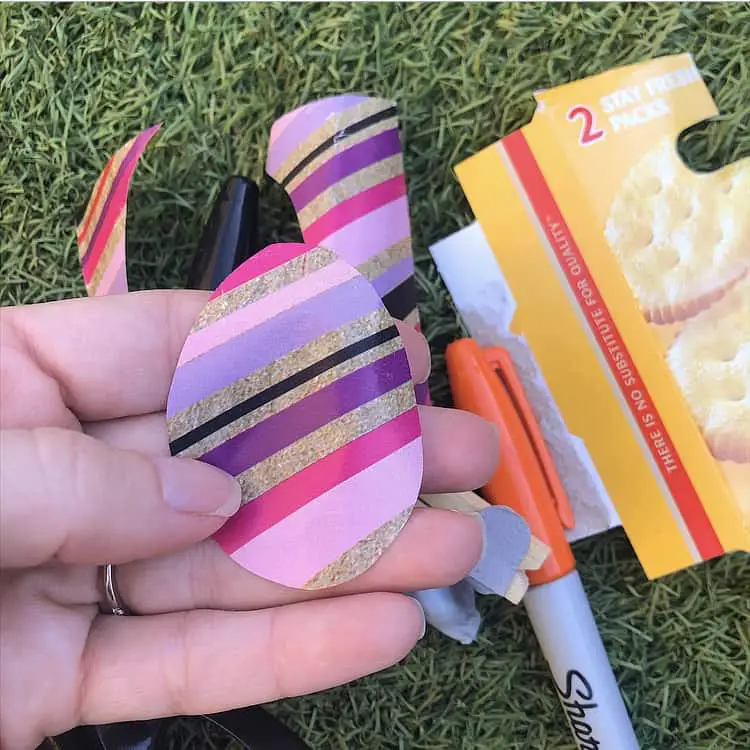
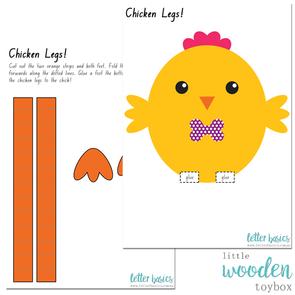
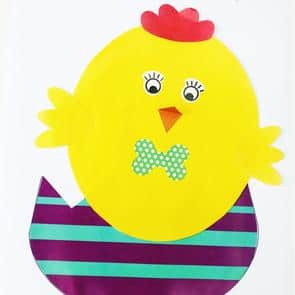
Easter Hatching Chick
Pegs are such a versatile play resource! They are great for all sorts of activities and are perfect for strengthening fine motor skills. Here is a fun Easter craft to encourage your child to use those all important small muscle groups in their fingers.
Things you will need:
- Peg
- Gift Wrap
- Scissors
- Cardboard
- Blue Tack
- Orange Marker
- Black Marker
How to make your Easter Hatching Chick
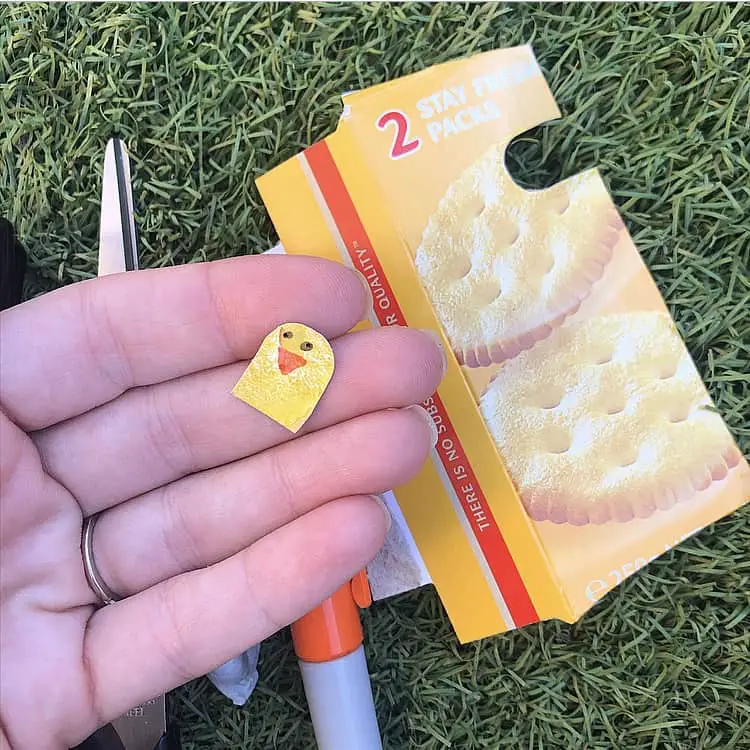
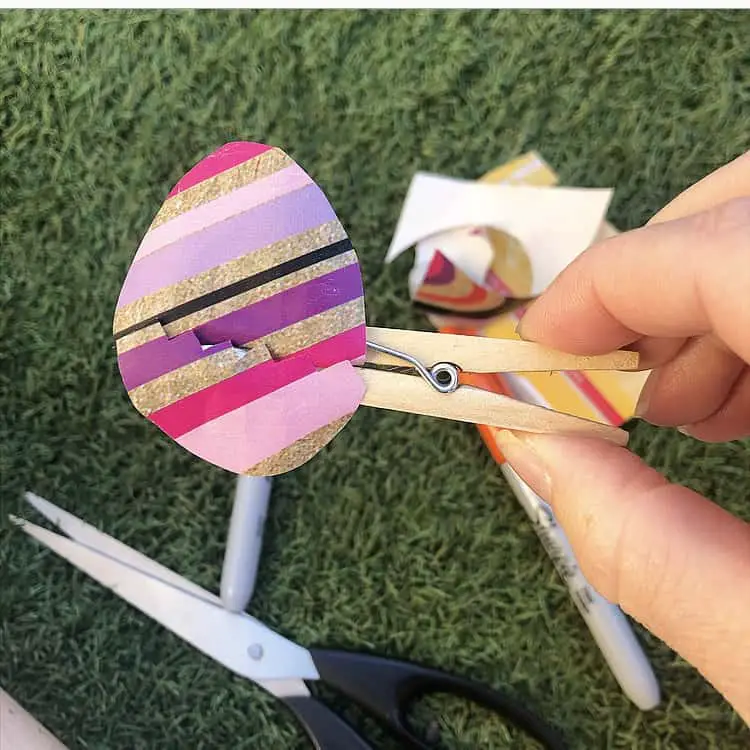
Cut out your chick from your cardboard. Keep in mind how wide your peg will open. Your chick needs to be completely visible when opened. We used an old cracker box which was already yellow – bonus! Use your markers to draw a face onto your chick. Use your blue tack to secure your chick to the back of the bottom peg half.
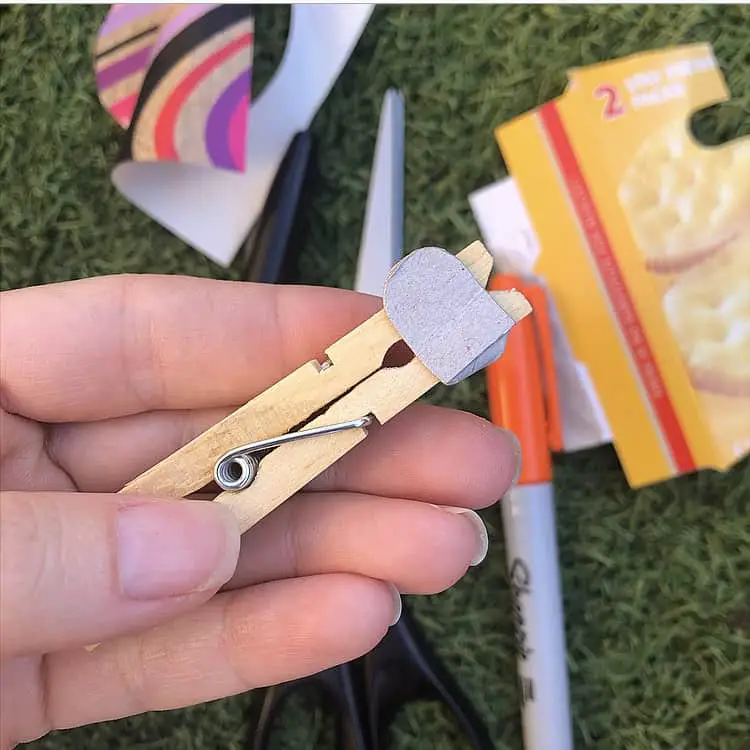
Using your scissors cut out an egg from your gift wrap. With a zig zag motion, cut your egg in half. Secure the bottom egg half to the lower part of the egg with some blue tack. Repeat with the top ensuring the zig zag pattern matches when the peg is closed.
Thats all you need to do! Your little chick is now ready to play peek a boo. Super easy and the kids love it!
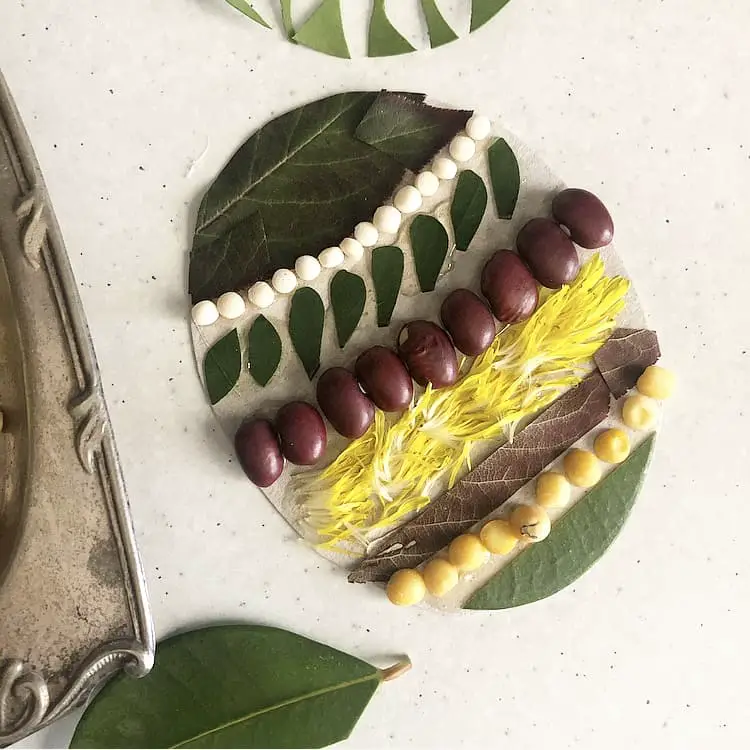
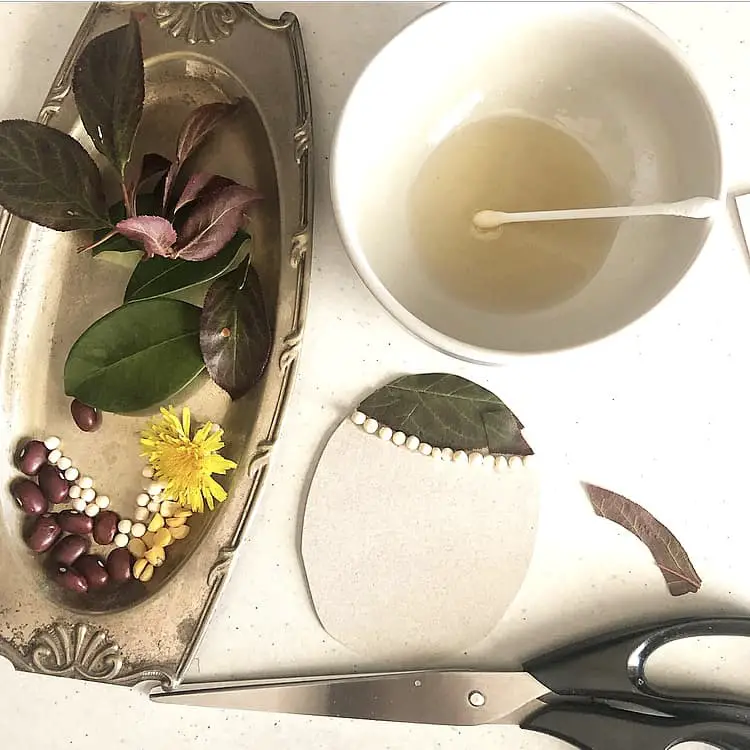
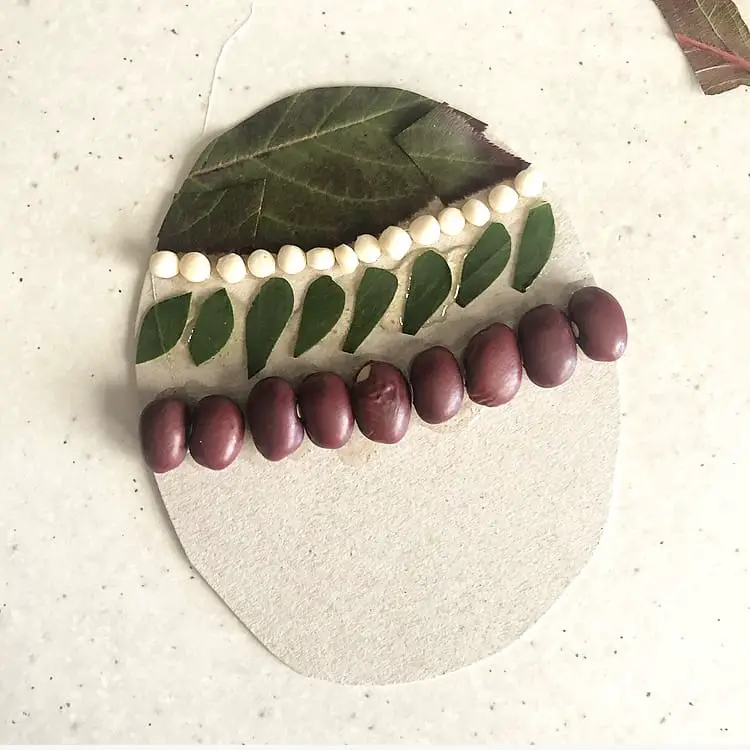
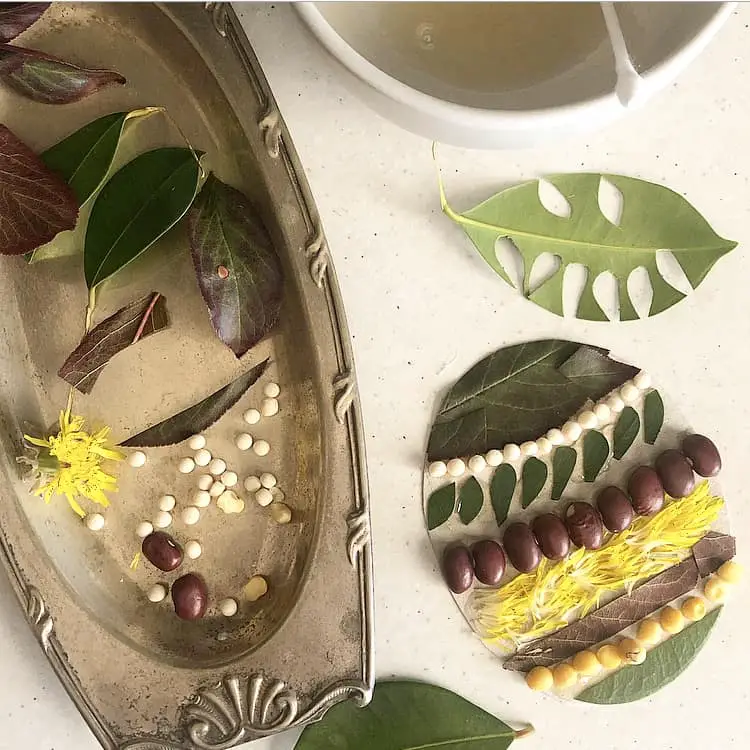
Easter Egg Decorating
Decorating Easter eggs has been a tradition in our house for as long as I remember. Typically we would use paint, feathers, sequins and all sorts of crafty supplies however without knowing what our family members have on hand, we looked at other ways to decorate our eggs.
Things you will need
- Cardboard (We used the same cracker box as we cut the chick out of from the Hatching Chick Activity)
- Scissors
- White Glue / PVC Glue ( Don’t have any on hand? Check out our Homemade Clear Glue recipe above)
- Leaves / Flowers from the garden
- Dried Legumes/ Grains from the pantry
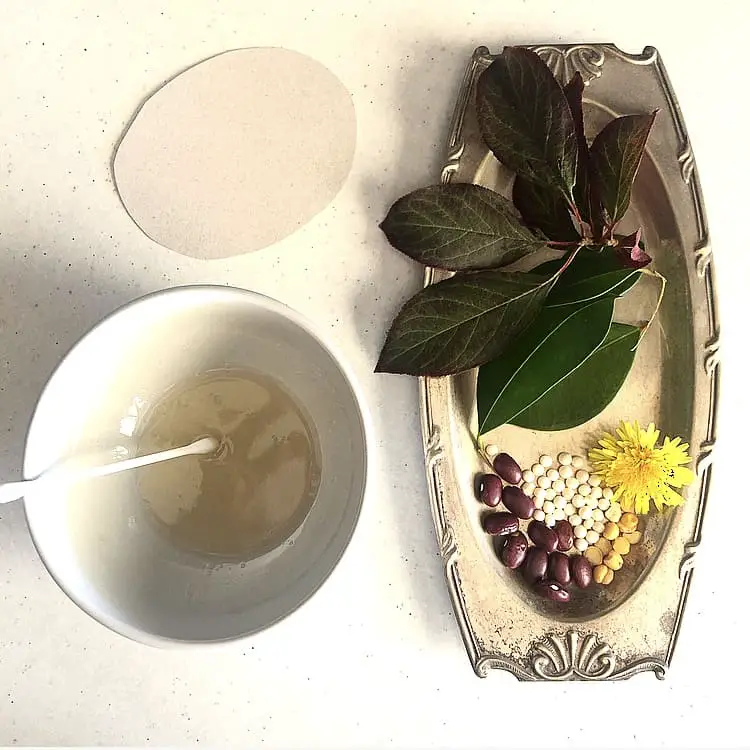
This Easter craft is very versatile. Use what you have on hand! The garden is full of different textures, colours and patterns. The pantry is full of different resources too! You can even get super fancy by colouring your glue using spices. Paprika will give a lovely red hue, when turmeric will present a bright yellow result!
How to decorate your Easter Egg
Cut an egg shape out of your cardboard using your scissors.
Apply your glue to the egg and start getting creative with your collected resources!
There are no right or wrongs to this craft. Everyones designs will be unique and perfect the way they make them.
Why not make a few and then hang them from a piece of string to create your own Isolation Easter 2020 bunting?!
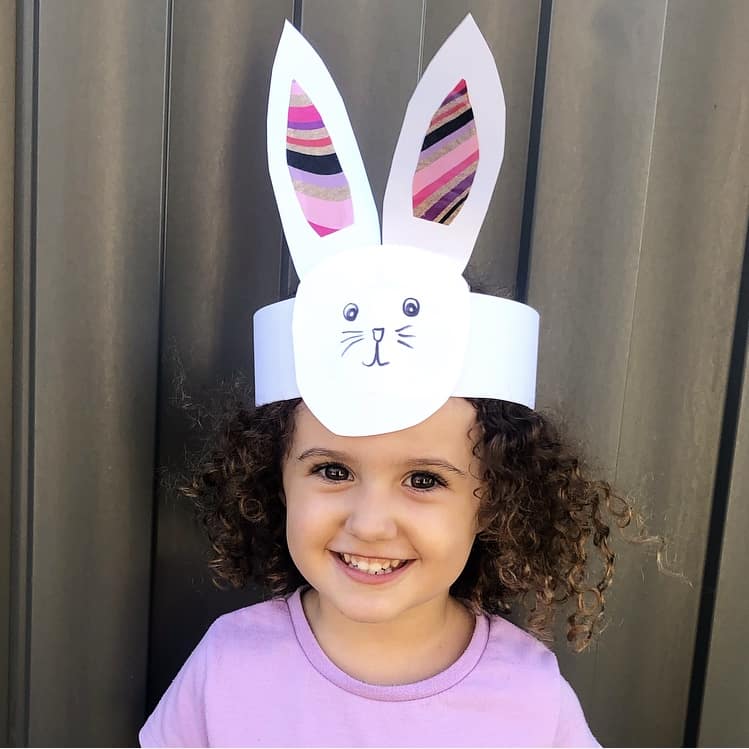
Easter Hat
Easter would not be complete without an easter hat or bonnet of some type being created. With our Isolation Easter Crafts in mind, we kept this Easter hat super simple. Its adorable without needing any fancy craft supplies.
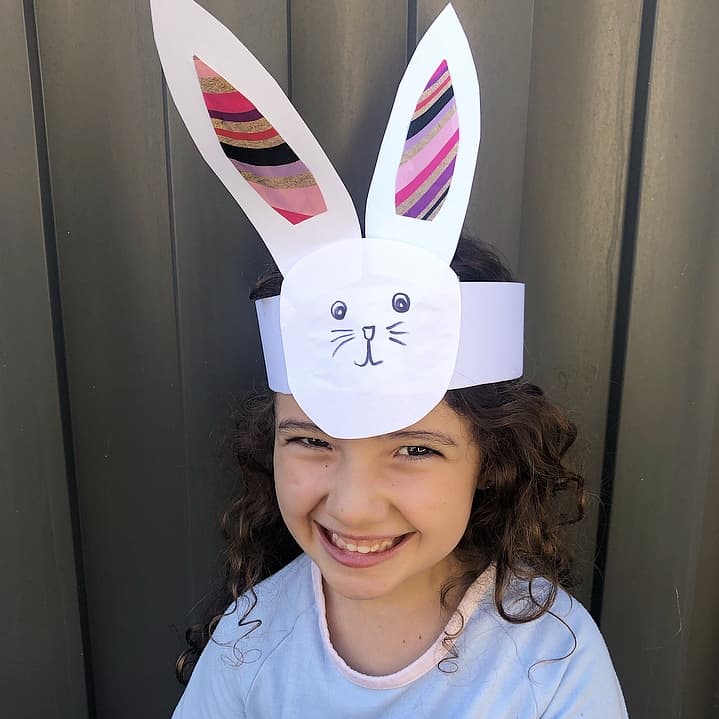
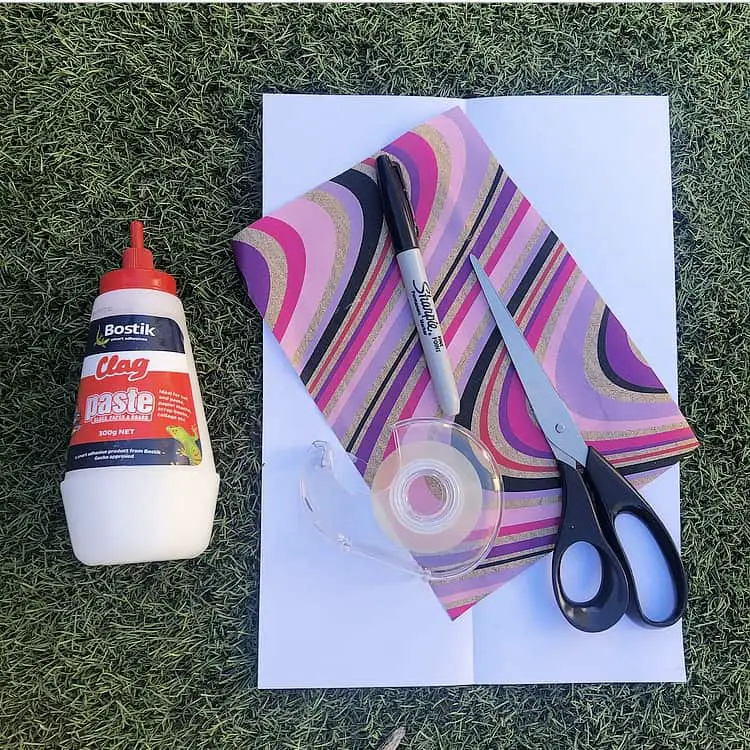
What you will need
- A4 piece of paper
- Scissors
- Gift Wrap
- Black Marker
- Sticky Tape
- Paste Glue
How to make your Easter Hat
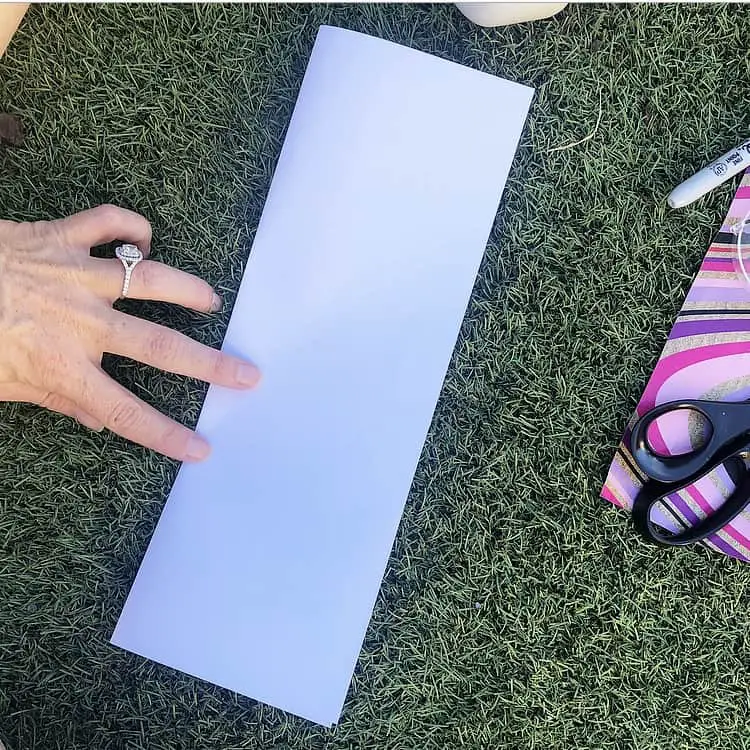
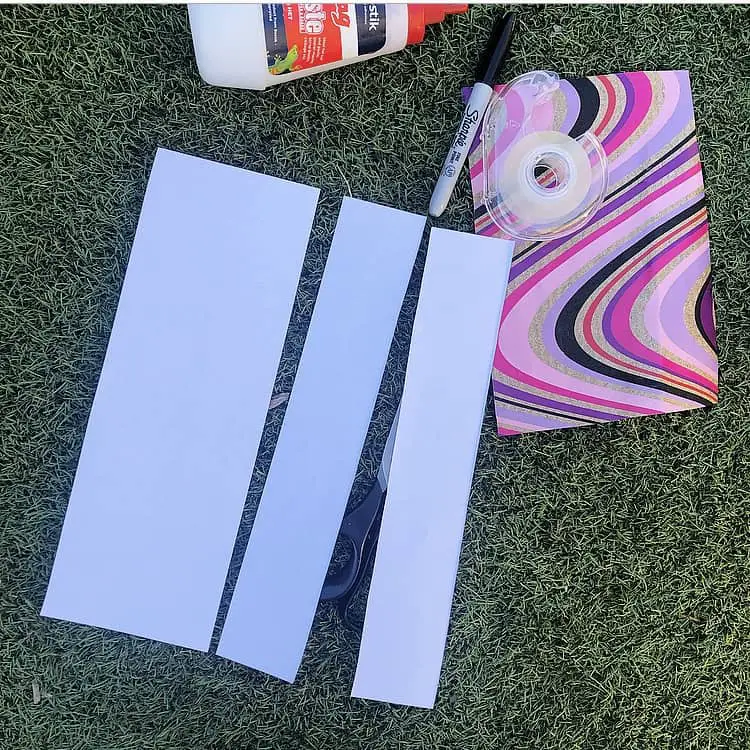
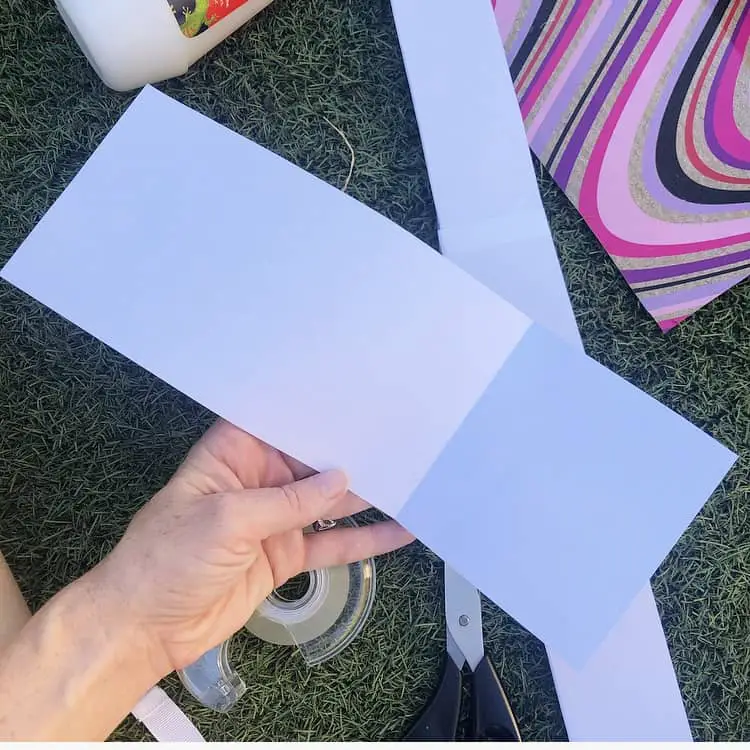
Fold you piece of paper in half length wise. Open the paper and cut across the crease line. Get one half and fold it in half length wise. Cut along the crease line. Tape the two narrow strips together at the shorter lengths, creating a long length of paper.
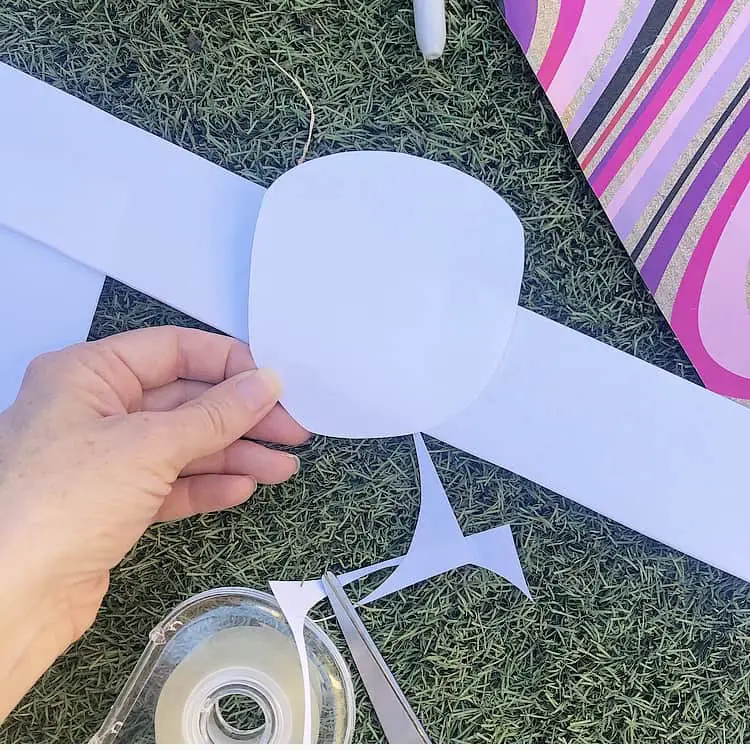
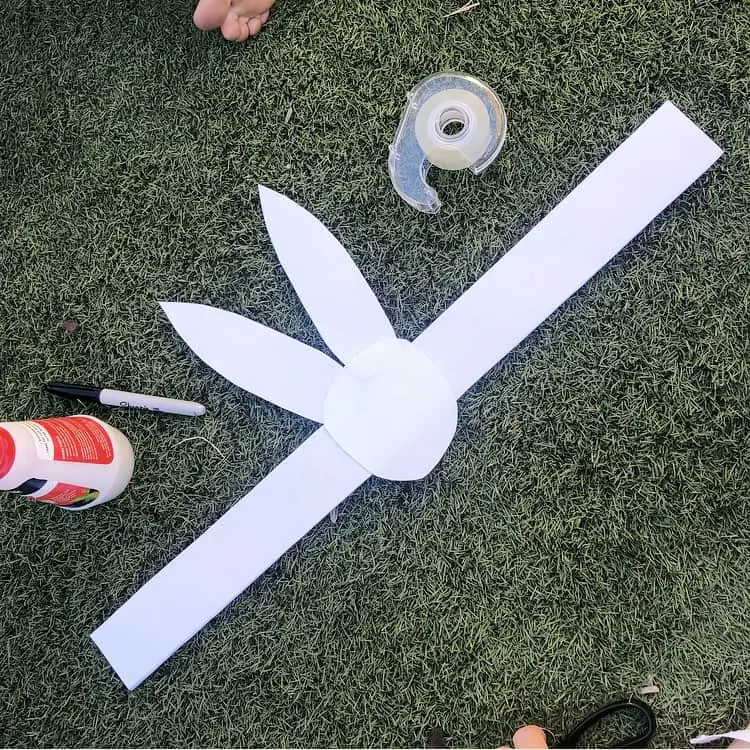
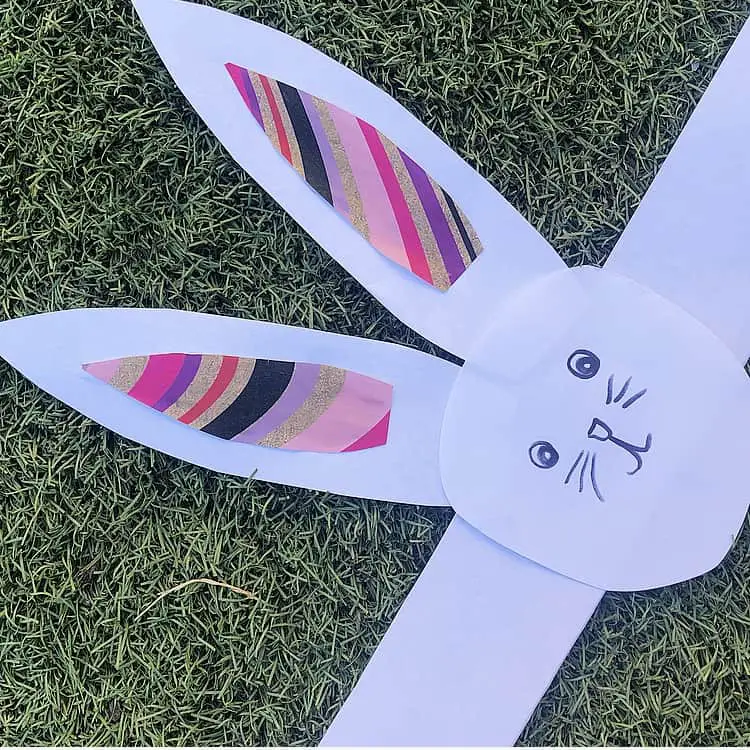
Fold the remaining half of paper in thirds. Cut one third from the length. Cut this into a circle – this is your Easter Bunny’s head! Fold the remaining two thirds in half long ways and cut out your rabbits ears. Tape the ears to the back of the head. Cut out some smaller ears from the gift wrap and then paste these to your white ears. Glue the head to the join of your long length of paper.
Measure the length by wrapping the length around the head of your wearer and use the tape to secure the length, the right position.
Wait until the glue has dried and then you are ready to wear!
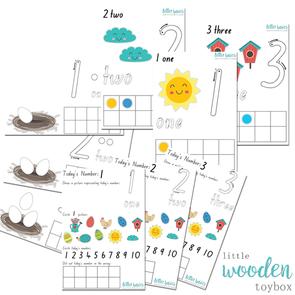
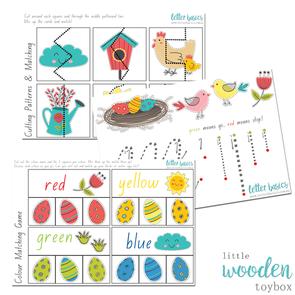
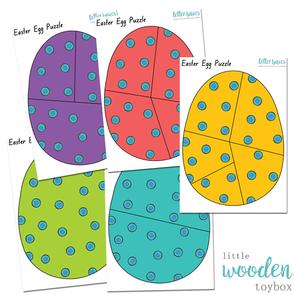
Have more fun with these print at home Easter Play resources!
I am really looking forward to making these crafts with our family at home and extended family and friends while they are safe in their homes tomorrow for Easter. The kids were watching me like a hawk as I created these samples today. They are super excited to recreate them too!
I hope you and your families can enjoy these Isolation Easter Crafts too! Pop over and share your creations in our Play Inspired Mum Facebook Community!
Dani D x

Disclosure: This Blog does contain affiliate links which I may earn a small commission from if you purchase through them, at no extra cost to you.
Get More Play at Home Ideas Here!