Potato Masher Play Dough Smash
Disclosure: This blog contains affiliate links which I may earn a small commission from if you purchase through them, at no extra cost to you.
Team up your fresh homemade play dough with a kitchen staple to create a potato masher play dough smash activity for your toddler.
The humble second draw down in your kitchen is a treasure trove for tools that can be repurposed for play dough fun. Today, we are celebrating our beloved potato masher to have fun smashing balls of play dough.
Now, before you dismiss this idea as sheer silliness, let me assure you that it’s an absolute blast.
Not only is this loads of fun, your toddler will be practising all kinds of skills that will aid their development.
Lets dive in and run through how to set this activity up for your toddler for maximum fun and learning!
So, grab your apron, dust off your imagination, and let’s get squishing!
Potato Masher Play Dough Smash
Toddlers are known for their boundless curiosity and love for sensory experiences.
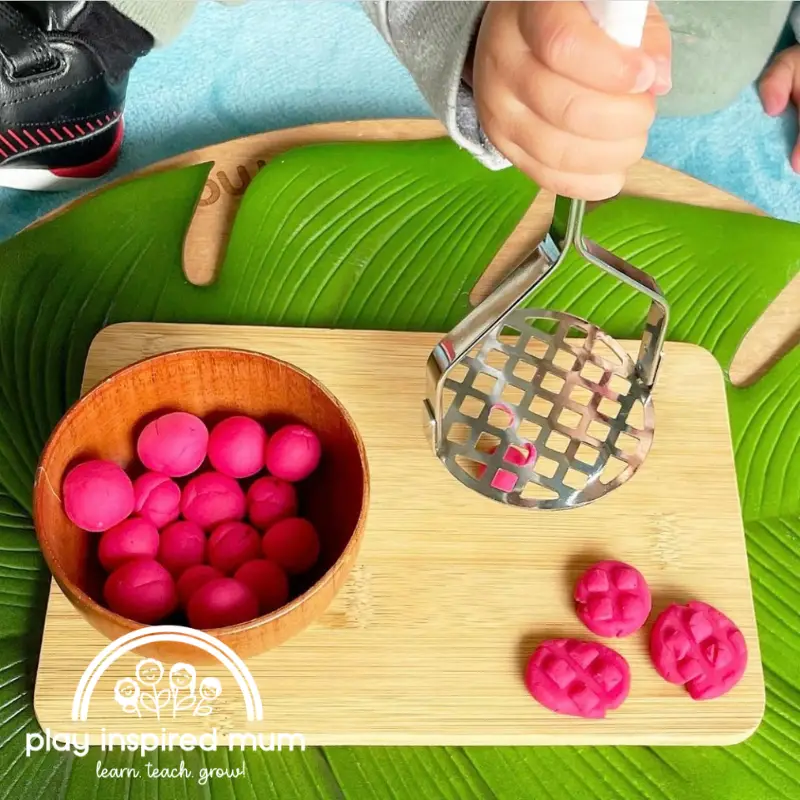
Engaging them in the activity of using a potato masher to smash balls of play dough can be a delightful and educational experience for them.
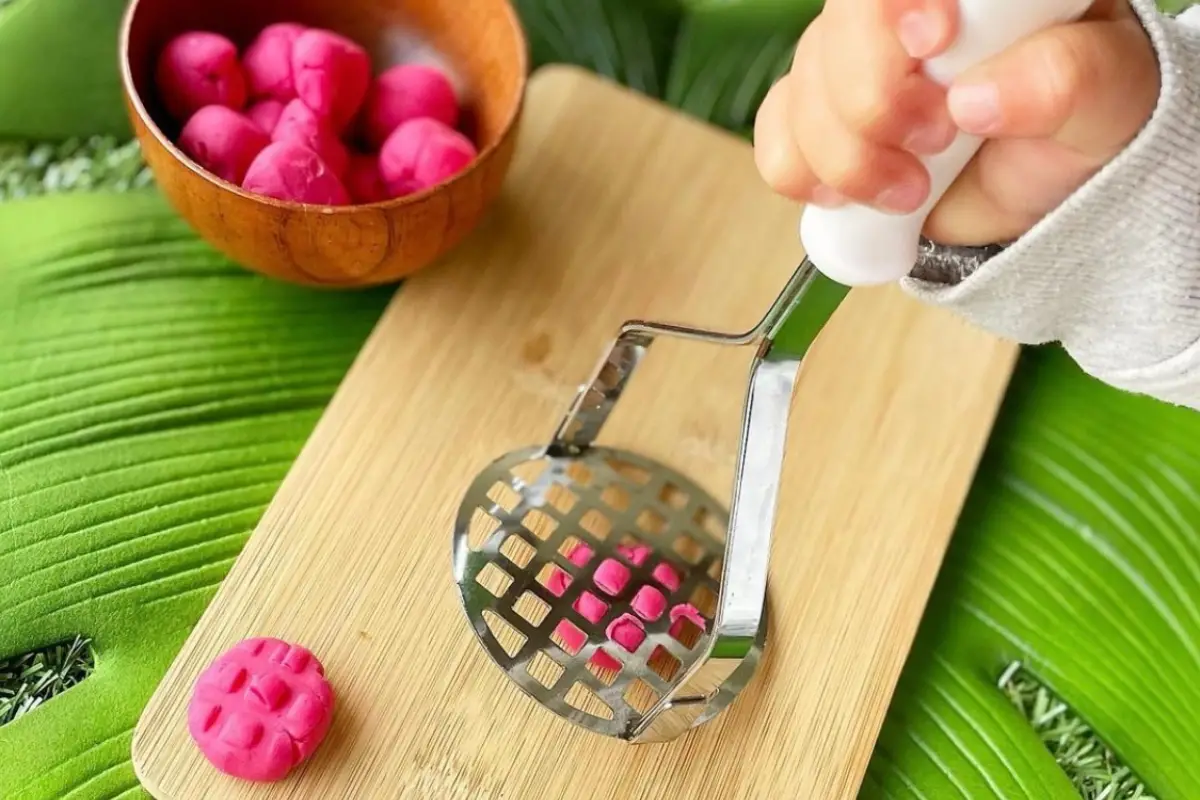
Your toddler will be instantly rewarded for their efforts as they watch the play dough ooze through the voids in their masher. It is so satisfying to watch!
What you need to make a potato masher play dough smash activity
- Play Dough
- Potato Masher
- Rudie Nudie Waterproof Play Mat
- Board or Placemat
We used our non-cook homemade play dough recipe to create this bright pink, warm, squishy play dough.
Even as an adult I just love kneading freshly made play dough. It feels so good and brings up warm fuzzy feelings.
To create this bright pink colour, we used Queens Pink Food Colouring.
How to set up a potato masher play dough activity
Step 1: Preparation
First things first, prepare your area and gather your supplies.
Protect the area
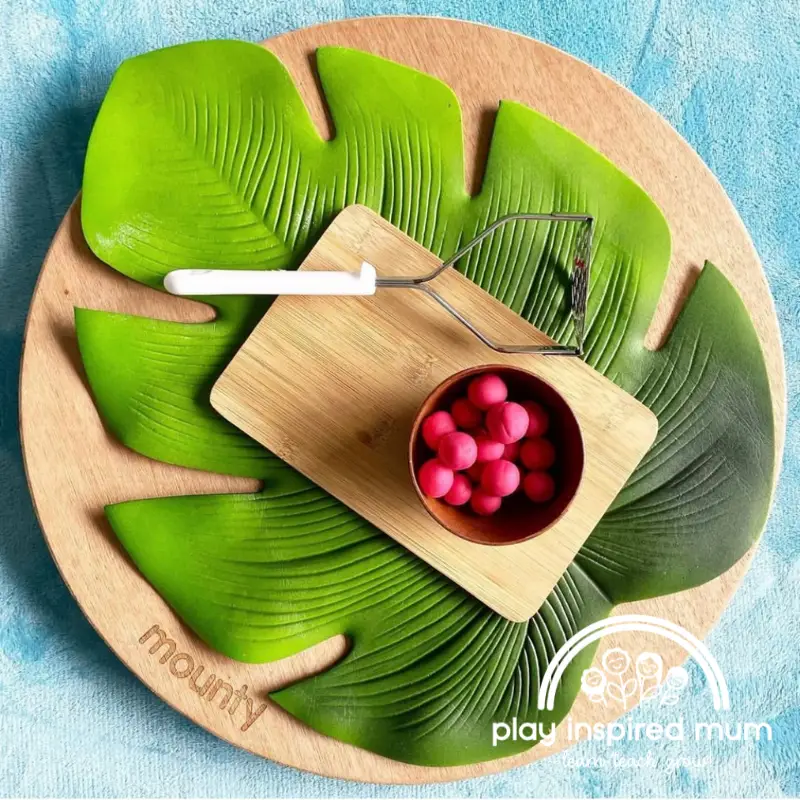
We love using Rudie Nudie water proof play mats to protect the area when engaging in sensory play.
They are bright, colourful and do an amazing job at protecting the floor from whatever it is we are using. These mats are waterproof making them the perfect solution for protecting carpets and wooden floor boards.
They have a super absorbent top layer with a waterproof backing. This makes them thirsty and they hold onto that liquid like a camel in the desert.
Depending on the material we are using, all they need is a shake or brush down before getting put in the washing machine to have them as good as new for play another day.
We also love taking our on picnics. The waterproof backing stops the damp coming through from the grass. Winning!
To prepare our space, we placed the play mat under the table to catch any stray pieces of play dough.
Gather supplies
You’ll need some play dough in vibrant colours, a trusty potato masher, and a sprinkle of enthusiasm.
We used the board to give boundaries for our play. This visual guide takes the guess work away and helps keep the area tidy.
I position the bowl of play dough across from the arm that reaches for it.
This way Mr 2 had to cross this arm to the other side of his body to reach the play dough.
This is called crossing the midline and is a skill that can be developed through play.
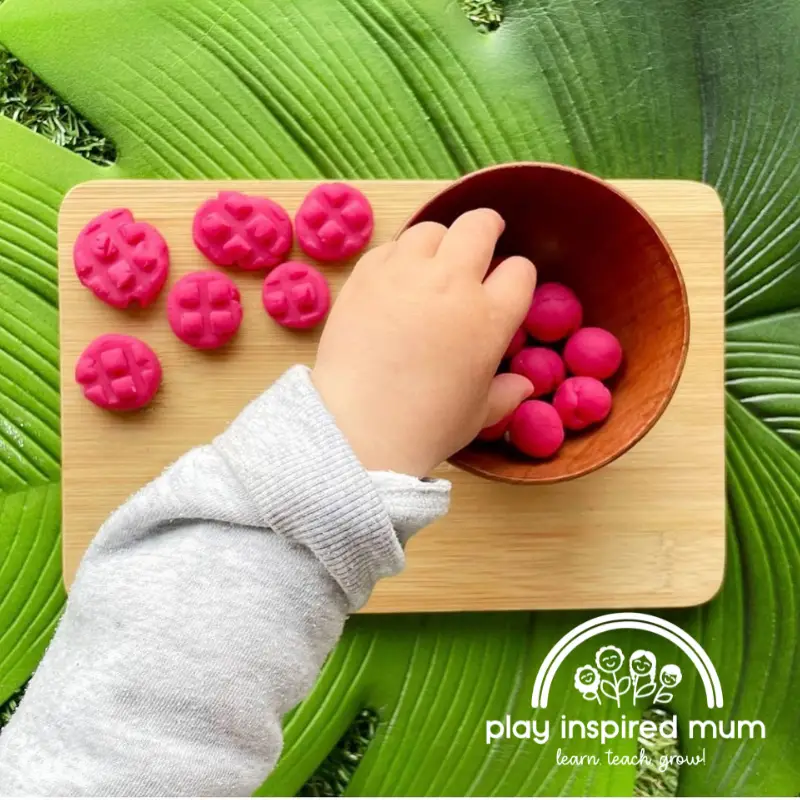
Step 2: Prepare your play dough balls
Once you’ve collected your materials, it’s time to unleash your inner sculptor and inspire your toddler to follow suit.
Take a chunk of play dough and roll it into a nice, round ball.
You can experiment with different sizes depending on your desired results.
Do you want to create miniature masterpieces or go all out with larger sculptures?
The choice is yours, my friend. There are no rights or wrongs!
Incidental learning opportunity!
This is a great opportunity to discuss some mathematical concepts with your toddler.
While rolling the balls, build on their knowledge and vocabulary:
- Size: small, medium, large
- Weight: light, heavy
- Shapes: round, oval, square, circle
- Counting by correspondence
- More than, less than
Step 3: Smash the play dough balls
Now comes the fun part.
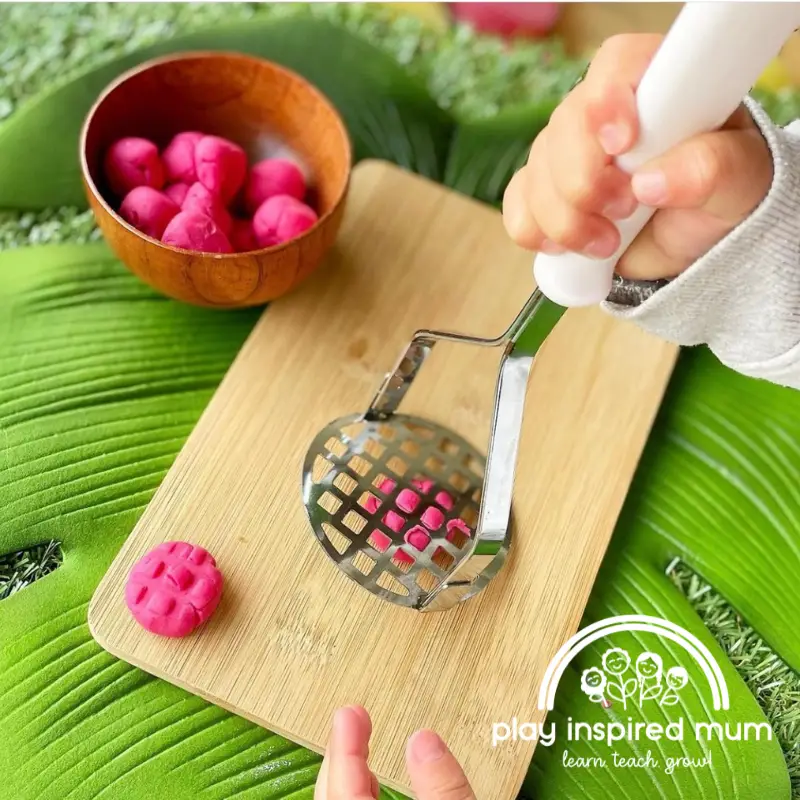
Grab that potato masher and position it over your plump play dough ball.
Get a good grip and press down with a satisfying “squish.”
Oh, the sound of joy!
Feel the power as the masher transforms your ball of play dough into a funky, flattened masterpiece.
But wait, there’s more!
Don’t limit yourself to simple squishing.
Feel free to get creative with your potato masher techniques.
Twist it, rock it, or even wiggle it around to create fascinating textures and patterns.
You can experiment with different angles and pressures to achieve various effects.
The possibilities are endless.
Ask your toddler to make predications.
“What do you think will happen if we mash the play dough slowly?”
“What could happen if we move the masher from side to side?”
As you explore this squishy adventure, you’ll notice how the potato masher adds a unique touch to your play dough creations.
It creates grooves, ridges, and indents that give your sculptures a delightful tactile quality.
It’s like your very own custom-made texture tool!
The squishy sensation of the play dough combined with the gratifying mashing action provides a therapeutic experience.
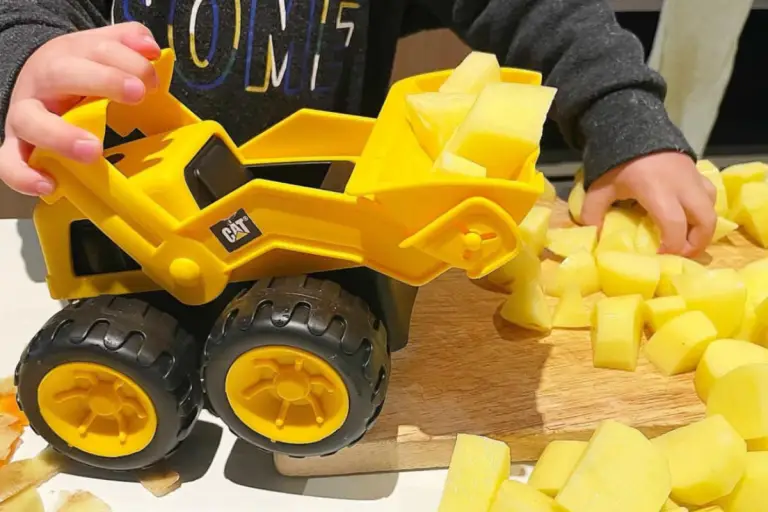
Our experience mashing play dough balls
Mr 21 months loves play dough.
The highlight of any activity for him is to destroy what the rest of us are making.
While it is really annoying for his sisters (and my adorable play dough turtle), it is a natural developmental stage that we all go through.
Rather than squander this natural urge, channelling this style of destructive play to more appropriate avenues is just what your toddler needs.
This is also the reason why we opened that kitchen draw and pulled out our potato masher.
Directing the desire to splat play dough towards some purpose rolled balls filled two cups.
It satisfied the developmentally appropriate need to splat for Mr 21 months and gave his sisters some breathing space to build their own sculptures without the risk of them being beheaded.
And he loved it!
He picked up the play dough balls, positioned the masher and pressed down, watching the play dough sprout between the voids in the masher.
To start with, he took so much care and precision with his masher. Come the end, it was all for one and one for all. Anything that was still enough got a splat.
To start with I helped roll the balls of dough however with some practise, Mr 21 months mastered the ball rolling too.
There was so much concentration- and a drool stream as evidence. Does your little one forget to swallow their dribble when they are concentrating too?
Busy hands and busy mind. This was a winner activity that we will do again and again!
How to clean up the play dough
Play dough can be a bit clingy when it dries out, but don’t worry.
Simply remove any play dough remnants from the potato masher and rinse it under warm water.
Give it a good scrub, and it’ll be ready for its next smashing adventure.
Benefits of potato masher play dough play
Here’s how toddlers can enjoy this activity:
Exploration and discovery
Toddlers love exploring new textures and materials.
Provide them with a variety of colourful play dough and let them touch, squeeze, and squish it in their hands.
Encourage them to explore the play dough’s softness, stickiness, and malleability.
This sensory exploration alone can bring them immense joy.
Fine motor skills development
Using a potato masher requires hand-eye coordination and fine motor skills.
Guide your toddler’s hands to grip the masher and gently press it onto the play dough.
This action helps develop their hand muscles and improves their dexterity, which is essential for future writing and drawing skills.
Cause and effect
Toddlers are fascinated by cause-and-effect relationships.
When they press the potato masher onto the play dough, they’ll witness how it changes shape and texture.
This simple cause-and-effect experience can captivate their attention and provide a sense of accomplishment as they observe the results of their actions.
Creativity and imagination
Even at a young age, toddlers have active imaginations.
Encourage them to explore different ways of using the potato masher.
They can press it firmly for a flat result or experiment with different angles and pressures to create unique patterns.
Let their creativity flow and celebrate their imaginative creations.
Language development
Engaging in this activity presents a great opportunity for language development.
As your toddler plays with the play dough and masher, talk to them about the colours, shapes, and textures they’re experiencing.
Describe what they’re doing, ask open-ended questions, and encourage them to express themselves.
This conversation fosters vocabulary expansion and communication skills.
Truth be told, exposing your child to new words can assist them immensely in years to come when they begin to learn to read.
Social interaction
Play dough activities can also be enjoyed with other children or siblings.
Toddlers can take turns using the potato masher and observe how others approach the activity.
This interaction promotes social skills like sharing, cooperation, and turn-taking.
Sensory satisfaction
Play dough provides a multisensory experience for toddlers.
They can enjoy the tactile sensation of the squishy dough, observe the vibrant colours, and even appreciate the satisfying sound of the masher meeting the play dough.
These sensory elements contribute to their overall enjoyment and engagement.
Supervision and safety
Always ensure supervision and provide age-appropriate play dough and materials.
It’s also essential to create a safe environment and clean-up any small play dough pieces to avoid choking hazards.
With these considerations in mind, watching toddlers immerse themselves in the joy of smashing play dough with a potato masher will surely bring smiles and giggles all around.
Benefits of using homemade play dough
Using homemade play dough instead of store-bought options offers several distinct benefits for children.
Let’s explore these advantages:
Safety and peace of mind
When you make play dough at home, you have control over the ingredients used. You can choose non-toxic, food-grade materials, ensuring the safety of your child.
Some store-bought play dough may contain chemicals or allergens that could potentially be harmful.
Homemade play dough eliminates this concern, allowing you to have peace of mind while your child explores and plays.
Customization and creativity
Making play dough from scratch allows you to customize the colours, scents, and textures according to your child’s preferences.
You can experiment with different colour combinations, add natural scents like vanilla or essential oils, or even include textured materials like glitter or rice.
This customization sparks creativity and provides a unique sensory experience tailored to your child’s interests.
Sensory engagement
Homemade play dough often has a softer and smoother texture compared to store-bought options.
This pliability allows children to engage their senses more deeply, enhancing their tactile experience and encouraging sensory exploration.
They can squish, squeeze, roll, and shape the dough, stimulating their sense of touch and providing a satisfying sensory playtime.
Cost-effective
Making play dough at home is generally more cost-effective than buying it from a store.
The ingredients required for homemade play dough are pantry staples like flour, salt, oil, and water.
By opting for homemade, you can save money in the long run, especially if your child loves frequent play dough sessions.
Educational opportunities
The process of making homemade play dough presents valuable educational opportunities for children.
They can actively participate in measuring and mixing ingredients, which enhances their math and science skills.
They can also learn about cause and effect as they observe how the ingredients transform into play dough through kneading and heating.
This hands-on involvement fosters a sense of ownership and develops their understanding of basic scientific concepts.
Sustainability and eco-friendliness
Making play dough at home reduces packaging waste associated with store-bought options.
You can store your homemade play dough in reusable containers, minimizing single-use plastic waste.
Additionally, you have the flexibility to reuse and recycle the materials used in the process, promoting an eco-friendly mindset in your child.
Parent-child bonding
Making play dough together can be a wonderful bonding experience for parents and children.
It allows for quality time spent in the kitchen, engaging in a shared creative endeavor.
You can have conversations, laugh, and create memories while making the play dough, fostering a strong parent-child connection.
By opting for homemade play dough, you can provide a safe, customizable, and cost-effective sensory experience for your child. It not only stimulates their creativity and imagination but also promotes a sense of environmental responsibility. So, roll up your sleeves, gather the ingredients, and embark on a play dough adventure with your little one!
Favourite Pre-Made Play Dough
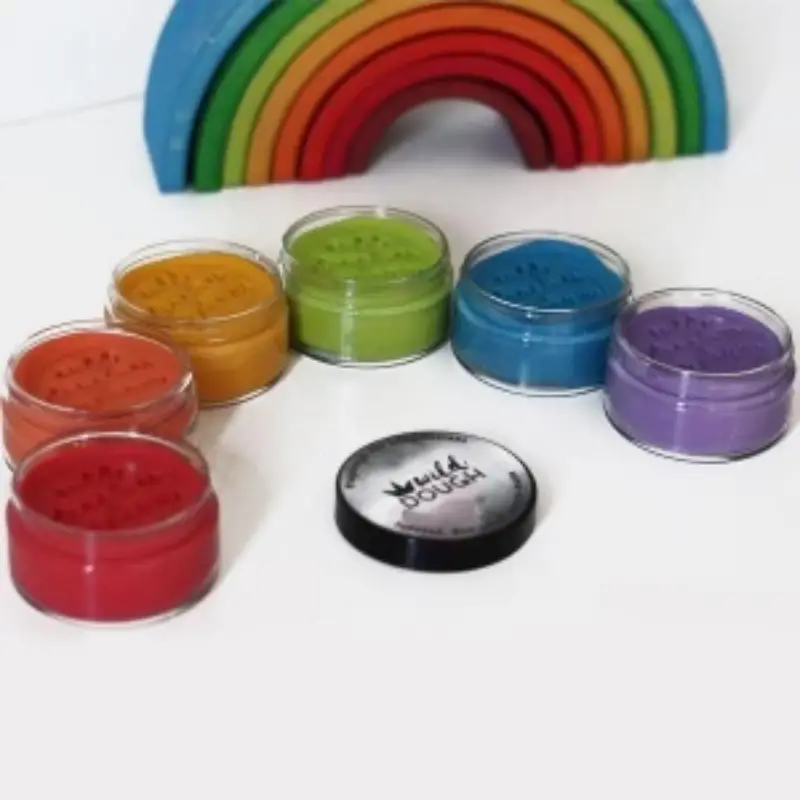
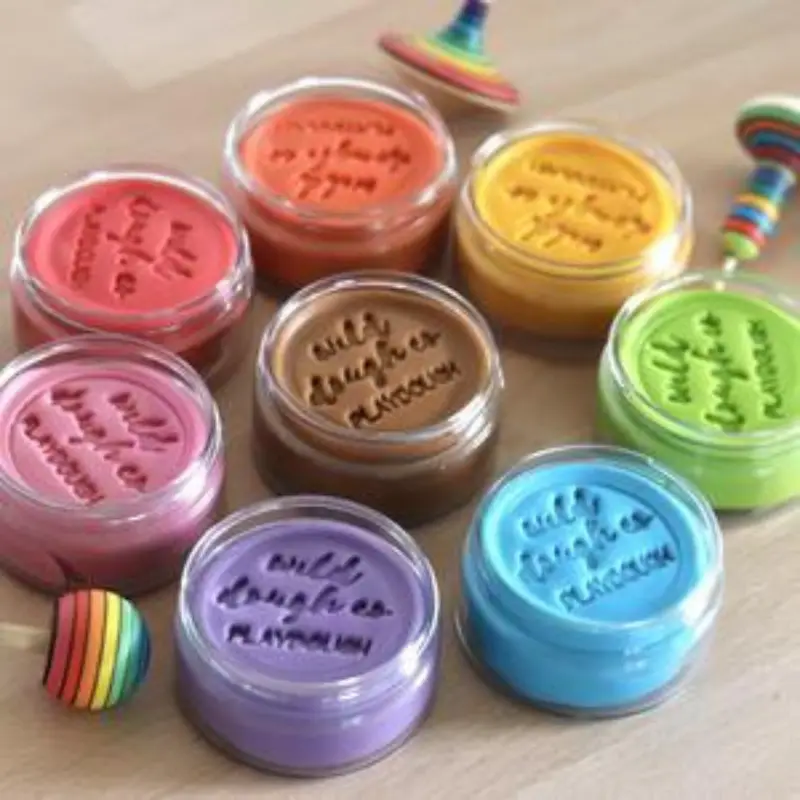
If homemade is not your thing, you will love Wild Dough.
It has loads of features of play dough that would have been made in your kitchen, without actually making it yourself.
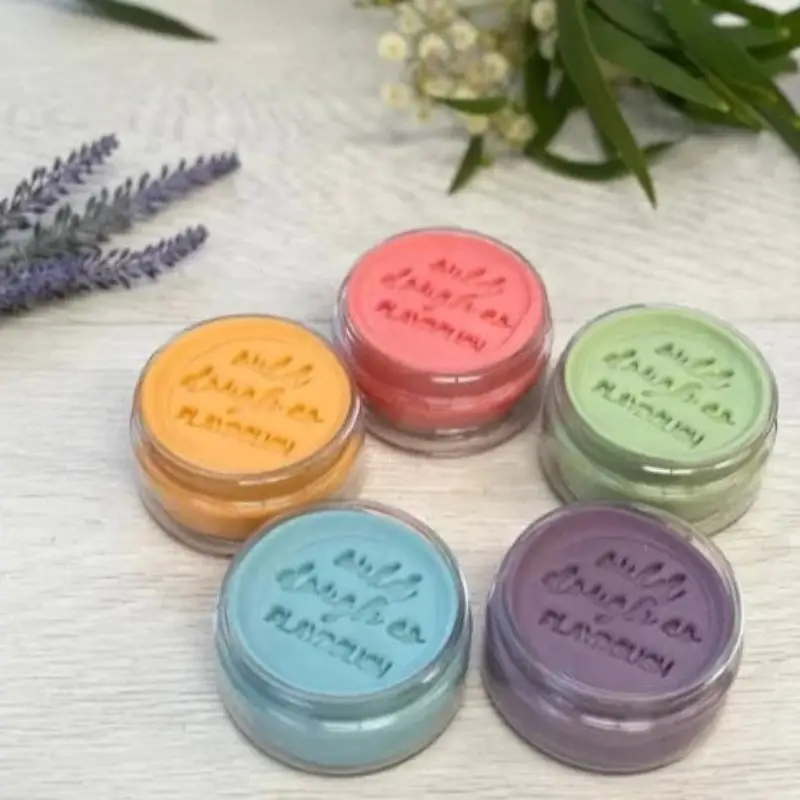
Wild Dough Playdough delights the senses with its delicious scents, long-lasting quality, and luxuriously soft texture.
It is designed specifically with little hands in mind, providing a fantastic opportunity for creative, tactile, and sensory learning experiences while developing fine motor skills.
Your children will adore squeezing, poking, pinching, squashing, and patting this incredible playdough.
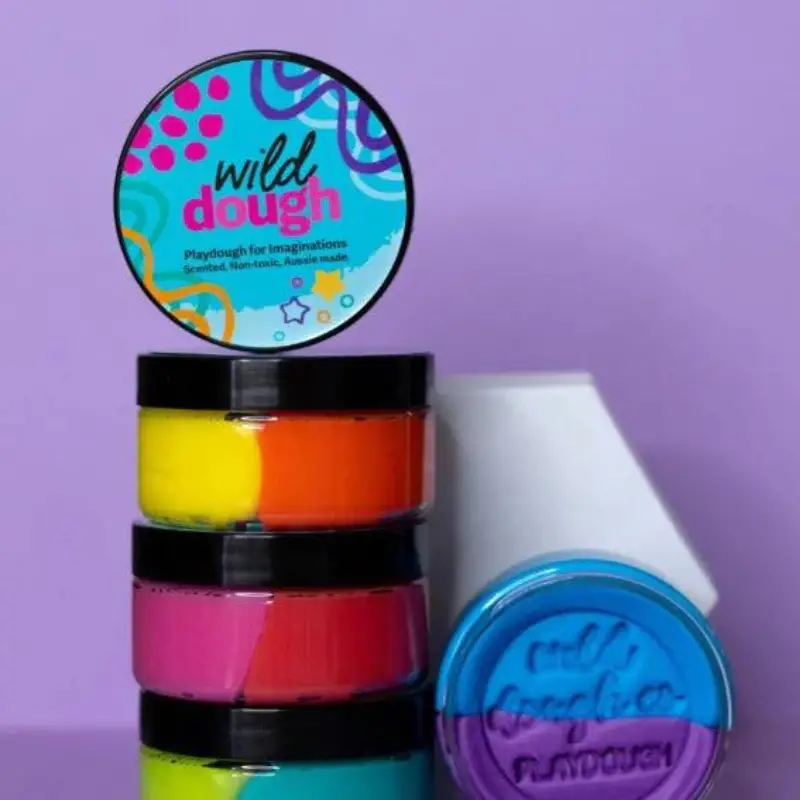
Wild Dough has numerous features that make it truly lovable:
- It smells amazing, adding an extra dimension of sensory enjoyment.
- The team at Wild Dough prioritize your child’s safety with non-toxic ingredients.
- The playdough’s perfect softness makes it easy for little hands to manipulate.
- It lasts for an extended period, remaining fresh and pliable for up to 6 months.
- A dedicated mum developed Wild Dough for her own kids, ensuring the utmost quality and enjoyment.
- Each jar contains a generous 280g of playdough, providing the ultimate play experience.
- It’s lovingly handmade in Melbourne, Australia, ensuring attention to detail and care.
- They use eco-friendly PET jars, which are durable and lightweight, minimizing our environmental impact.
So, my fellow play dough enthusiasts, it’s time to embrace the joy of smashing and molding with a trusty potato masher. Let your imagination run wild, create whimsical designs, and enjoy the sheer satisfaction of squishing those balls of play dough. Remember, in the world of creativity, there are no rules—just endless possibilities and a whole lot of fun!

Some of the best learning activities really are this simple! Even my older kids still get satisfaction out of squishing playdough. What a great way to strengthen those fine-motor muscles.