
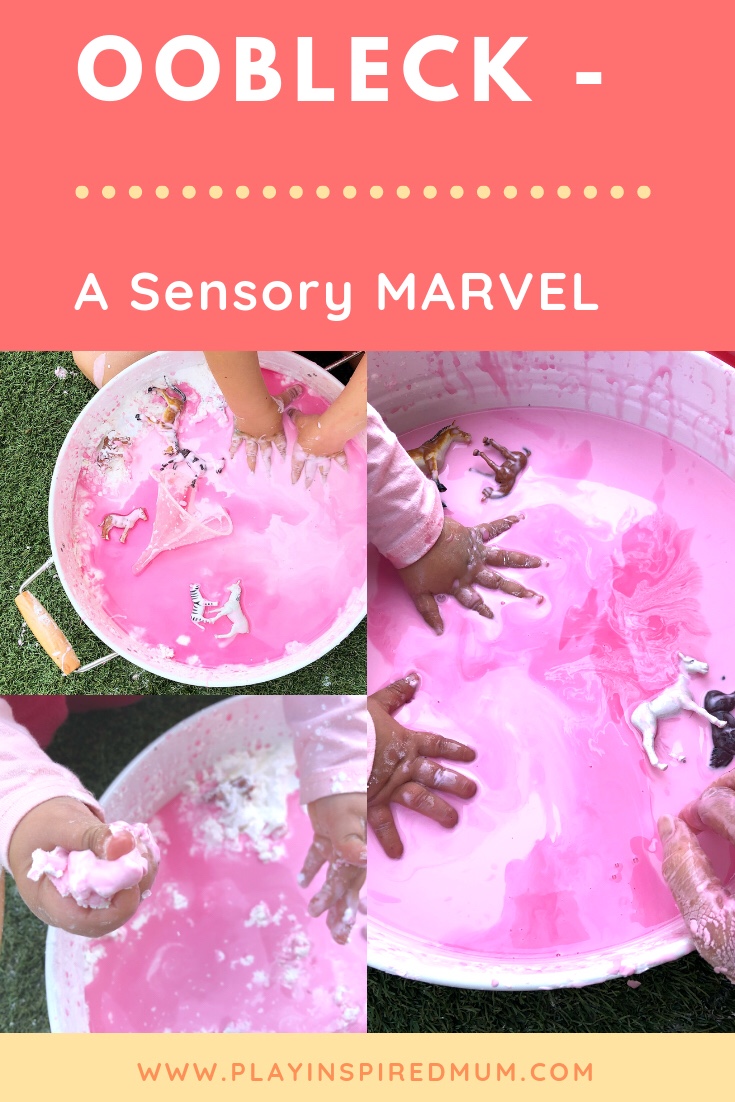
Oobleck- A Sensory Marvel
Disclosure: This blog contains affiliate links which I may earn a small commission from if you purchase through them, at no extra cost to you.
If there is ever a time when I need to choose a sensory medium that will be the last we will ever have in the world, it would be Oobleck.
It is such a captivating medium! I often find myself still running my fingers through it long after the kids have finished.
What is Oobleck?
Now Oobleck isn’t just any old liquid. It is special. It is neither a solid nor a liquid!
‘Say what?’ you may ask…
Yes, it shares properties of a solid AND liquid. This makes it fall under the category of being a non- Newtonian fluid. Under pressure, Oobleck is hard and mouldable however once the pressure is removed, it flows like a liquid!
Amazing isn’t it?
Now you might wonder, why call it Oobleck? Dr Seuss’ Book ‘Bartholomew and the Oobleck‘ is why!
[wpvideo BrdNM1fr ]
How to Make Oobleck
So how do you make this mind blowing substance?
It’s SOOOO easy! Here is how we do it.
Gather:
- Corn flour
- Water
- Food colouring (optional)
I like to get the kids to make it as it is really interesting watching the water and cornflour react with each other. Corn flour by itself is a unique powder. The particles are so fine, they squeak and feel so soft when they run their hands through it (or slap it like Miss 19m enjoyed doing)
Putting our Oobleck Activity Together
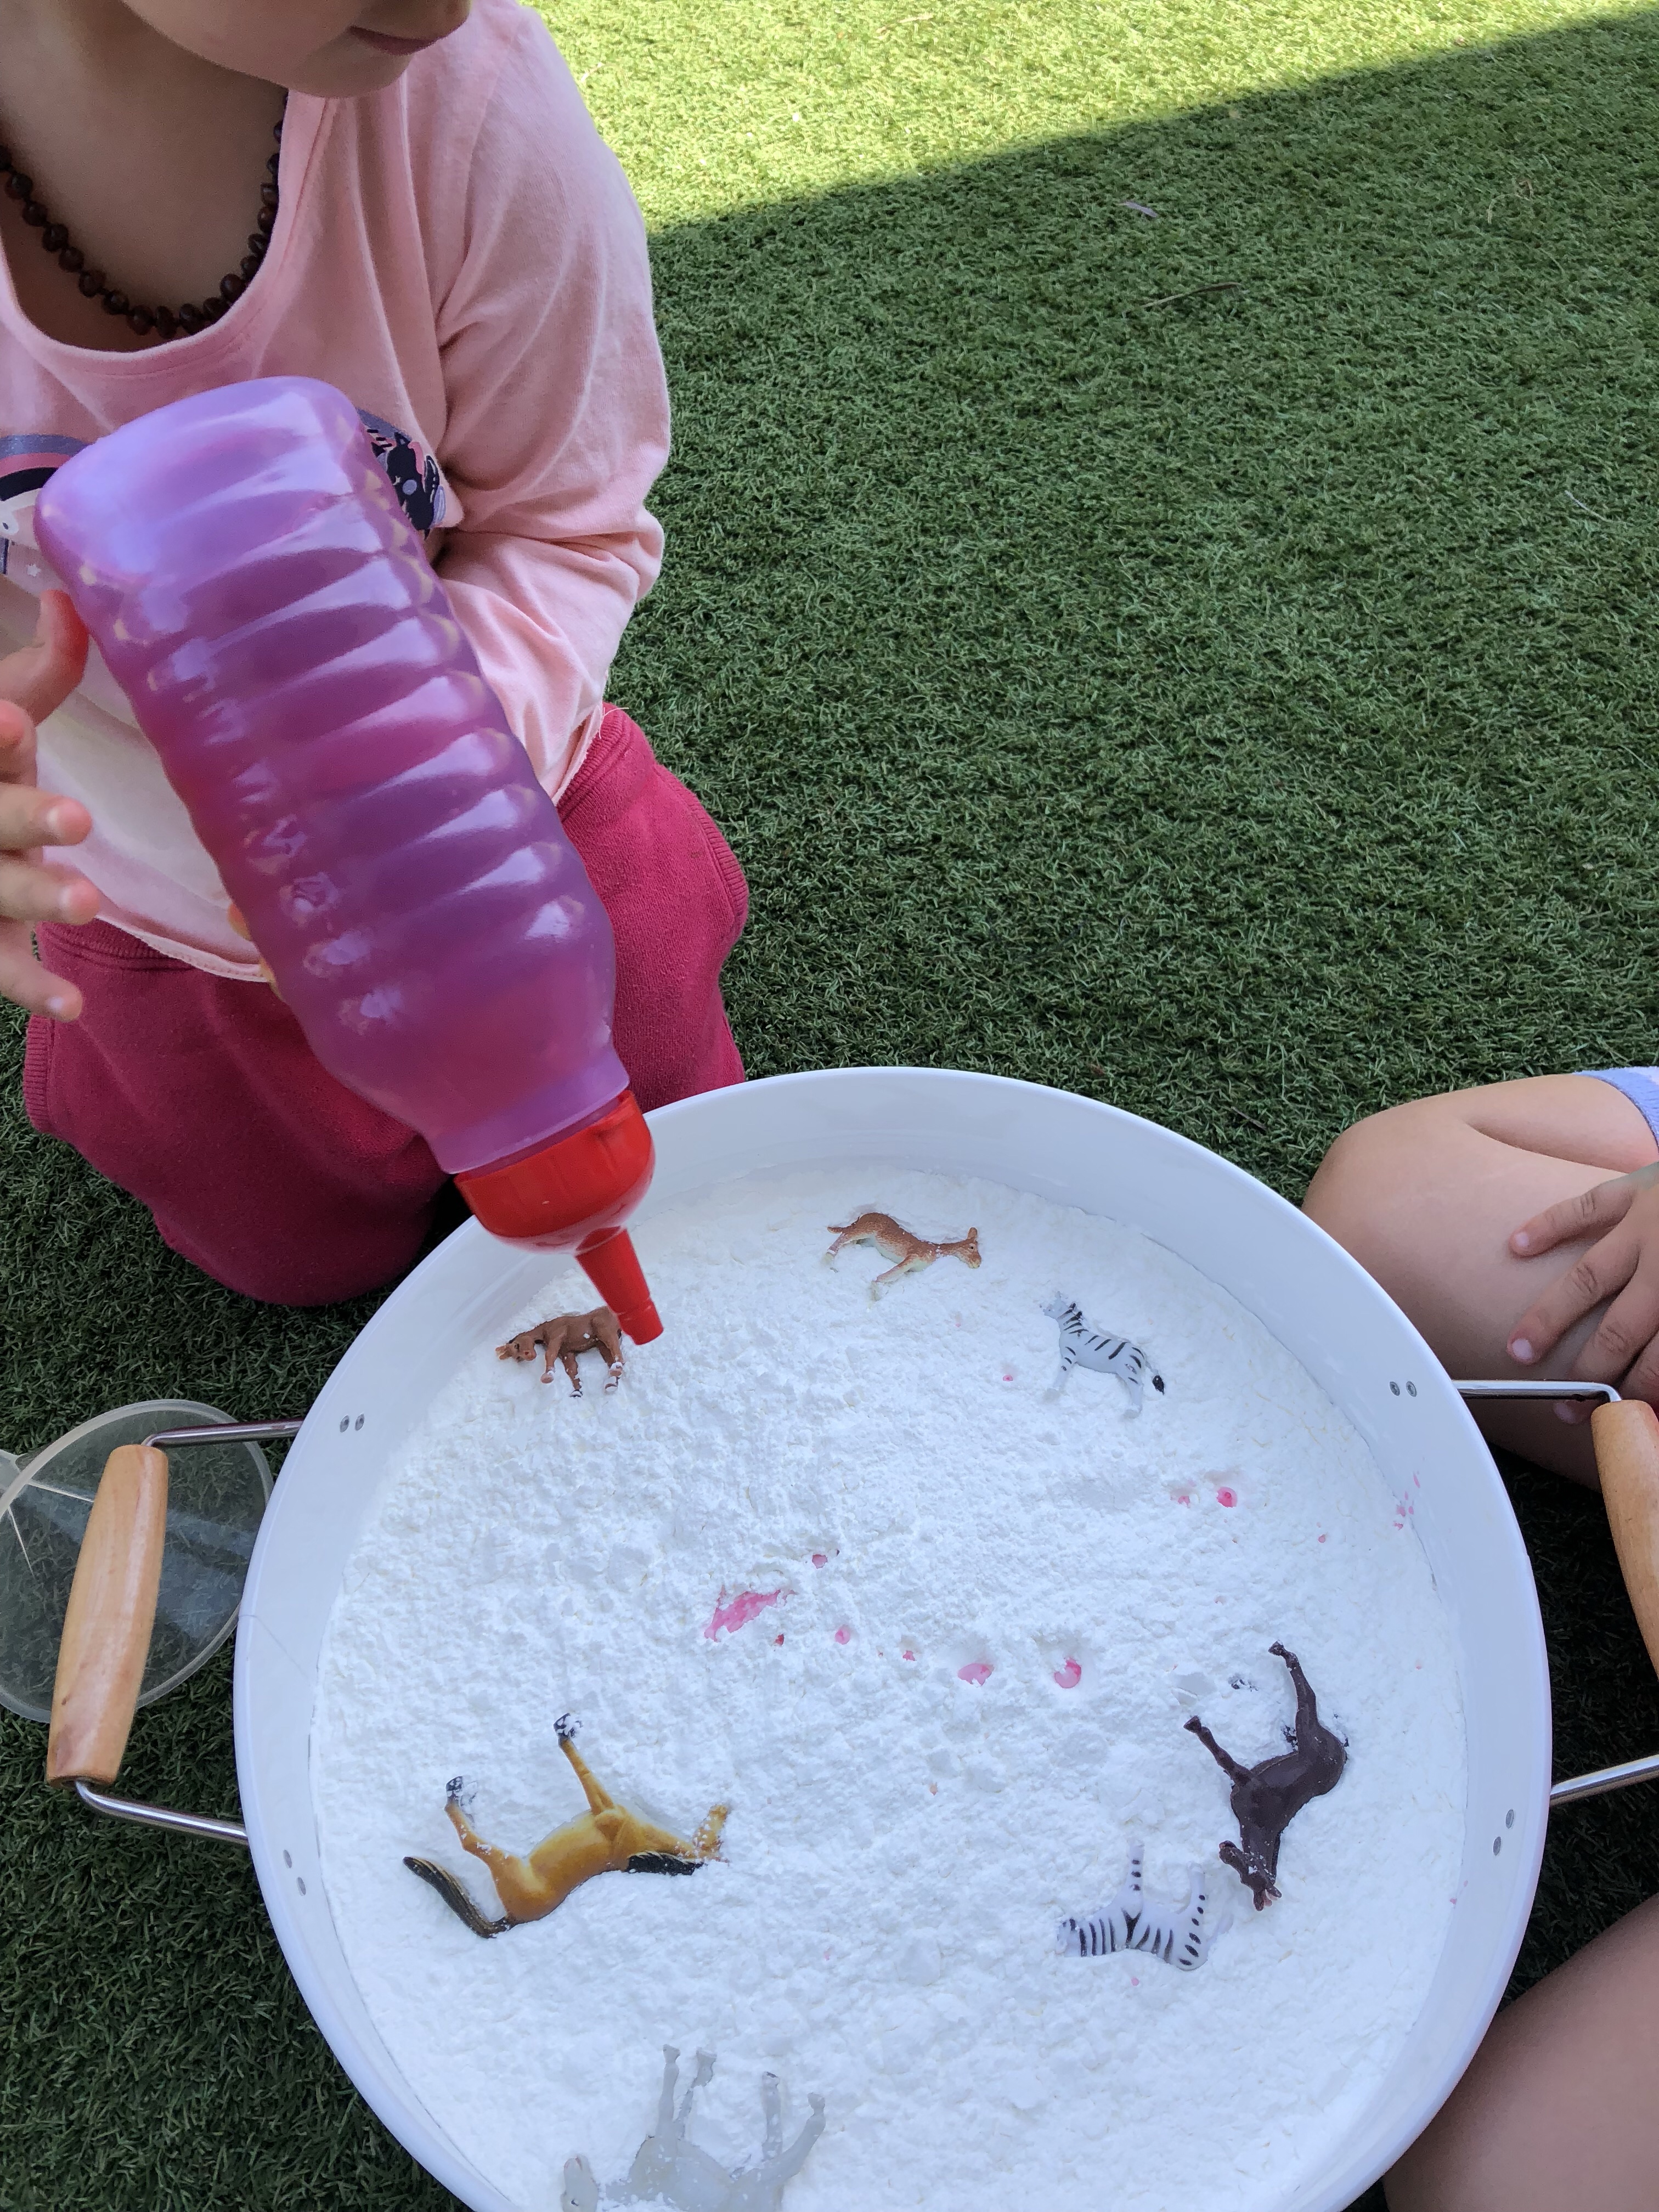
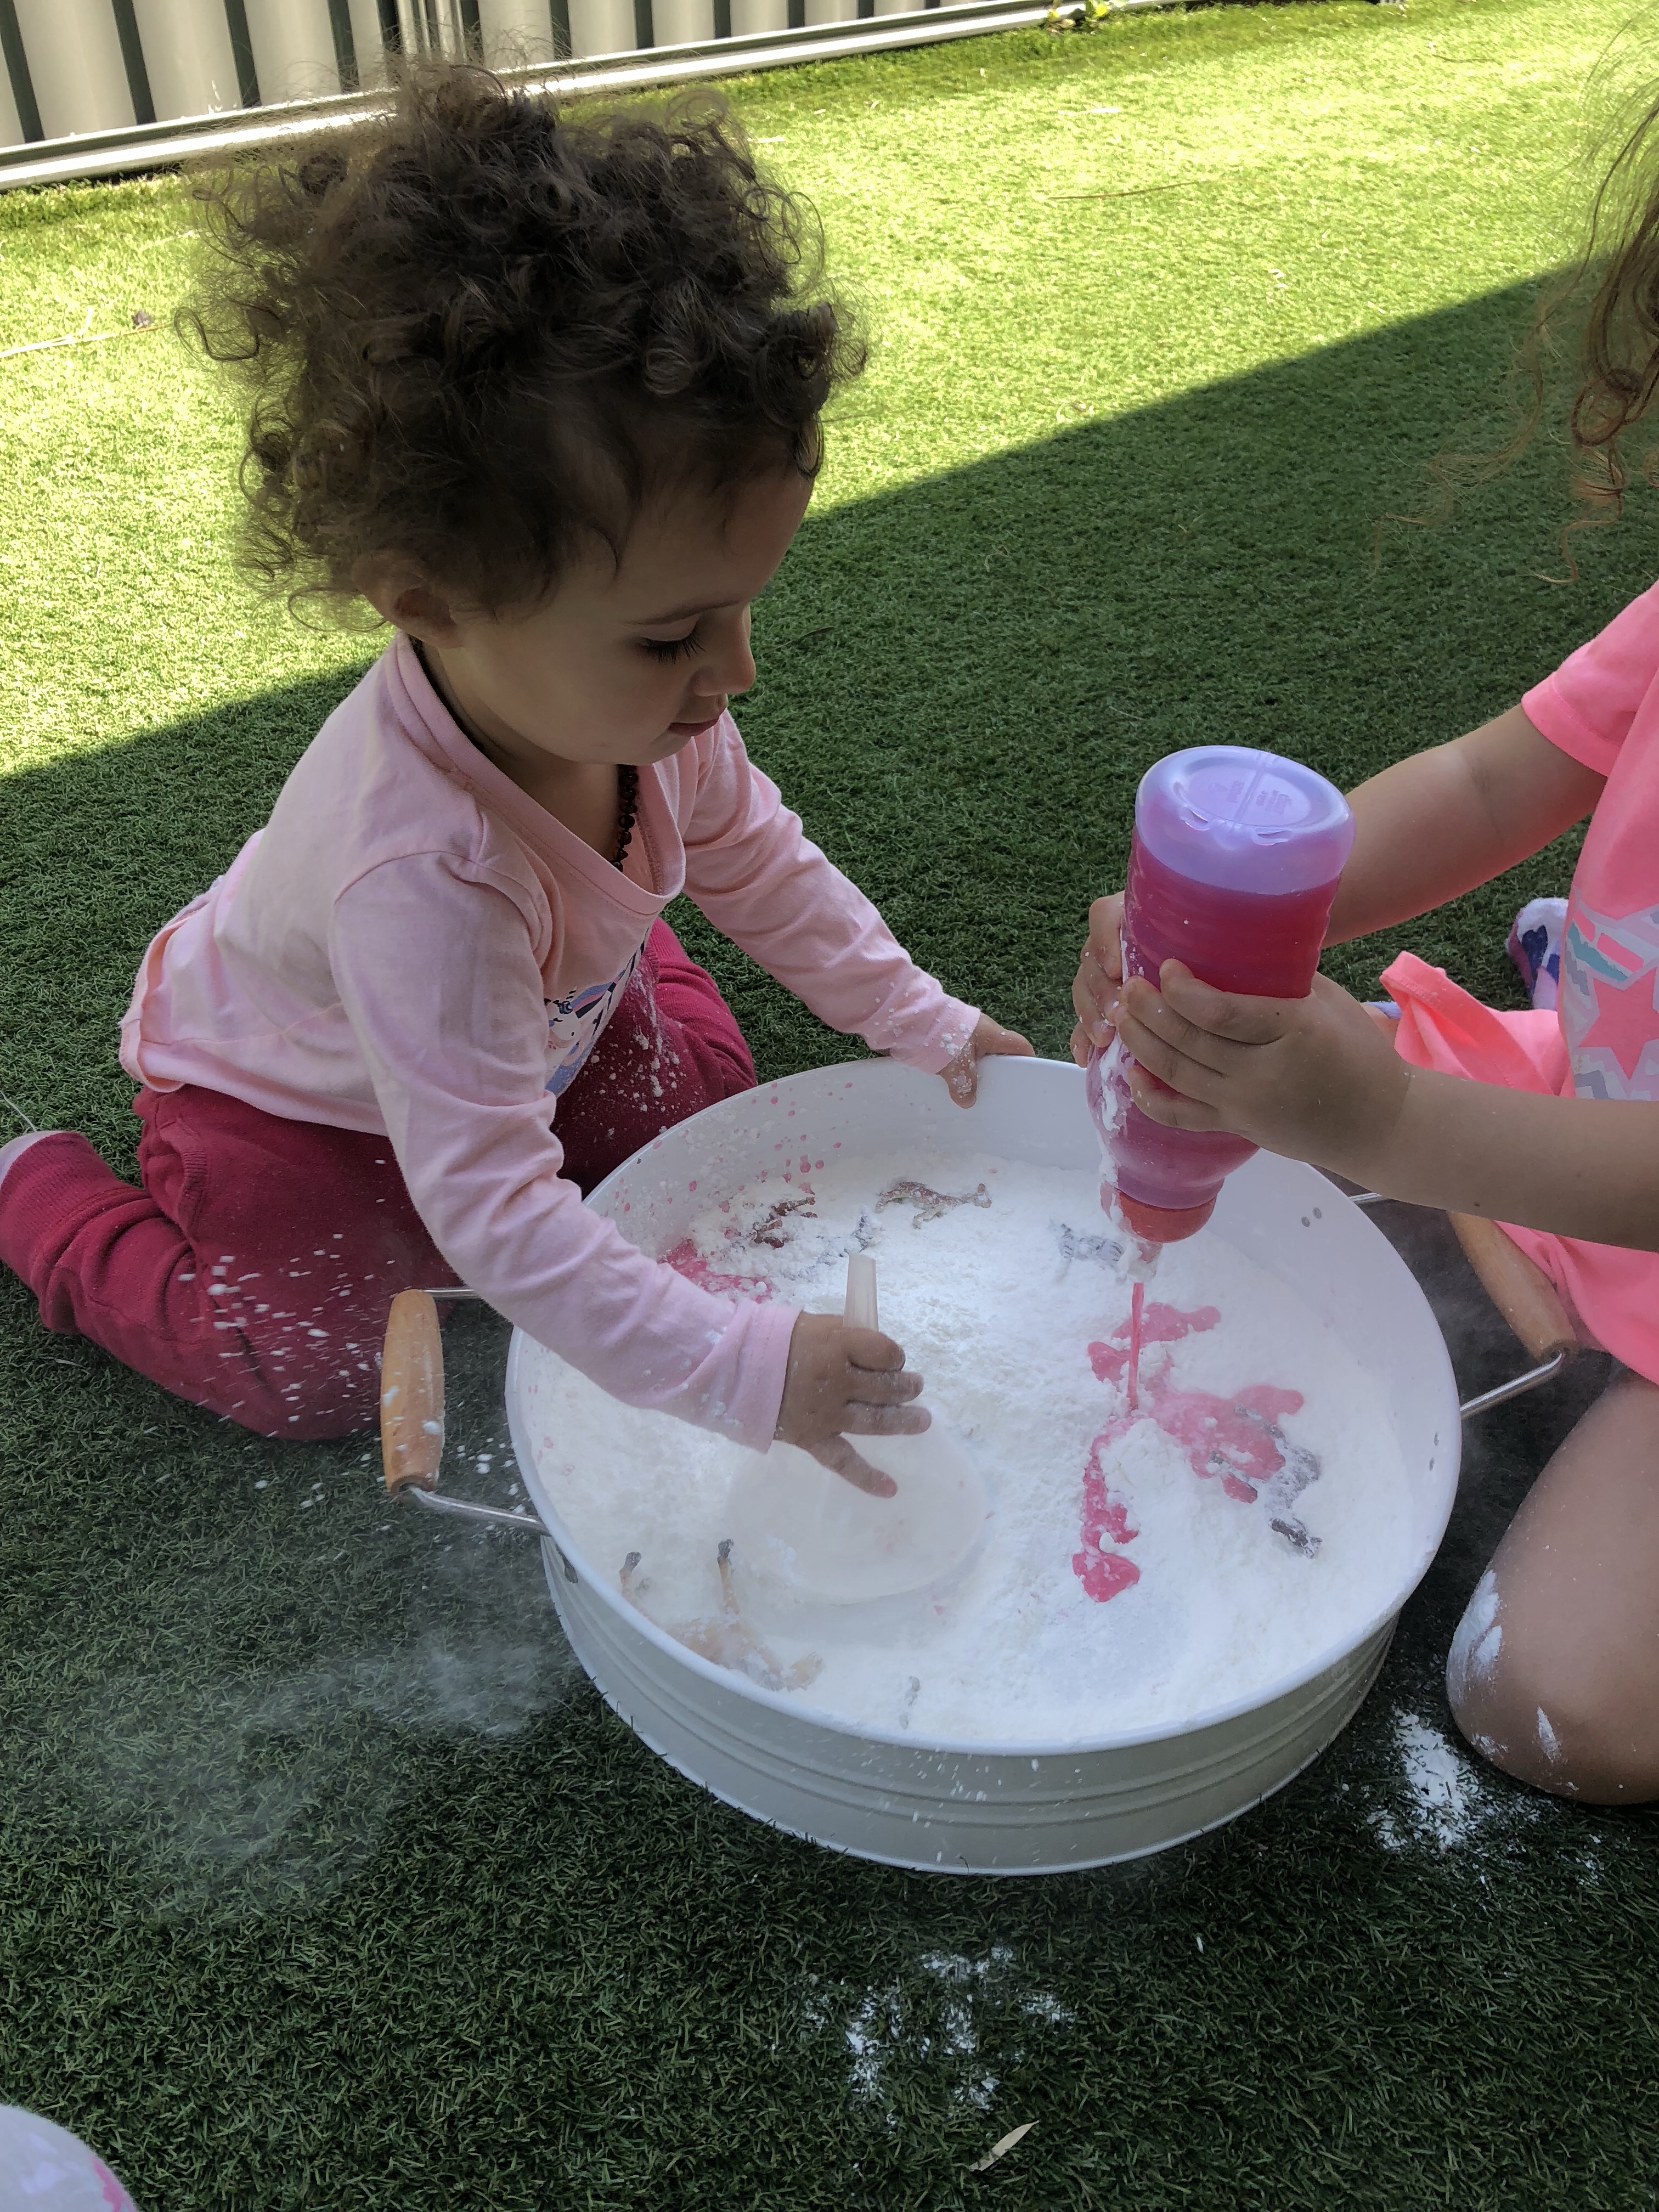
I covered our round tray with corn flour and added a splash of food colour to a squeezy bottle before filling it with water.

Playing with Oobleck
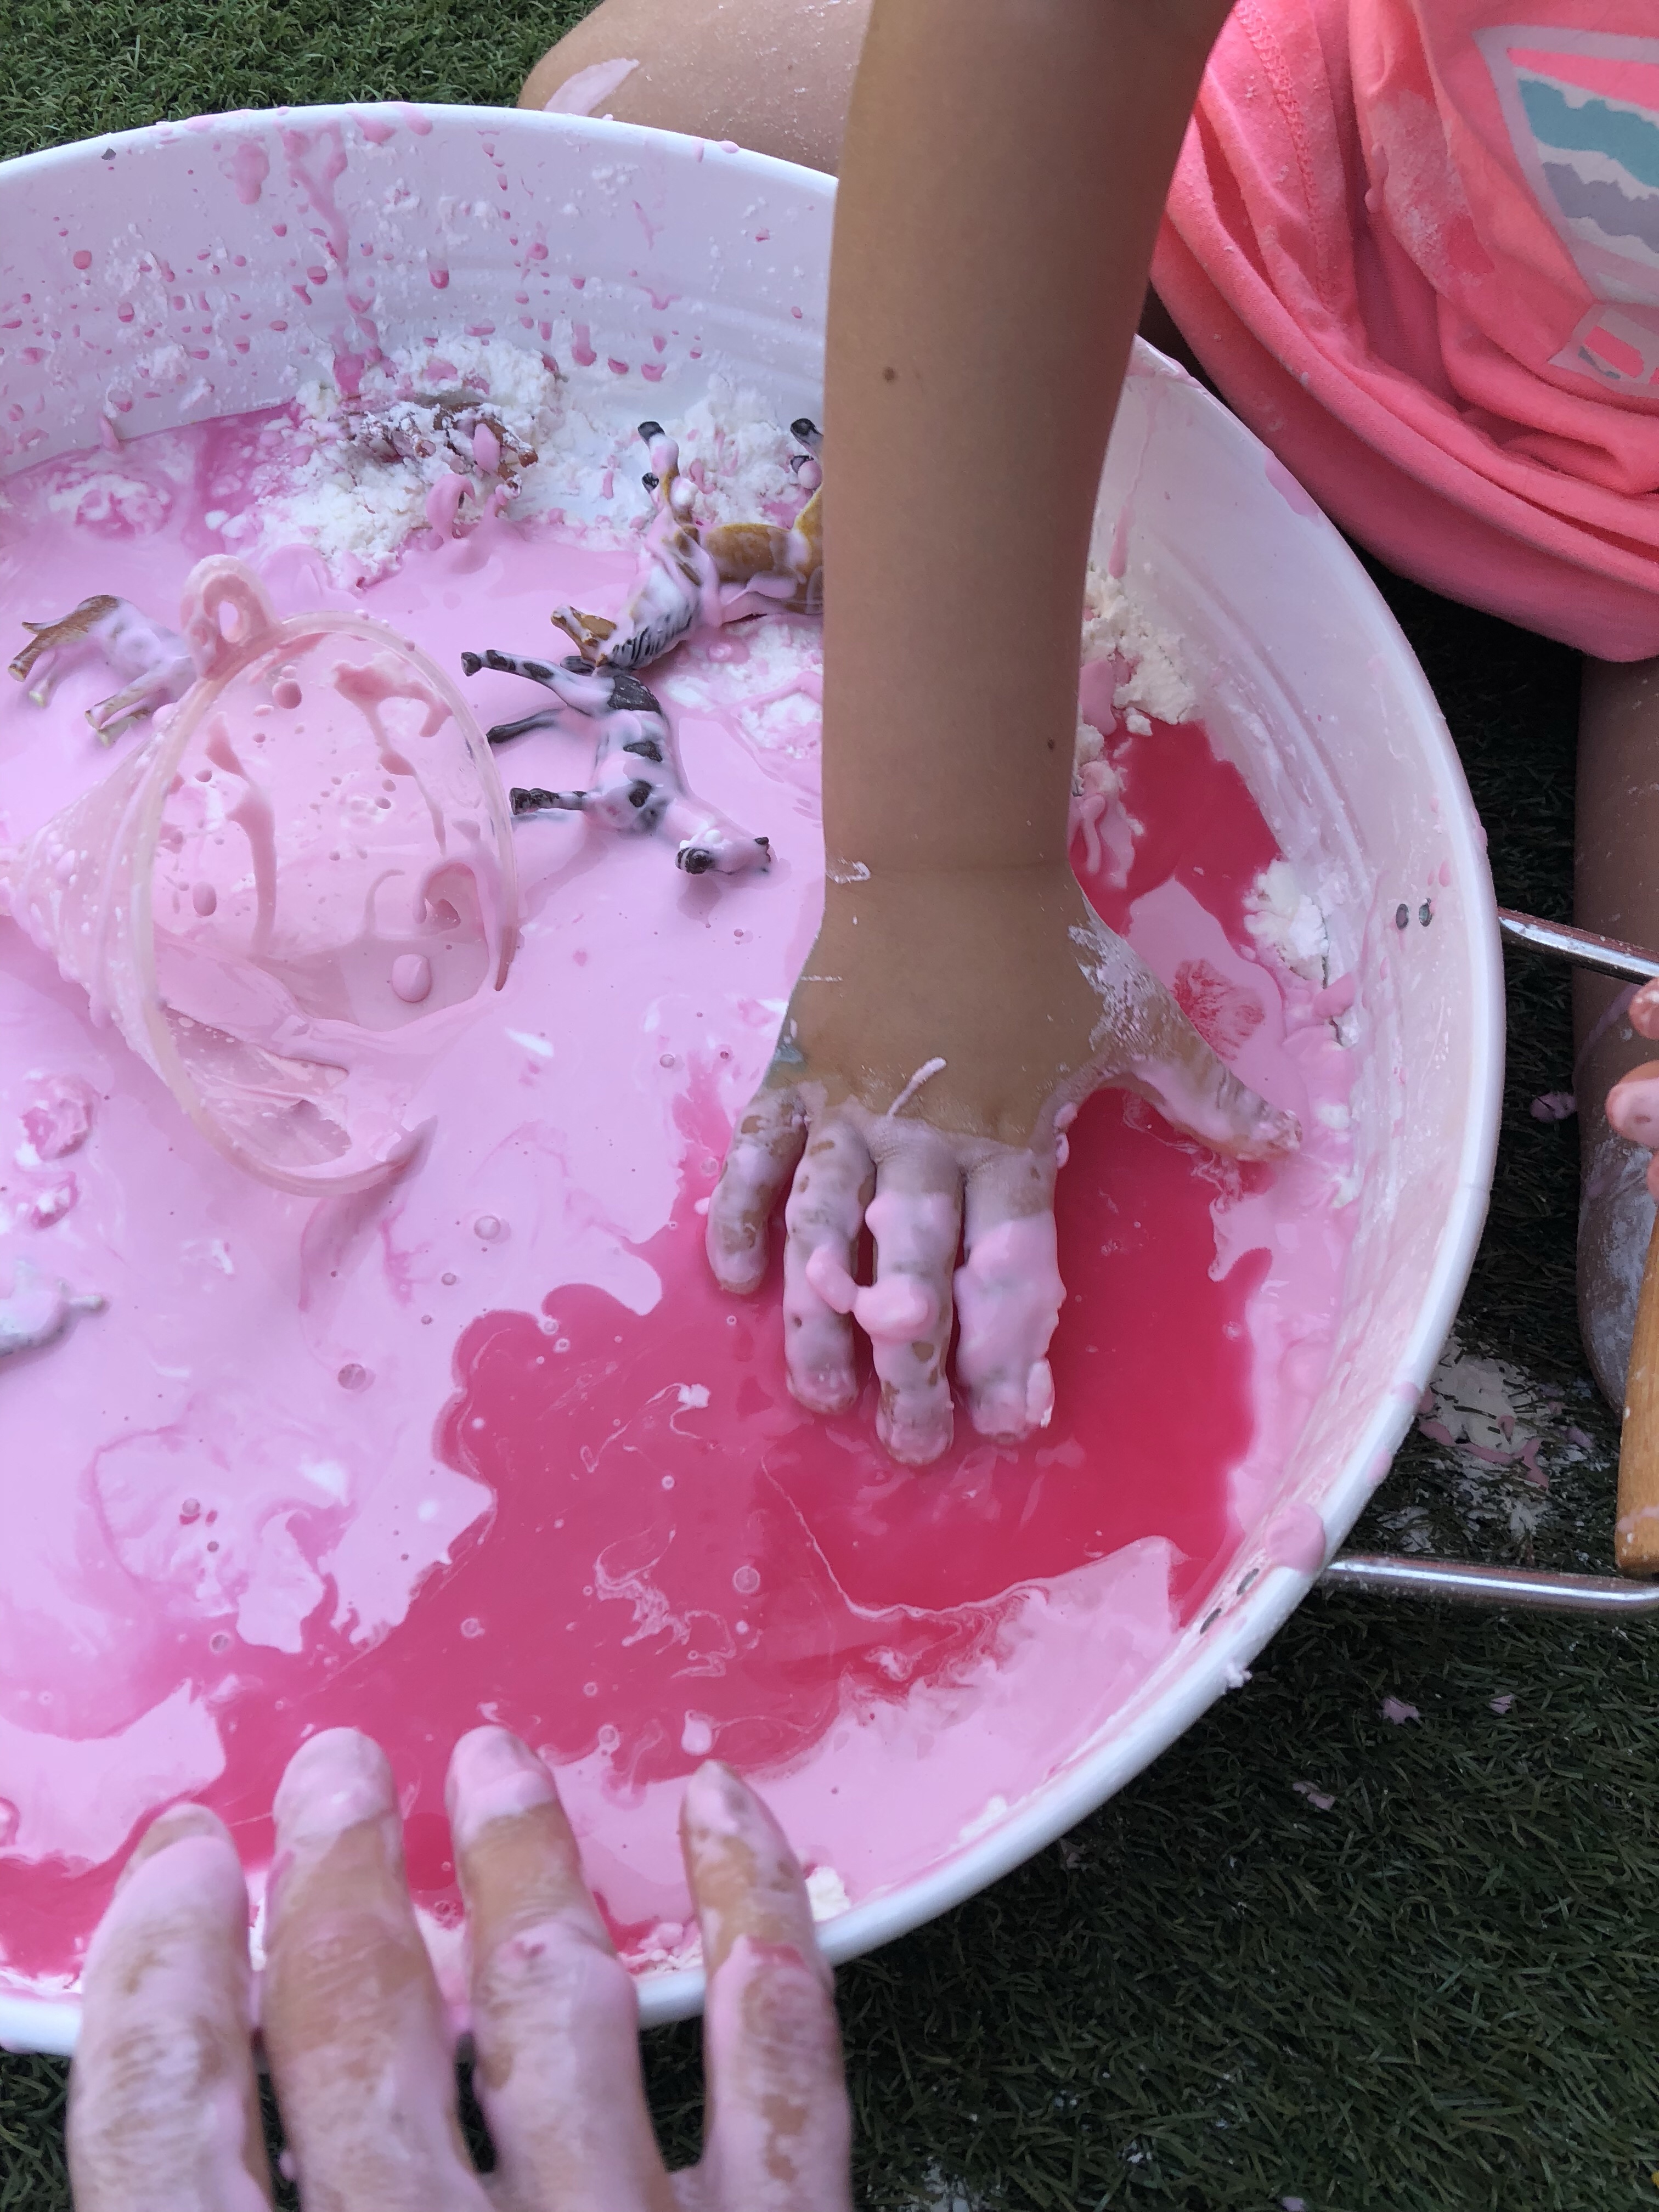
The horses and zebras were thrown in just because… they could be used to stir, mix and scoop or be used to inspire a creative story.
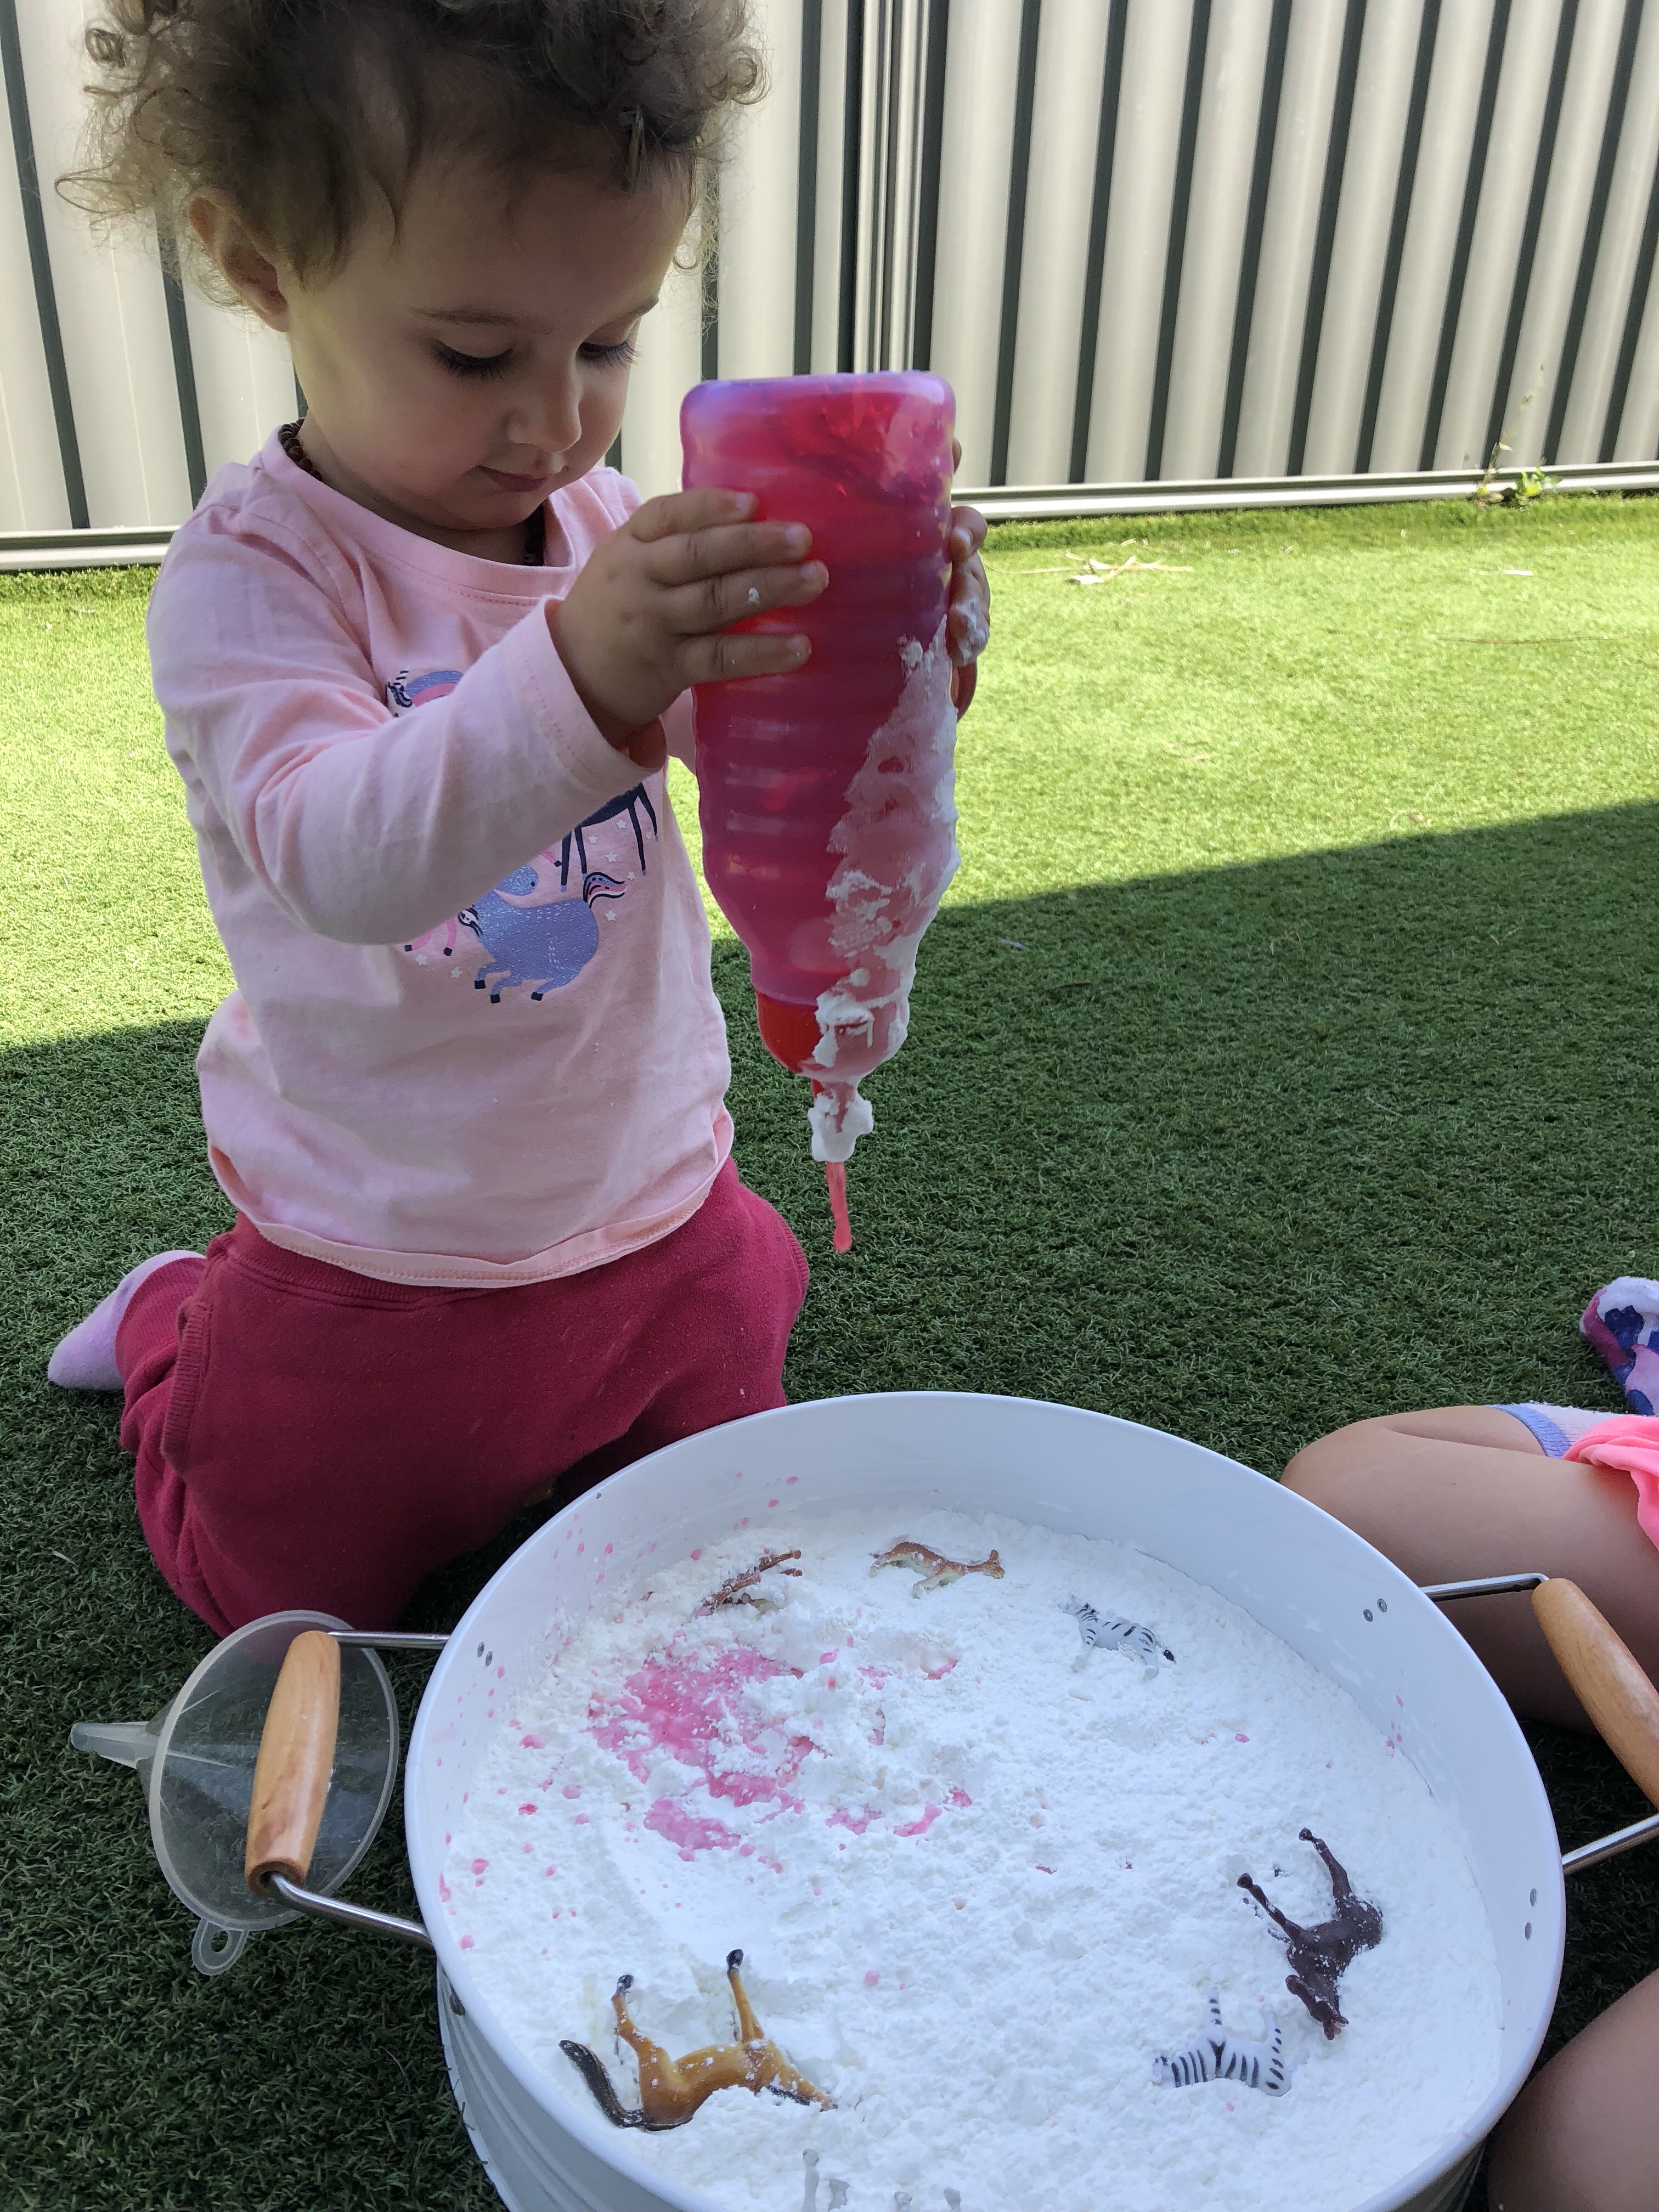
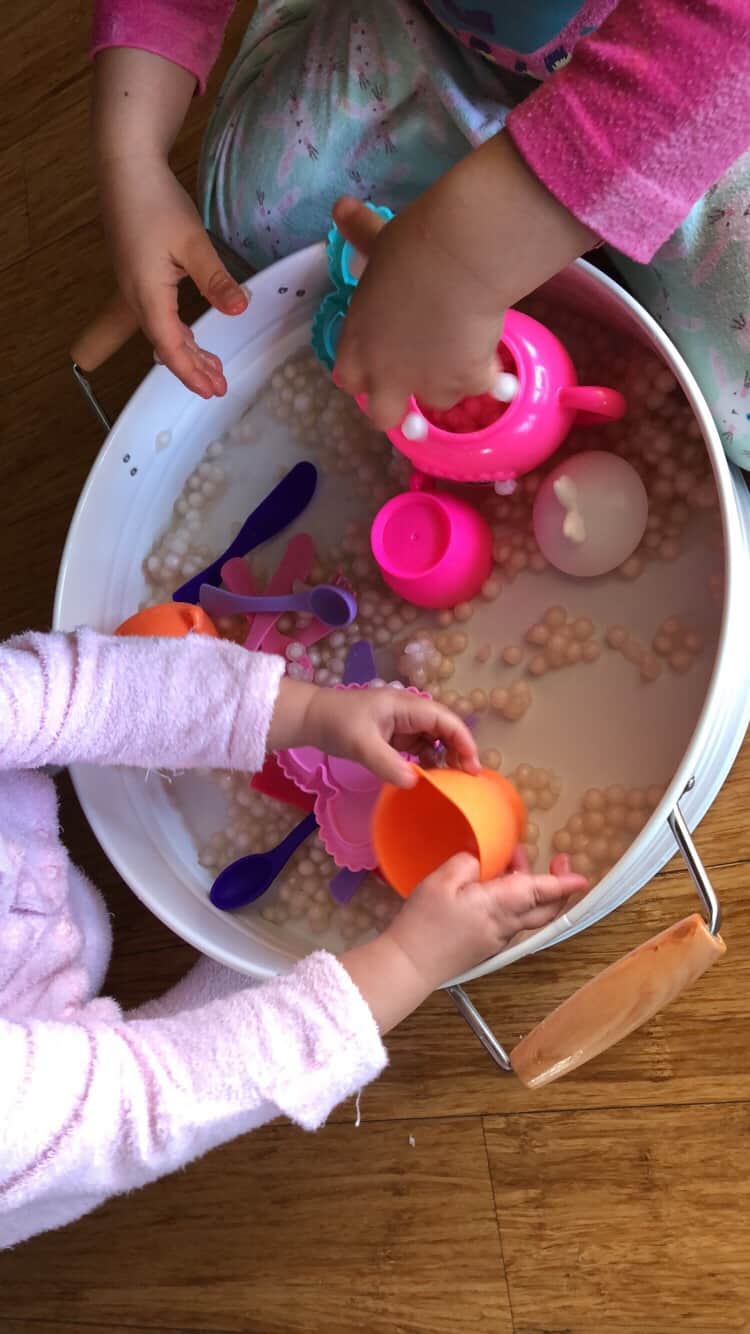
Miss 19m was handed the bottle and given the honours of being the first to squirt some water into the tray.
Her small fingers wrapped around the bottle and with a squeeze, the fluid splashed into the tray and bounced off the corn flour before settling into small pools on the surface.
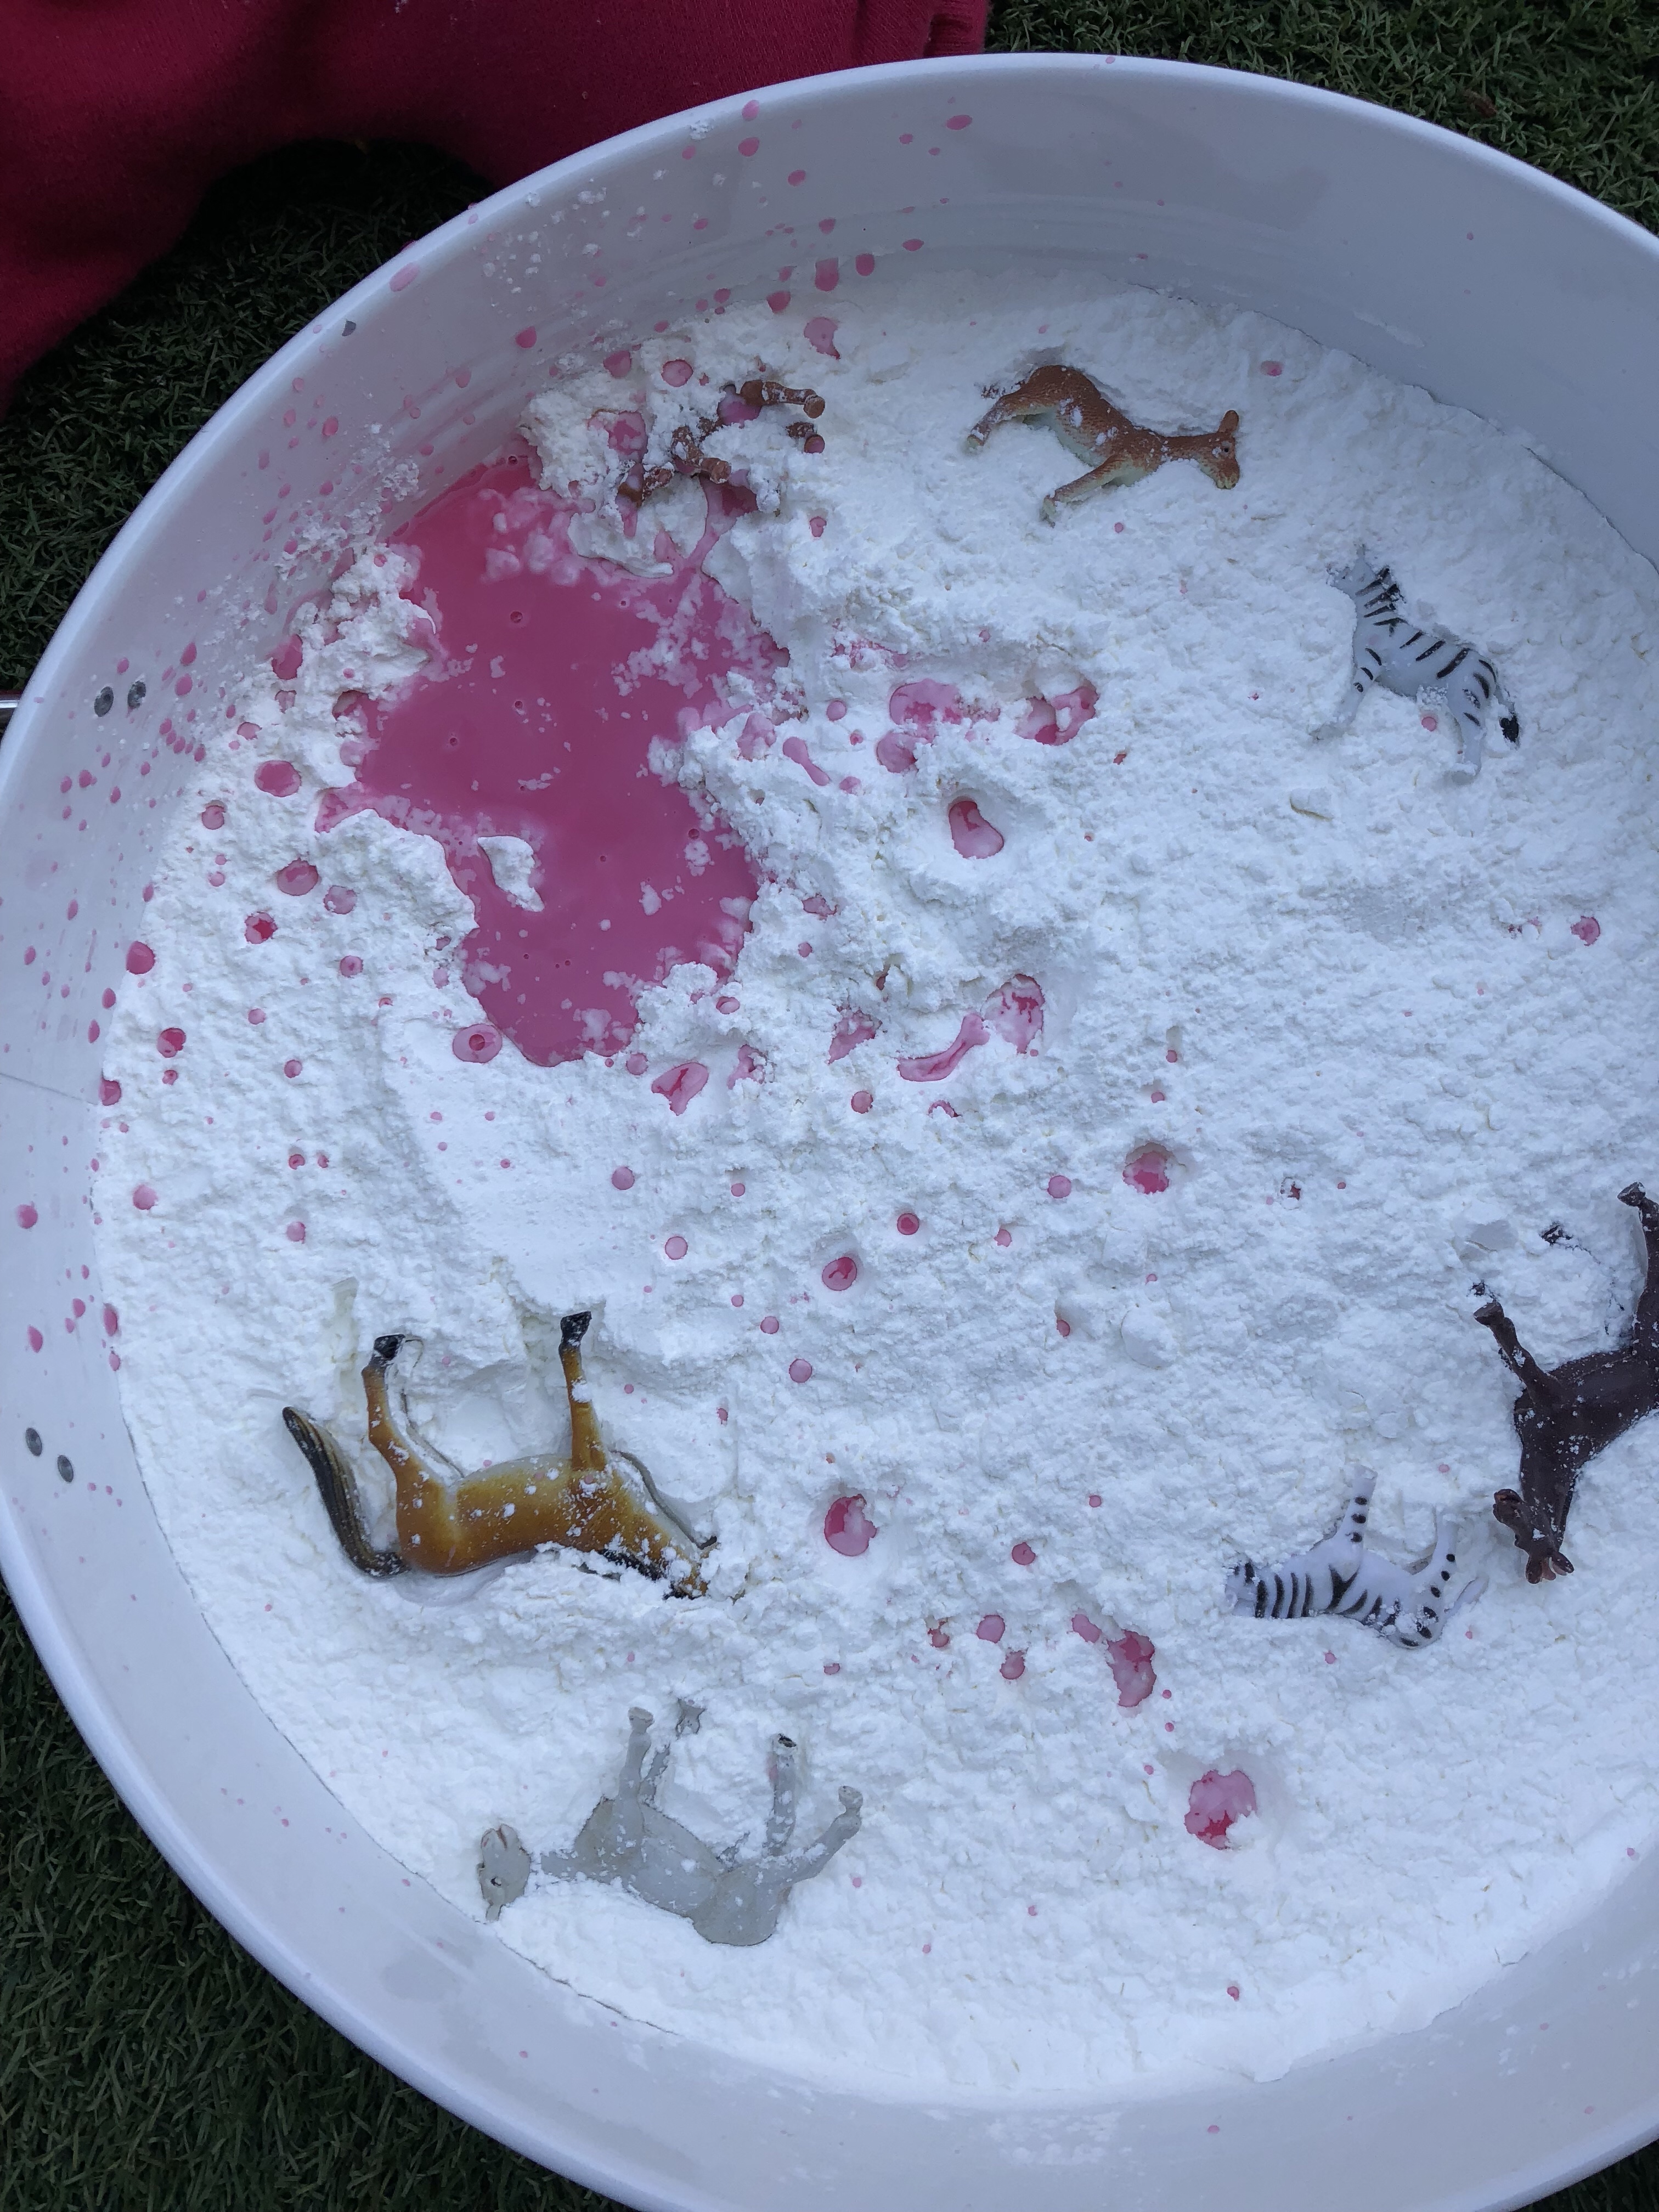
Miss 19ms attention drifted thrusting a plastic funnel into the corn flour. She was rewarded with a plume of the powder floating off into the breeze. Miss 4 eagerly took charge of the water bottle and generously squeezed it into the tray.
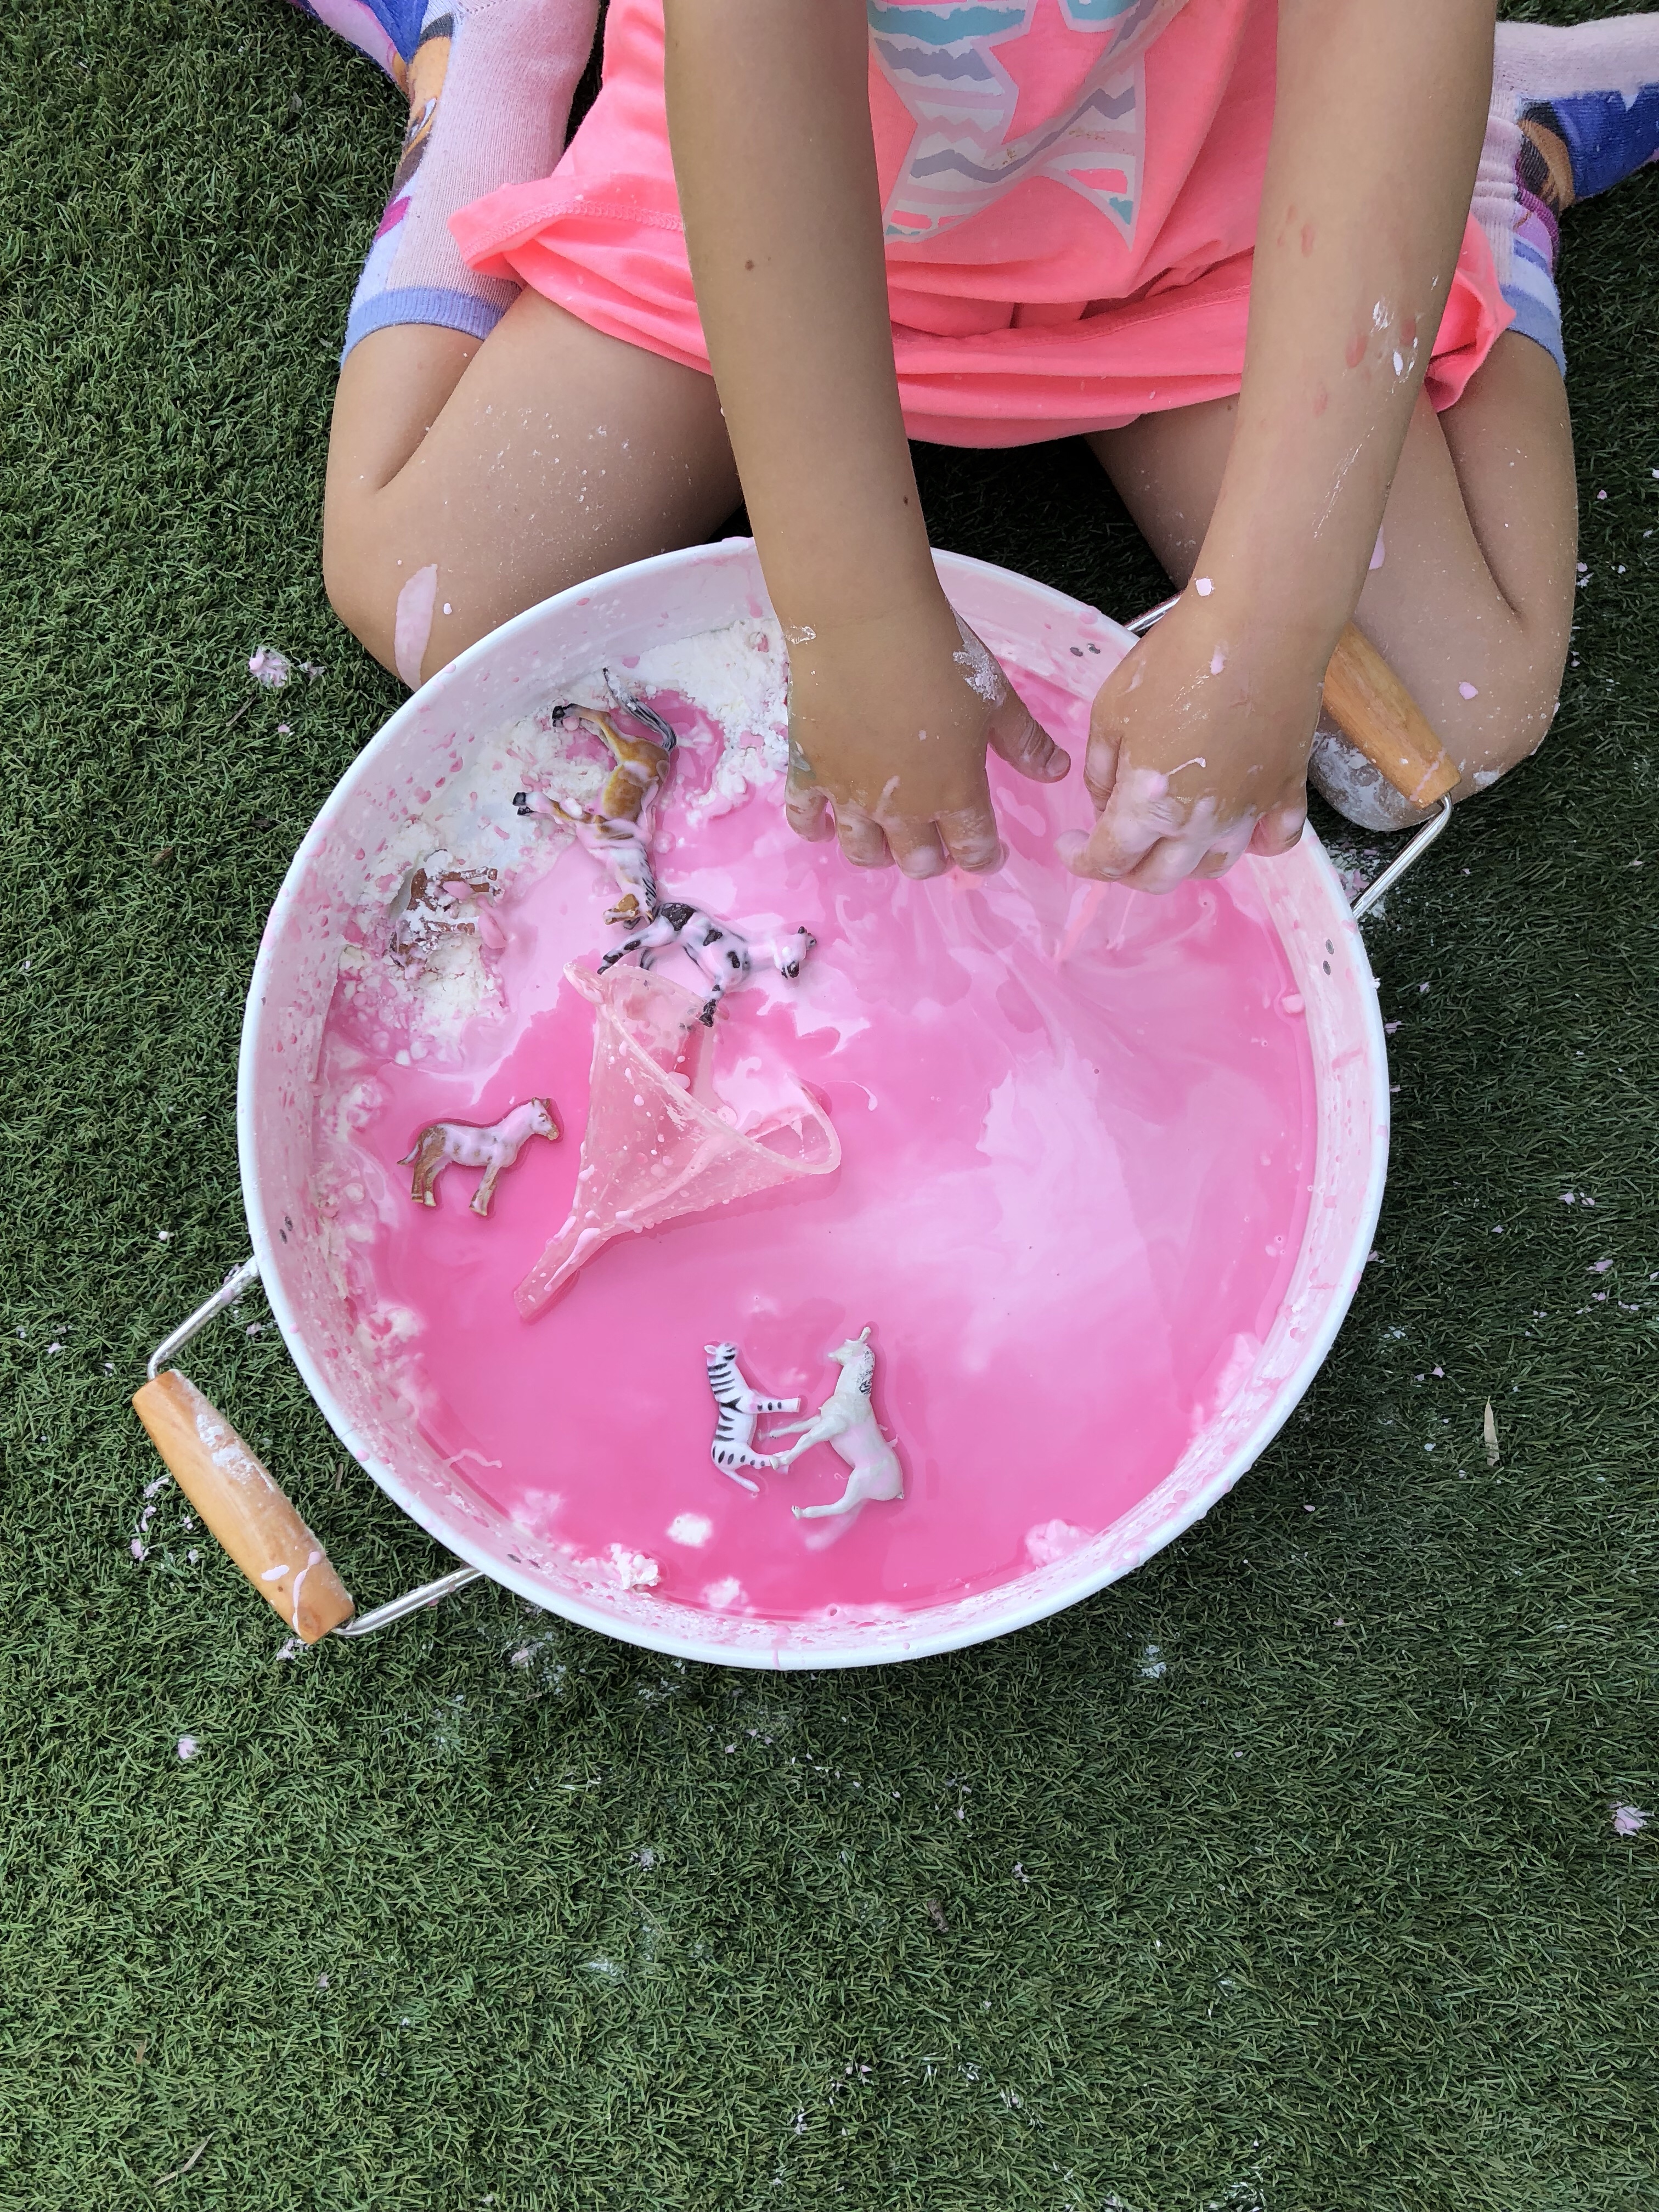
The small pools quickly became larger ones before joining together. We started to run our fingers over the liquid, mixing the flour in consealed underneath. Our oobleck was coming together nicely!

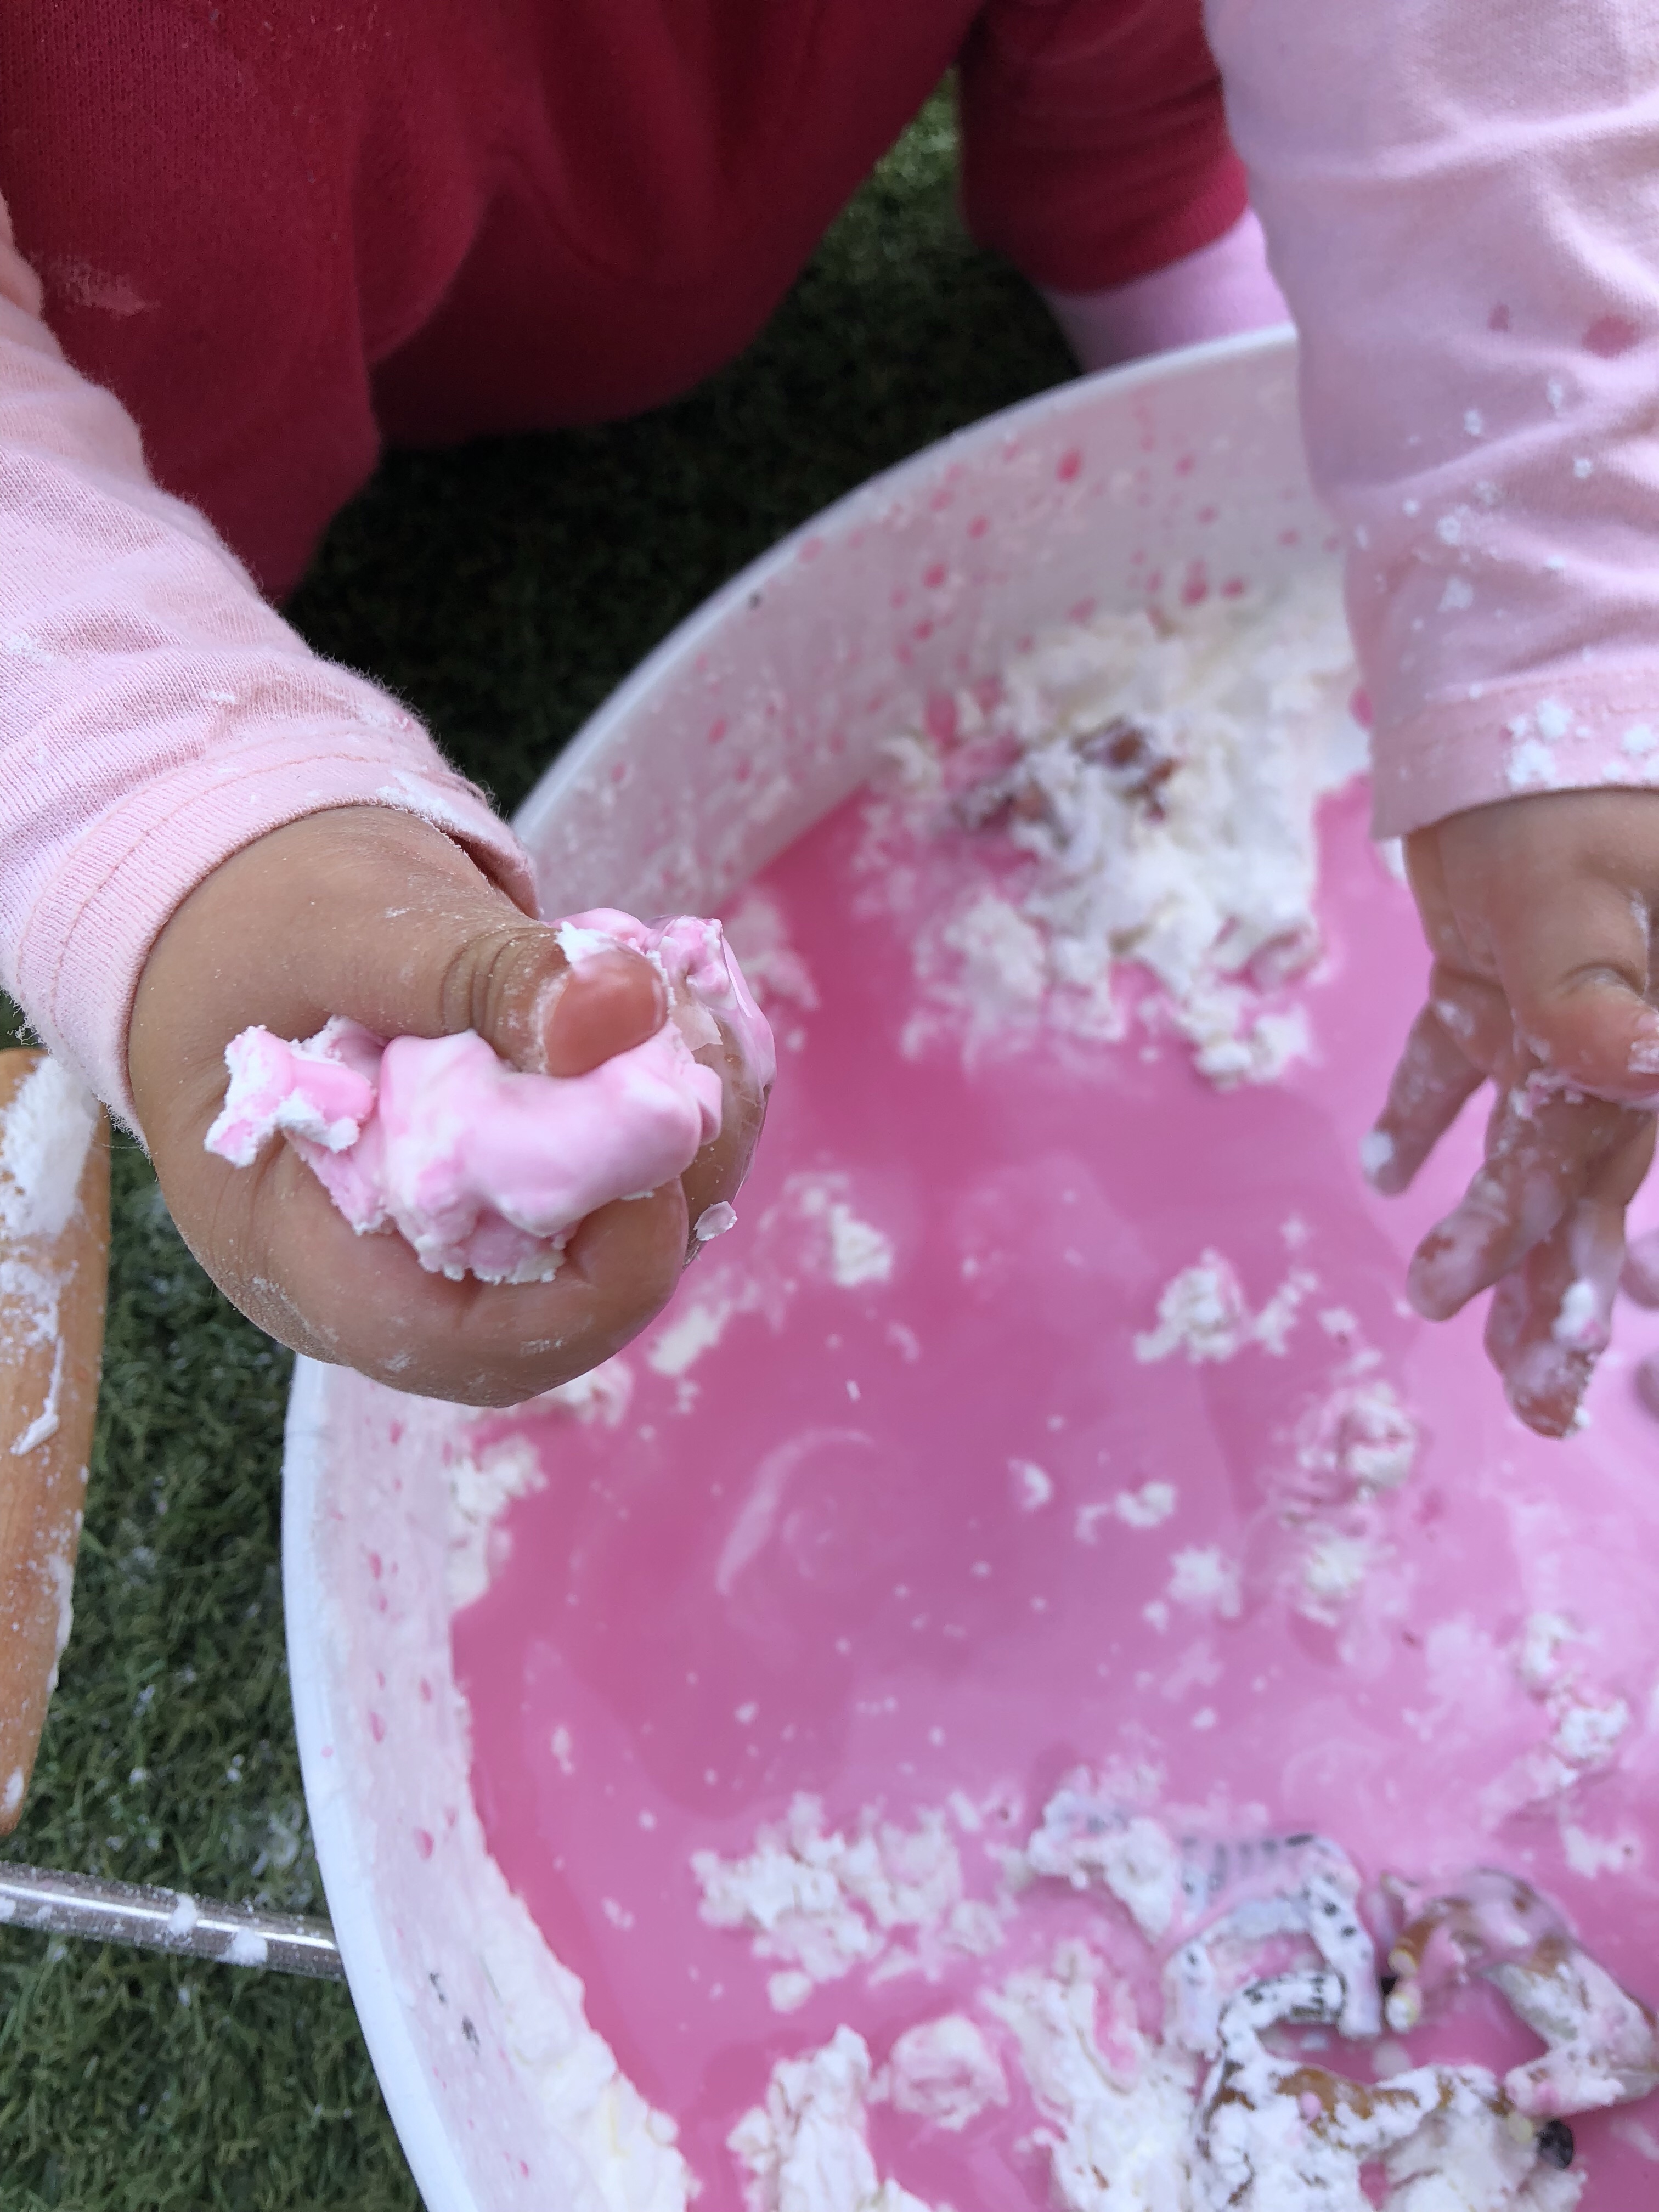


Scraping the bottom of the tray, we retrieved handfuls of the mixture. Squeeze it and keep it moving, the mixture stays hard. As soon as you stop applying the pressure, the once hard ball liquifies and drops through your fingers.
Science is so much fun!
How to revive your Oobleck
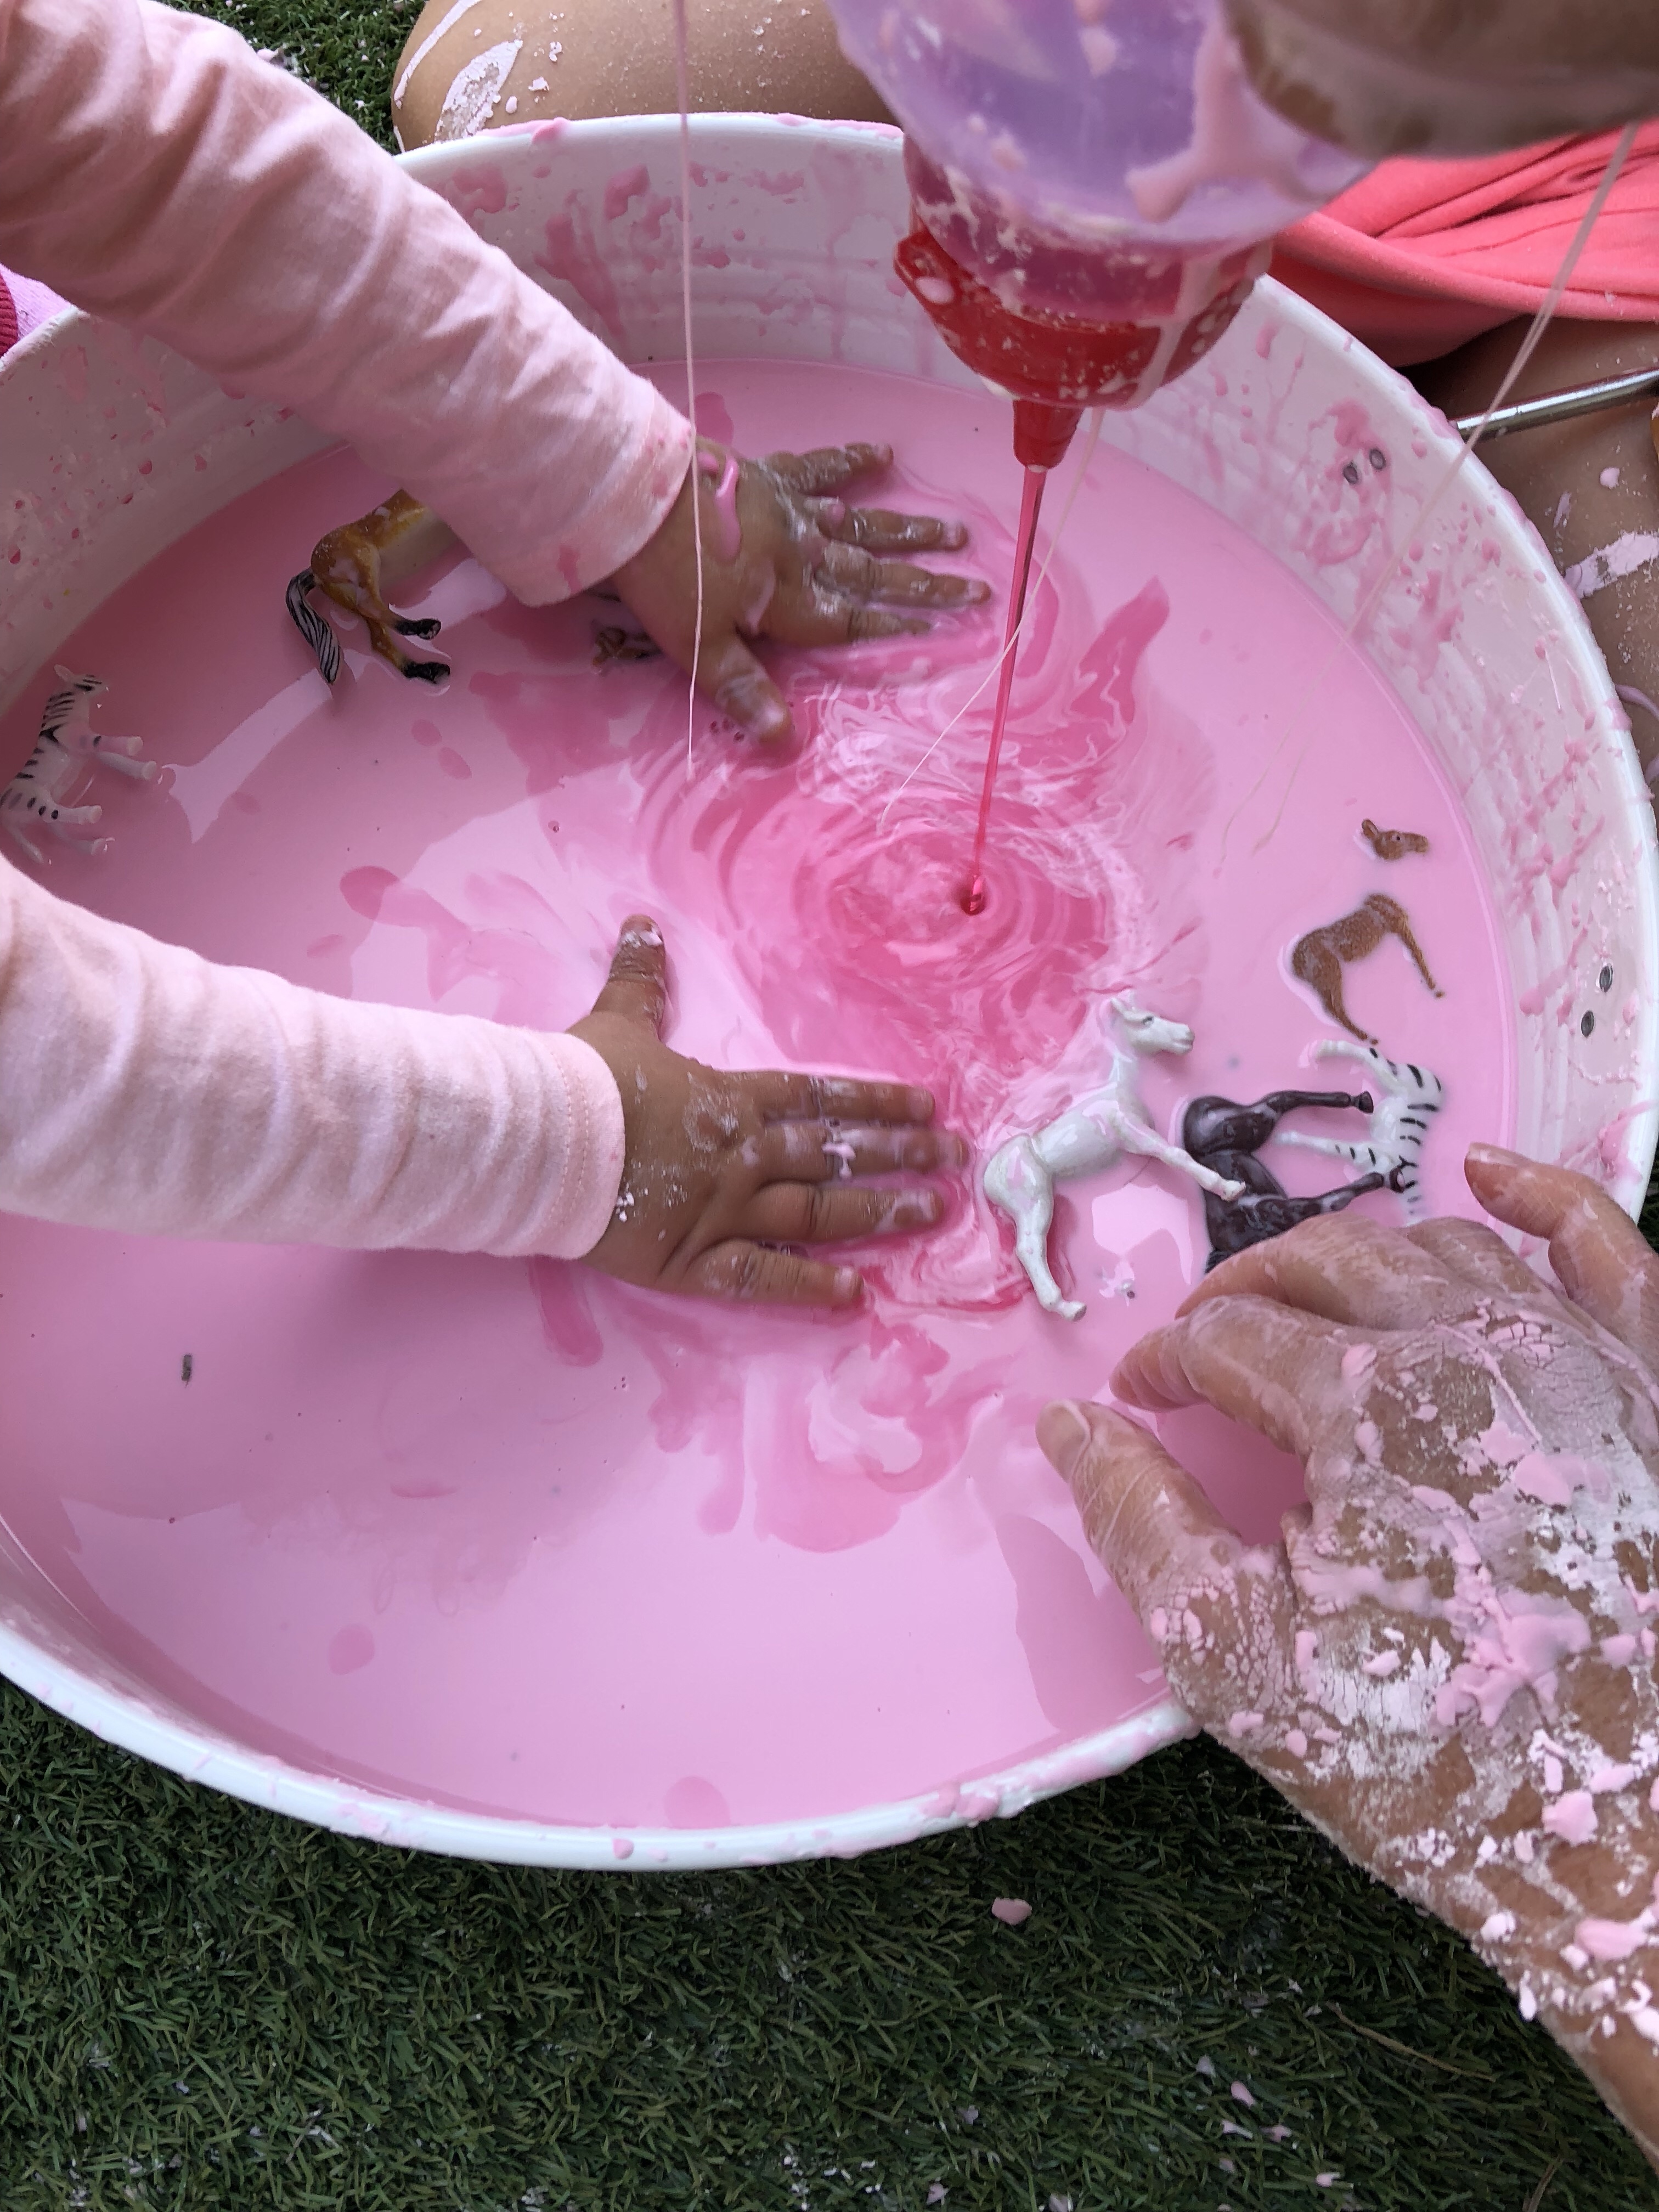
As our Oobleck slime began to dry out, we simply just squeezed more water into the tray and continued playing again!

The Aftermath
It was lovely watching the colours swirl and mix together. This could be a great colour discovery activity! Primary colours in squeezy bottles squirted together to create blends:
- blue and yellow make green
- blue and red make purple
- red and yellow make orange
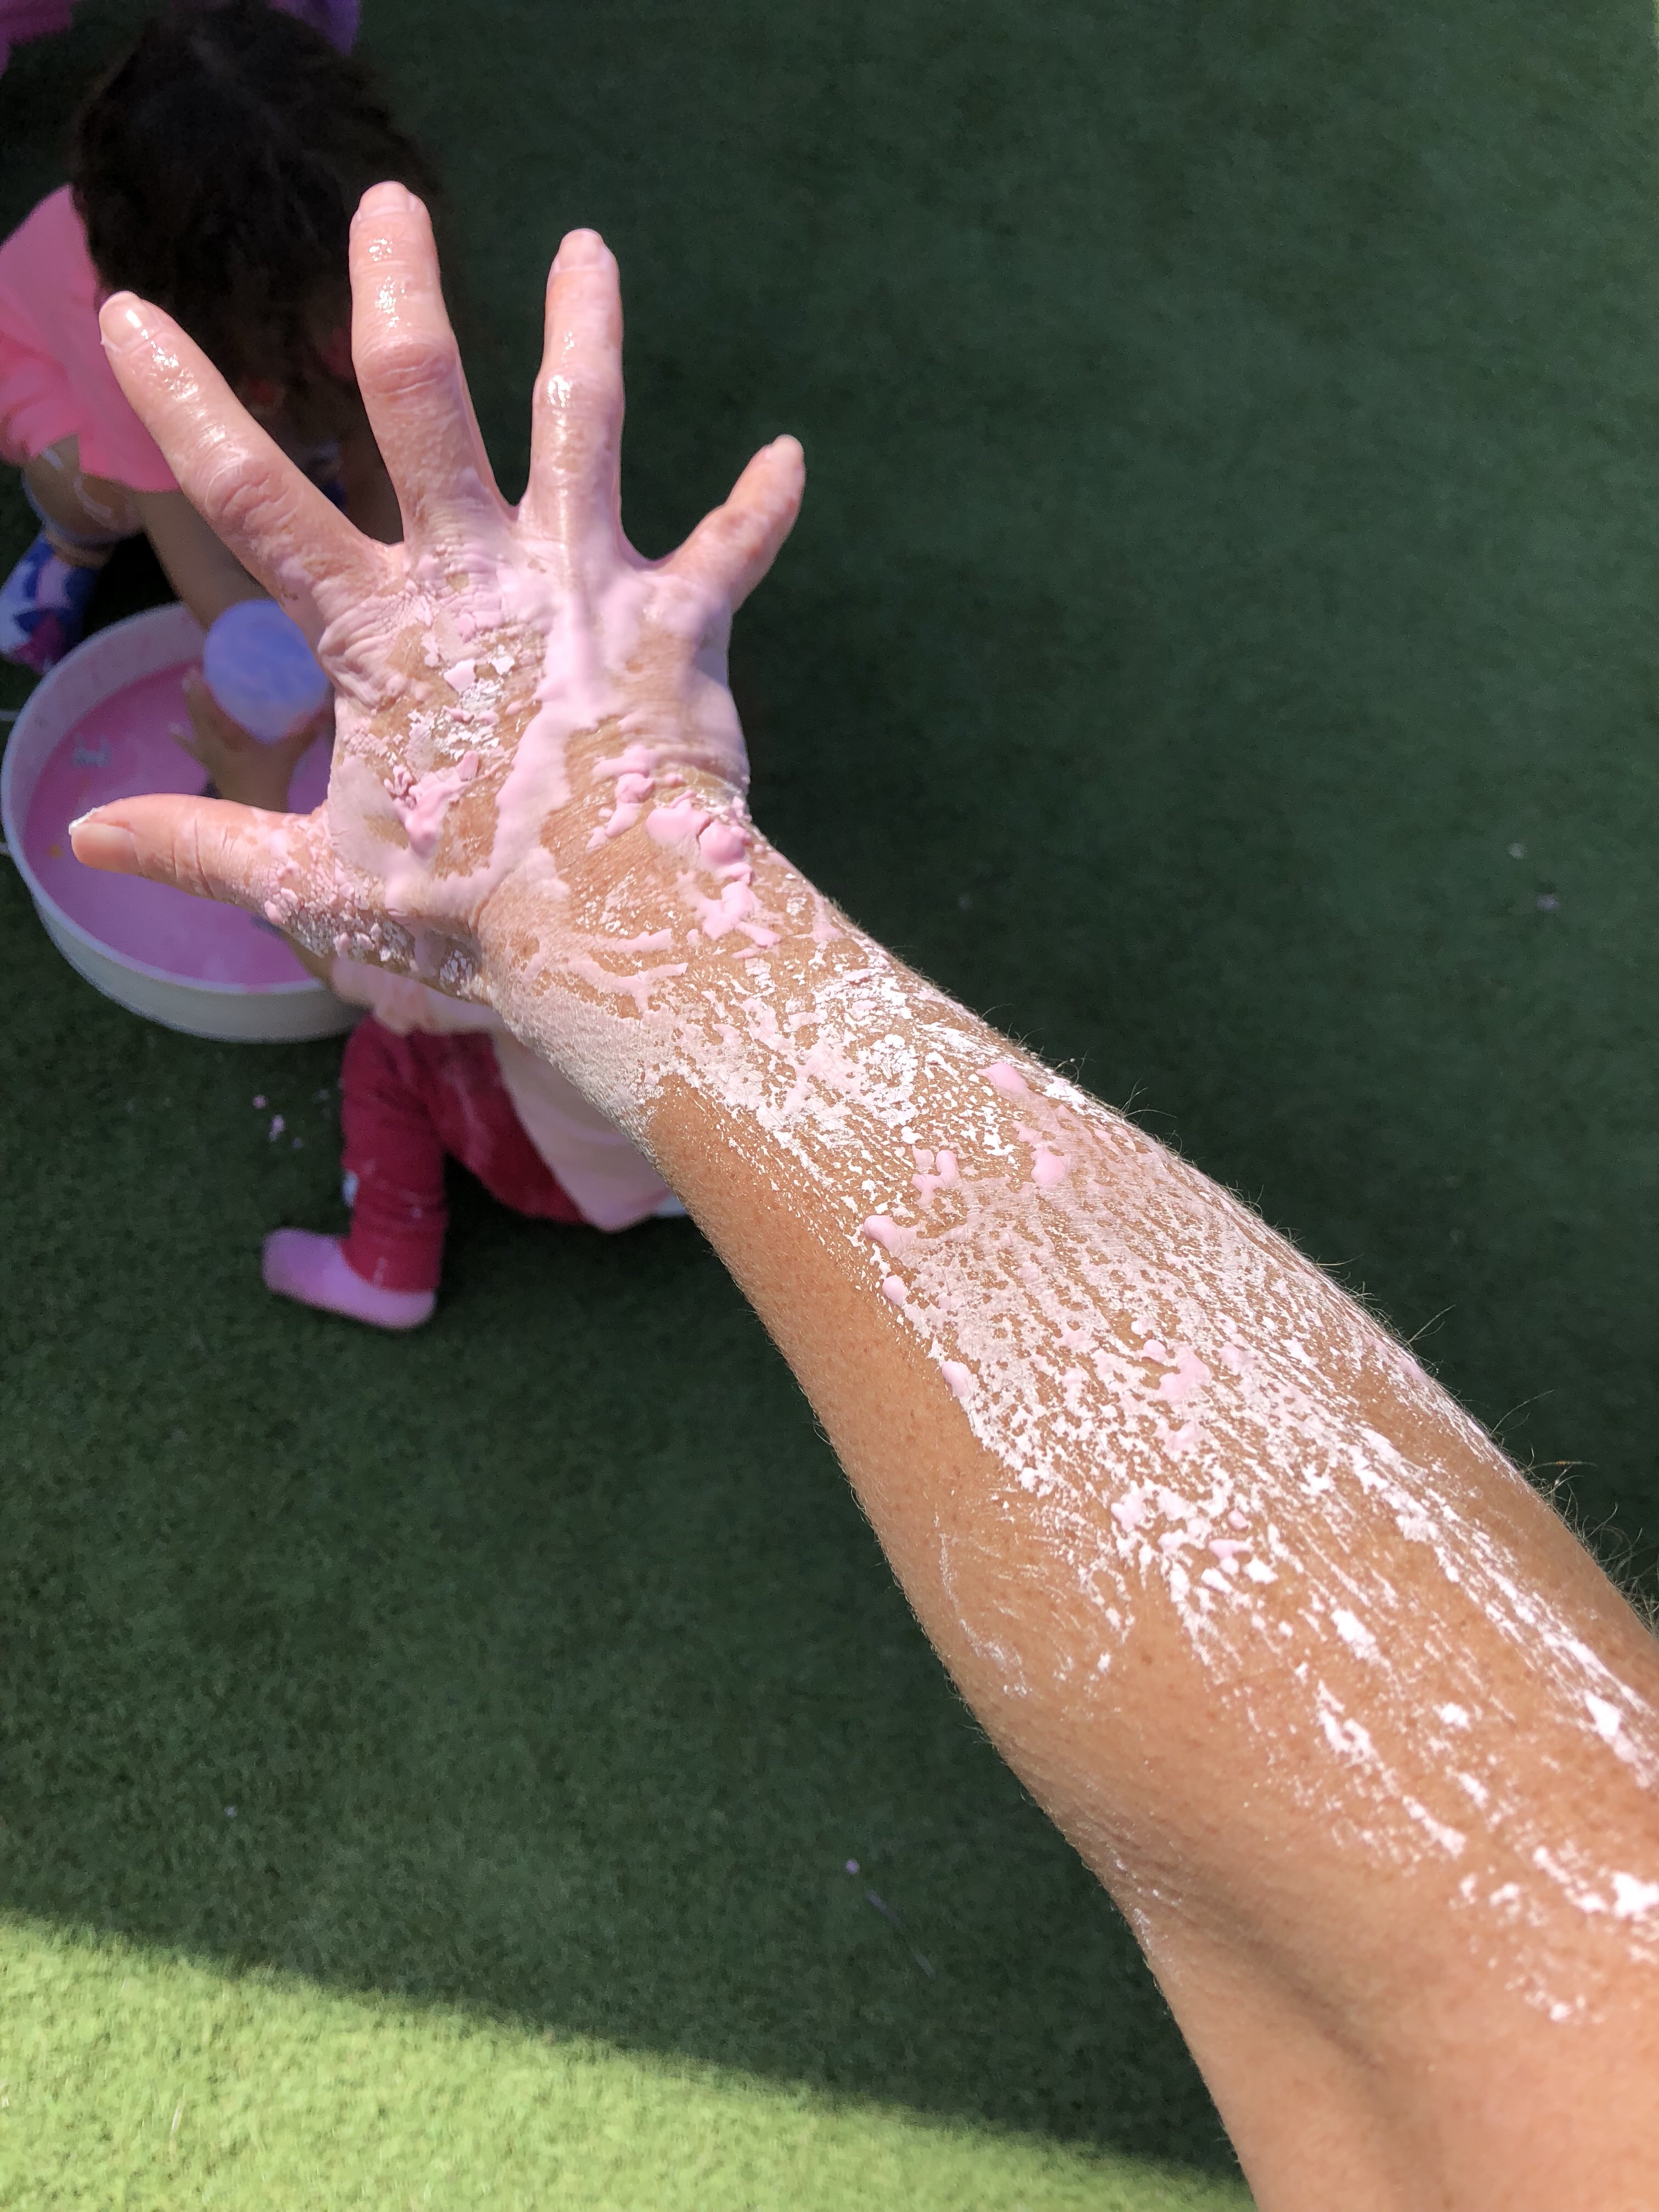
As the Oobleck dried, it left pretty patterns in our arms, grass, Miss 4’s hair and everything else within a 2 metre range from where we’re playing. Luckily, it washes clean just as easily as it is made- phew!

It’s safe to say that this non-Newtonian fluid is a favourite slime at our house. Give it a shot and let us know what your family think of it!
Dani D x

Disclosure: This Blog does contain affiliate links which I may earn a small commission from if you purchase through them, at no extra cost to you.


![]()


Oh my daughters would love this! They have so much fun making messes and often make slime on our back patio.
It’s definitely a great activity together with your kids. This is perfect for all ages. Well time spent amd super fun.
This is totally fun. Looks like kids had a great time and they enjoyed this activity. Thanks for sharing the idea and instruction too. Will definitely going to try this for sure with my kids.
My two-year old would be ALL over this!!! She is obsessed with making messes. If we have any more warm days this fall, I might have to make this with her. If not, we will do it during the Spring. I need to remember this post so we can do it.
how interesting is this! im can easily imagine how kids would enjoy this!
This is a fantastic idea! I wonder if you could use some old fossils or make some pretend dinosaur bones to recreate a sort of paleontology experience for children with this? I know a lot of kids who would love that!
Seriously this looks so fun, I want to make Oobleck and play myself. I love how it’s made with so few ingredients.
I loved the idea of the animals in the mix. What a cute idea.
Wow! This is so cool and creative, and I bet the kids had a blast playing and learning from it. An excellent idea and learning experience.
What a perfect sensory activity for preschoolers! I love how it only needs a few ingredients. I will have to make some this weekend. My kiddo is no longer a preschool, but I think she will think it’s a cool experiment.
You make it look so simple! I hope it is because I have babysitting duty next weekend and I definitely plan to let them tire out by having a blast throughout the day. Thanks for sharing the instructions!
This is amazing. What a creative and fun way to spend time with your kids! I’m sure they will look back and appreciate the creativity and whimsical activities they got to do. My mom was an artist and art teacher, and we were able to find many neat arts and crafts packed with lasting memories. Thank you for this sweet reminder of that. <3